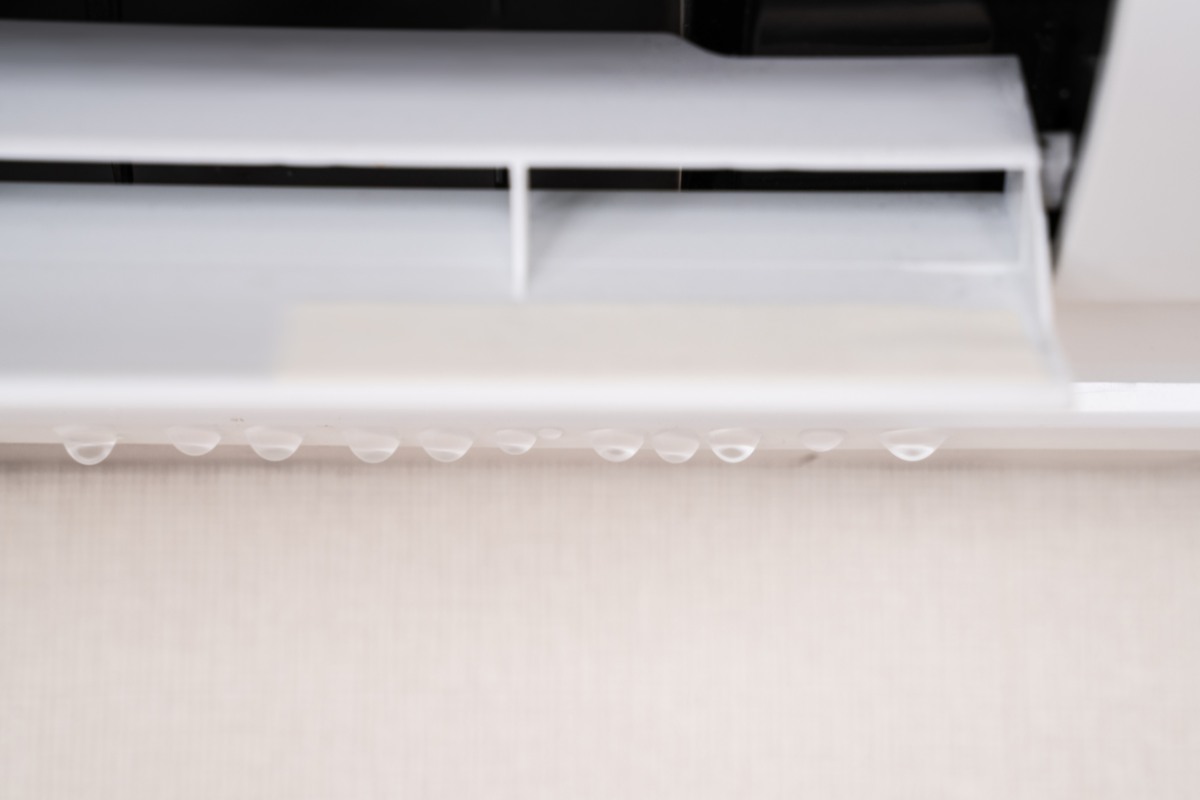
Les climatiseurs sont des merveilles de l'ingénierie moderne, apportant un soulagement bienvenu à la chaleur étouffante. Cependant, lorsque ces systèmes complexes fonctionnent mal, les propriétaires et les techniciens peuvent se retrouver dans l'embarras. Les fuites d'eau constituent l'un des problèmes les plus courants et les plus déroutants. Alors qu'une simple canalisation bouchée peut être le coupable dans certains cas, un examen plus approfondi révèle une multitude de causes potentielles, chacune ayant son propre ensemble de mécanismes sous-jacents et de difficultés de diagnostic.
Cet article explore les subtilités des fuites d'eau en climatisation, en fournissant une analyse experte des différents facteurs contributifs et des techniques avancées utilisées pour les identifier et les traiter.
Défaillances du système d'évacuation des condensats
Le système d'évacuation des condensats est le héros méconnu de tout système de climatisation. Il est chargé d'évacuer l'humidité extraite de l'air au cours du processus de refroidissement. Lorsque ce système est défaillant, les fuites d'eau sont souvent le premier signe de problème.
Ligne de vidange bouchée
Un problème courant est l'obstruction de la conduite d'évacuation. Au fil du temps, des algues, des moisissures et des dépôts minéraux peuvent s'accumuler dans les limites étroites de la conduite d'évacuation, créant un blocage tenace. Cette accumulation est souvent exacerbée par l'environnement chaud et humide du système, qui constitue un terrain de reproduction idéal pour ces micro-organismes. En outre, des insectes, des débris et même de petits animaux peuvent s'introduire dans la conduite d'évacuation, obstruant encore davantage l'écoulement de l'eau. Une mauvaise installation, telle qu'une pente insuffisante ou un affaissement de la conduite, peut également contribuer à l'obstruction en permettant à l'eau de stagner et aux débris de se déposer. Les conséquences d'une canalisation bouchée sont considérables. Lorsque l'eau reflue, elle remplit le bac de vidange au-delà de sa capacité, ce qui entraîne un débordement et des dégâts d'eau potentiels sur les structures environnantes. L'eau stagnante devient également un terrain propice à la formation de moisissures, ce qui a un impact négatif sur la qualité de l'air intérieur et peut entraîner des problèmes de santé pour les occupants. Si un simple rinçage à l'eau peut permettre de résoudre des obstructions mineures, des techniques plus avancées sont souvent nécessaires. Des outils spécialisés tels que les serpents de canalisation, les aspirateurs eau et poussière et les compresseurs d'air peuvent être utilisés pour déloger les obstructions les plus tenaces. Des nettoyants chimiques, tels que les algicides, peuvent également être utilisés, mais leur application nécessite un examen attentif de la compatibilité des matériaux et des précautions de sécurité appropriées. Pour accéder aux bouchons difficiles à atteindre et les éliminer, il est souvent nécessaire de bien comprendre l'agencement du système et de savoir naviguer dans des espaces restreints.
Bac de vidange
Au-delà des obstructions, le bac de vidange lui-même peut être une source de fuites. La corrosion est un problème important, en particulier dans les systèmes anciens ou ceux qui sont exposés à des conditions environnementales difficiles. Des facteurs tels que la chimie de l'eau, la qualité des matériaux et la présence de substances corrosives peuvent accélérer le processus de corrosion. Différents types de corrosion, notamment la corrosion par piqûres et la corrosion galvanique, peuvent compromettre l'intégrité du bac d'égouttage, entraînant des fissures et des fuites. Les contraintes thermiques, les chocs physiques et le simple passage du temps peuvent également contribuer à la formation de fissures, permettant à l'eau de s'échapper et de causer des dommages. Le débordement, qui est souvent la conséquence d'une conduite d'évacuation obstruée ou d'un mauvais fonctionnement de la pompe à condensats, peut encore aggraver le problème. Le dimensionnement et l'installation corrects des bacs de récupération sont essentiels pour éviter les débordements, tout comme l'utilisation d'interrupteurs à flotteur et d'autres mécanismes de sécurité qui peuvent arrêter le système en cas de défaillance du système d'évacuation. Le choix du matériau du bac d'égouttage joue un rôle essentiel dans sa durabilité à long terme et sa résistance aux fuites. L'acier inoxydable offre une excellente résistance à la corrosion, mais son coût est plus élevé. L'acier galvanisé est une option plus abordable, mais il est plus susceptible de se corroder avec le temps. Les bacs de vidange en plastique sont légers et résistants à la corrosion, mais ils sont plus susceptibles de se fissurer sous l'effet des contraintes. Il est essentiel de bien comprendre les avantages et les inconvénients de chaque matériau pour prendre des décisions éclairées sur le choix et l'entretien des bacs de drainage.
Pompe à condensat
La pompe à condensats, un composant essentiel dans les systèmes où l'évacuation par gravité n'est pas possible, peut également être un point de défaillance. Le diagnostic d'une pompe à condensats défaillante nécessite une approche à multiples facettes. Des symptômes tels qu'un débordement d'eau, des bruits inhabituels ou le fonctionnement continu de la pompe sont souvent les premiers indicateurs d'un problème. Tester les composants électriques de la pompe, y compris le moteur et l'interrupteur à flotteur, à l'aide d'un multimètre peut aider à isoler le problème. L'évaluation des performances de la pompe en mesurant le débit et la pression de tête peut également faciliter le diagnostic. Bien que certaines réparations, telles que le nettoyage ou le remplacement de composants mineurs, soient possibles, il est essentiel de savoir quand le remplacement est la solution la plus prudente. Le choix de la pompe à condensats adaptée à une application donnée nécessite de prendre soigneusement en compte des facteurs tels que la hauteur de levage, le débit et le niveau sonore. Les différents types de pompes, comme les pompes centrifuges et les pompes à membrane, présentent des caractéristiques de performance variables et conviennent à différentes configurations de système. Le dimensionnement et l'installation corrects de la pompe sont essentiels pour garantir des performances optimales et prévenir les problèmes de drainage futurs.
Problèmes liés au système de réfrigération et leur impact sur la condensation
Le système de réfrigération, le cœur de tout climatiseur, joue un rôle crucial dans le processus de refroidissement et, par conséquent, dans la formation de condensation. Les problèmes rencontrés dans ce système peuvent avoir un impact direct sur la quantité et l'emplacement de l'eau produite, ce qui entraîne souvent des fuites.
Faible charge de réfrigérant
Une faible charge en fluide frigorigène est un problème courant qui peut affecter de manière significative la température de la batterie de l'évaporateur et la pression du système. La relation complexe entre la charge de réfrigérant, la température de la batterie et la pression est régie par des principes thermodynamiques fondamentaux. Lorsque le niveau de réfrigérant est bas, le serpentin d'évaporation devient excessivement froid, ce qui entraîne une augmentation de la condensation à sa surface. Ce phénomène est directement lié à la réduction de la pression dans le système, qui abaisse le point d'ébullition du réfrigérant et lui fait absorber plus de chaleur que d'habitude, ce qui se traduit par un serpentin plus froid. Les conséquences d'une faible charge en fluide frigorigène ne se limitent pas à une augmentation de la condensation. L'efficacité du système et la capacité de refroidissement sont considérablement réduites, et le compresseur peut être contraint de travailler plus dur, ce qui peut entraîner une défaillance prématurée. Il est essentiel de comprendre des concepts tels que la surchauffe et le sous-refroidissement pour diagnostiquer et résoudre avec précision les problèmes de faible charge en fluide frigorigène.
Fuites de réfrigérant
Les fuites de réfrigérant constituent une autre préoccupation majeure, non seulement en raison de leur impact sur les performances du système, mais aussi de leurs répercussions sur l'environnement. La détection des fuites de réfrigérant nécessite des outils et des techniques spécialisés. Les détecteurs de fuites électroniques, qui détectent la présence de gaz réfrigérants, sont couramment utilisés. Le test à la bulle, qui consiste à appliquer une solution savonneuse sur les zones suspectes de fuite, fournit une indication visuelle des fuites de fluide frigorigène. L'injection de colorant UV, qui consiste à ajouter un colorant fluorescent au système et à le faire circuler, permet de détecter les fuites à l'aide d'une lampe UV. Chaque méthode a ses avantages et ses limites, et le choix dépend souvent des circonstances spécifiques ainsi que de la taille et de l'emplacement de la fuite présumée. Les conséquences des fuites de réfrigérants sont multiples. Elles contribuent à l'appauvrissement de la couche d'ozone et au réchauffement de la planète, ce qui constitue une menace importante pour l'environnement. Les performances du système s'en ressentent, la capacité de refroidissement diminue et la consommation d'énergie augmente. En outre, de faibles niveaux de réfrigérant peuvent endommager les compresseurs en raison d'une surchauffe ou d'une lubrification inadéquate. L'impact des fuites de réfrigérant sur la formation de condensation est souvent négligé, mais il n'en est pas moins important. Les fuites peuvent provoquer une condensation excessive sur le serpentin de l'évaporateur et d'autres composants, entraînant des gouttes d'eau ou des accumulations dans des zones inattendues. L'emplacement de la fuite détermine souvent la forme de la condensation, ce qui fournit des indices précieux pour le diagnostic.
Dispositif de mesure
Le dispositif de mesure, un composant critique responsable de la régulation du débit et de la pression du réfrigérant, peut également être une source de problèmes liés à la condensation. Différents types de dispositifs de mesure, tels que les détendeurs (TXV, EEV) et les tubes capillaires, sont utilisés dans divers systèmes de climatisation. Les détendeurs, avec leur capacité à ajuster dynamiquement le débit de réfrigérant en fonction de la charge du système, offrent des performances et une efficacité supérieures à celles des tubes capillaires, plus simples. Toutefois, un dispositif de mesure défectueux, qu'il soit bloqué, mal réglé ou simplement du mauvais type pour l'application, peut perturber l'équilibre délicat du cycle de réfrigération. Cette perturbation peut conduire à des températures de serpentin d'évaporateur excessivement basses, entraînant une augmentation de la condensation et des fuites d'eau potentielles. Il est essentiel de comprendre les subtilités du fonctionnement des dispositifs de mesure et leur impact sur les performances du système pour diagnostiquer et résoudre les problèmes liés à la condensation.
Les restrictions de débit d'air et leur contribution aux fuites d'eau
Une bonne circulation de l'air est essentielle au bon fonctionnement de tout système de climatisation. Lorsque le flux d'air est restreint, il peut entraîner une cascade de problèmes, notamment une réduction de la capacité de refroidissement, une augmentation de la consommation d'énergie et, surtout, des fuites d'eau.
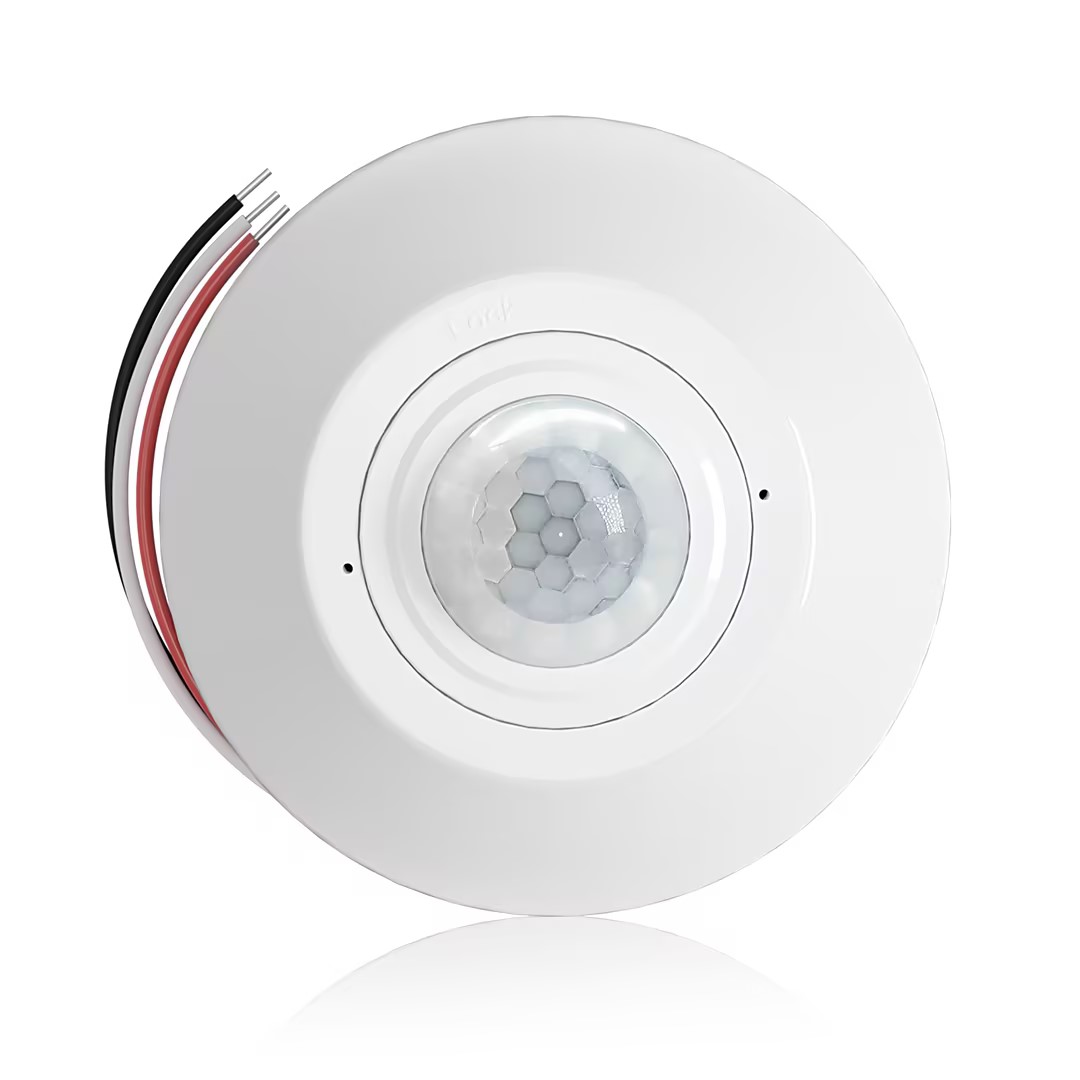
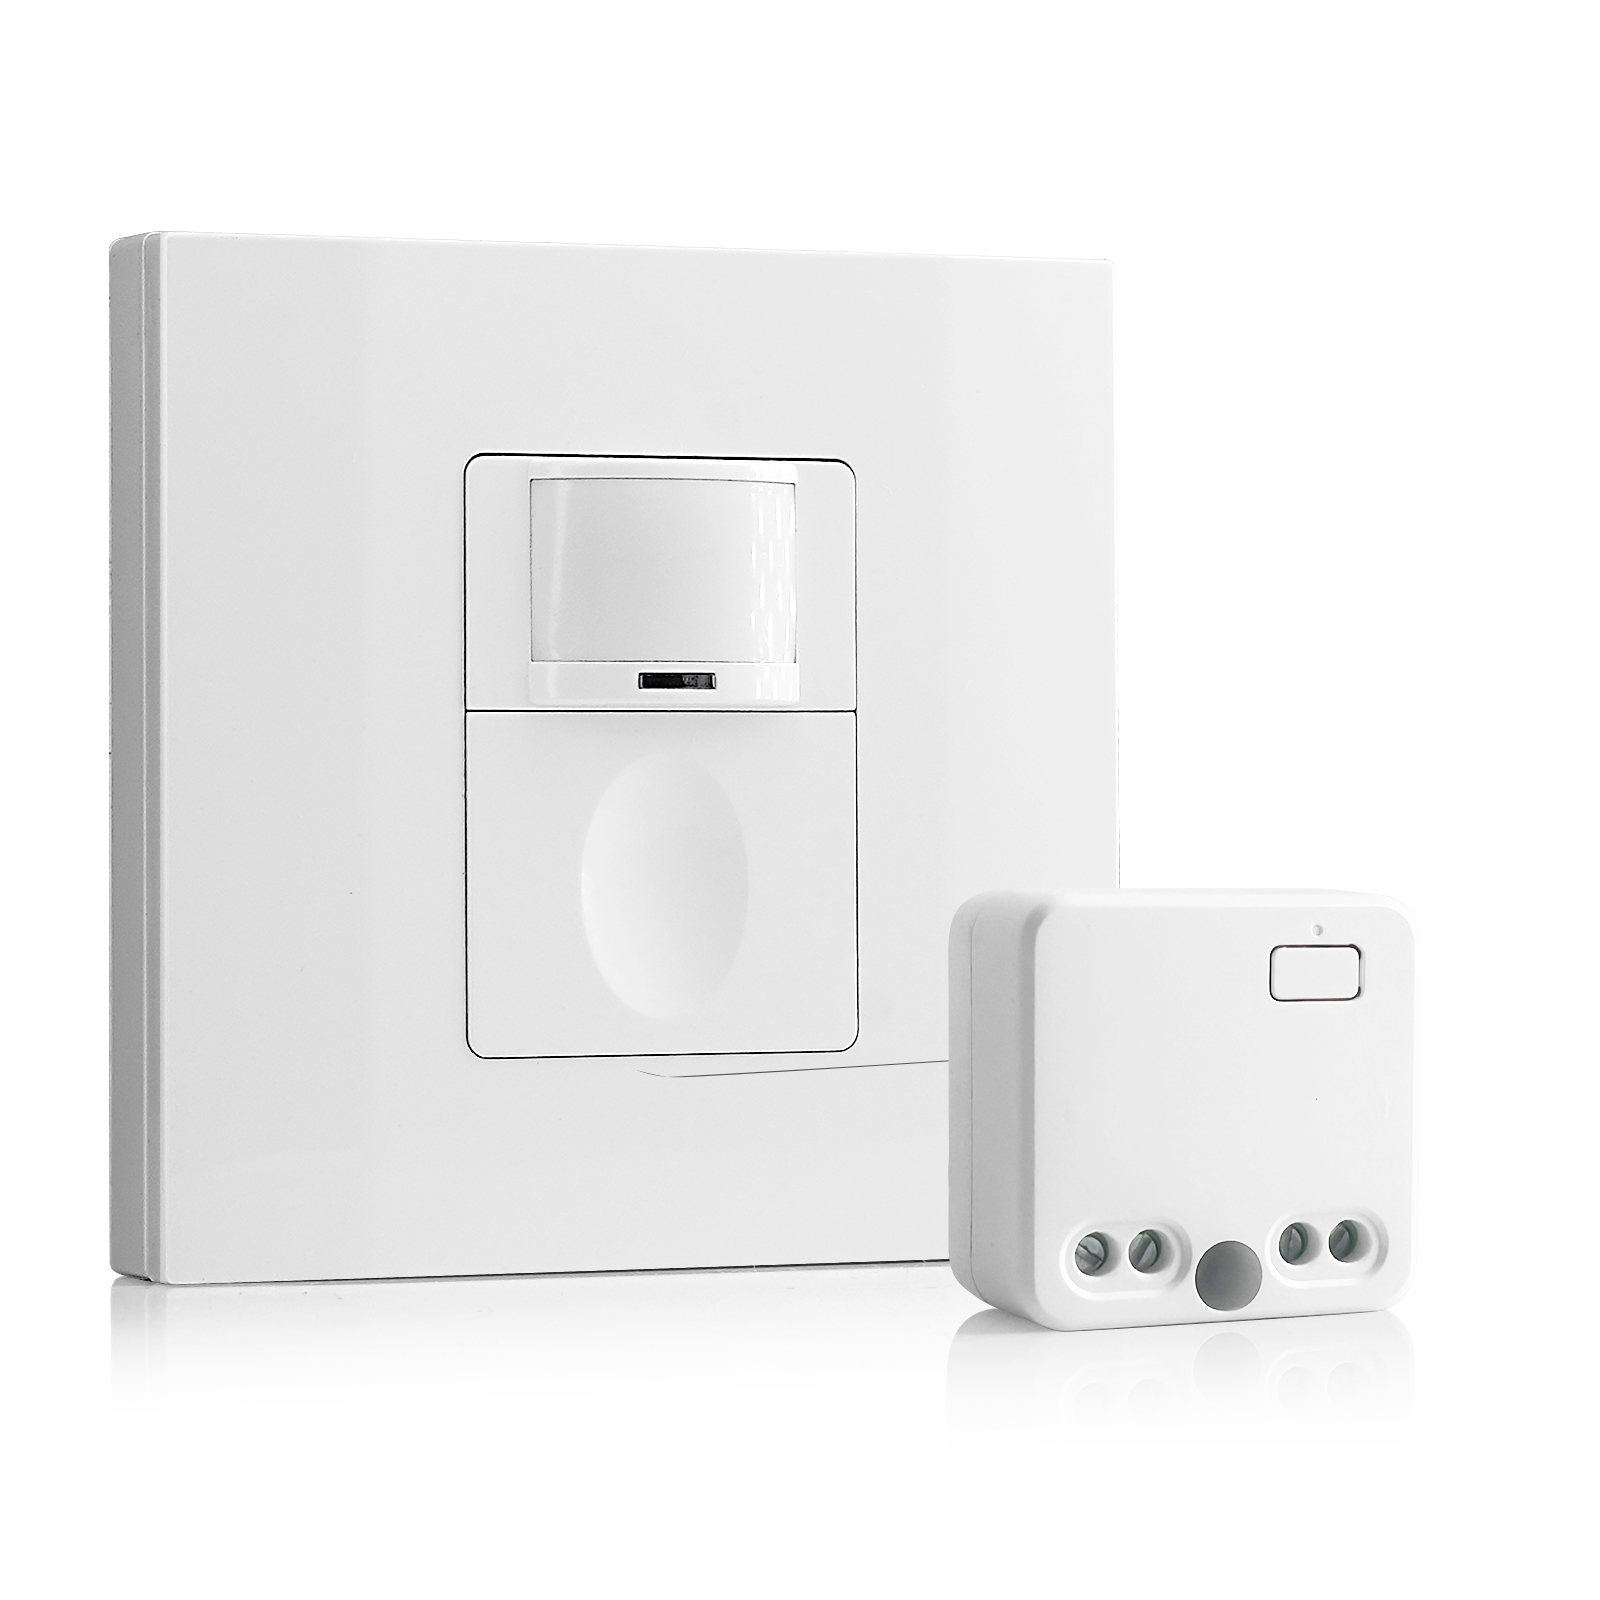
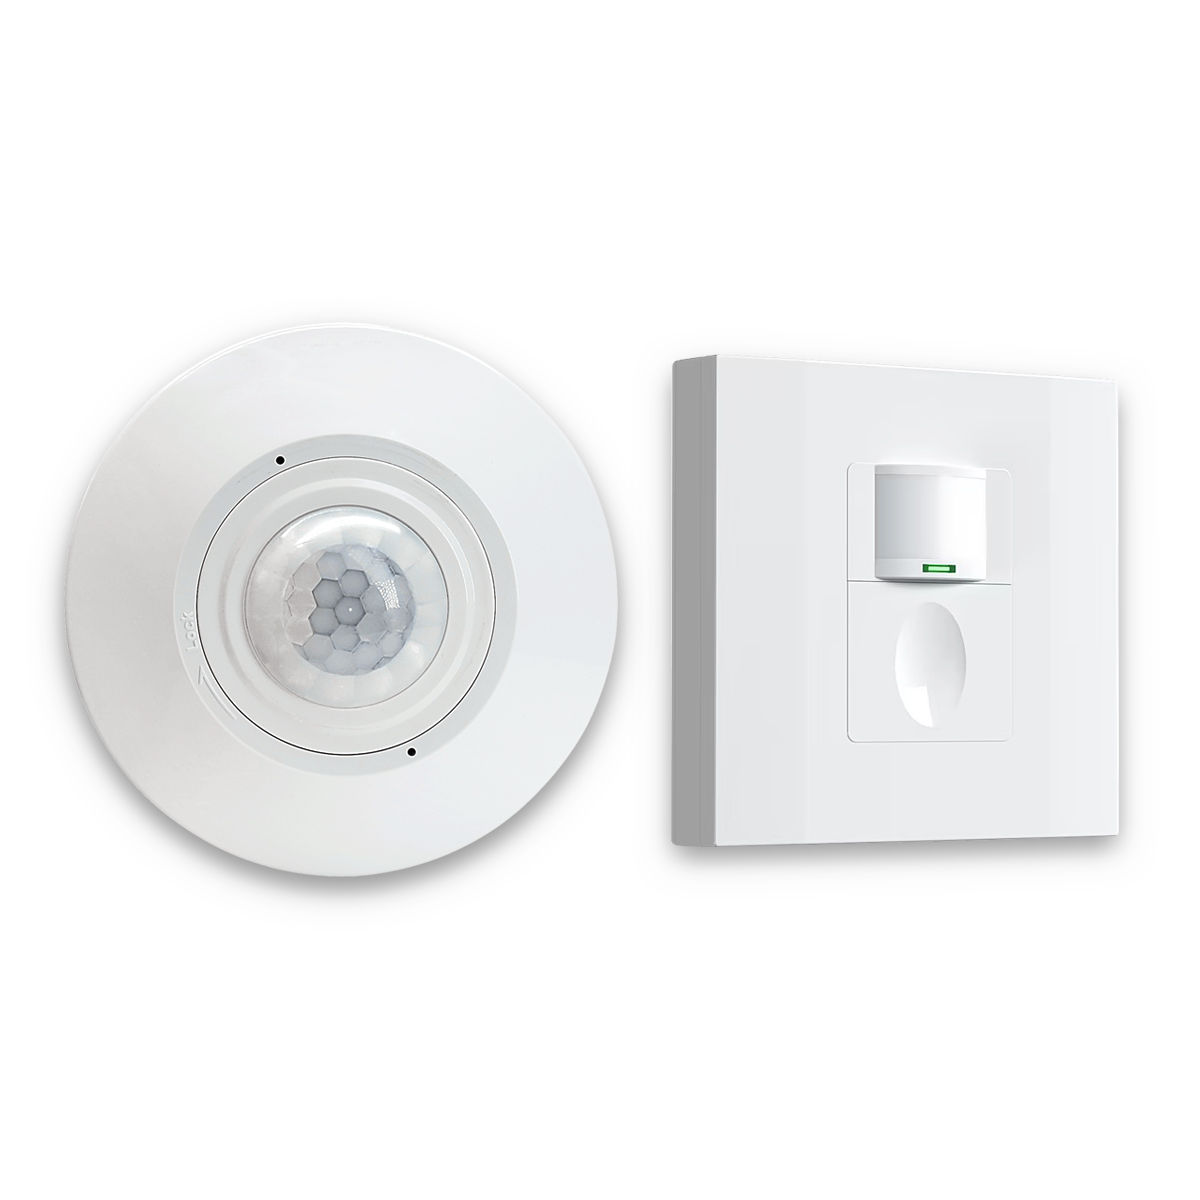
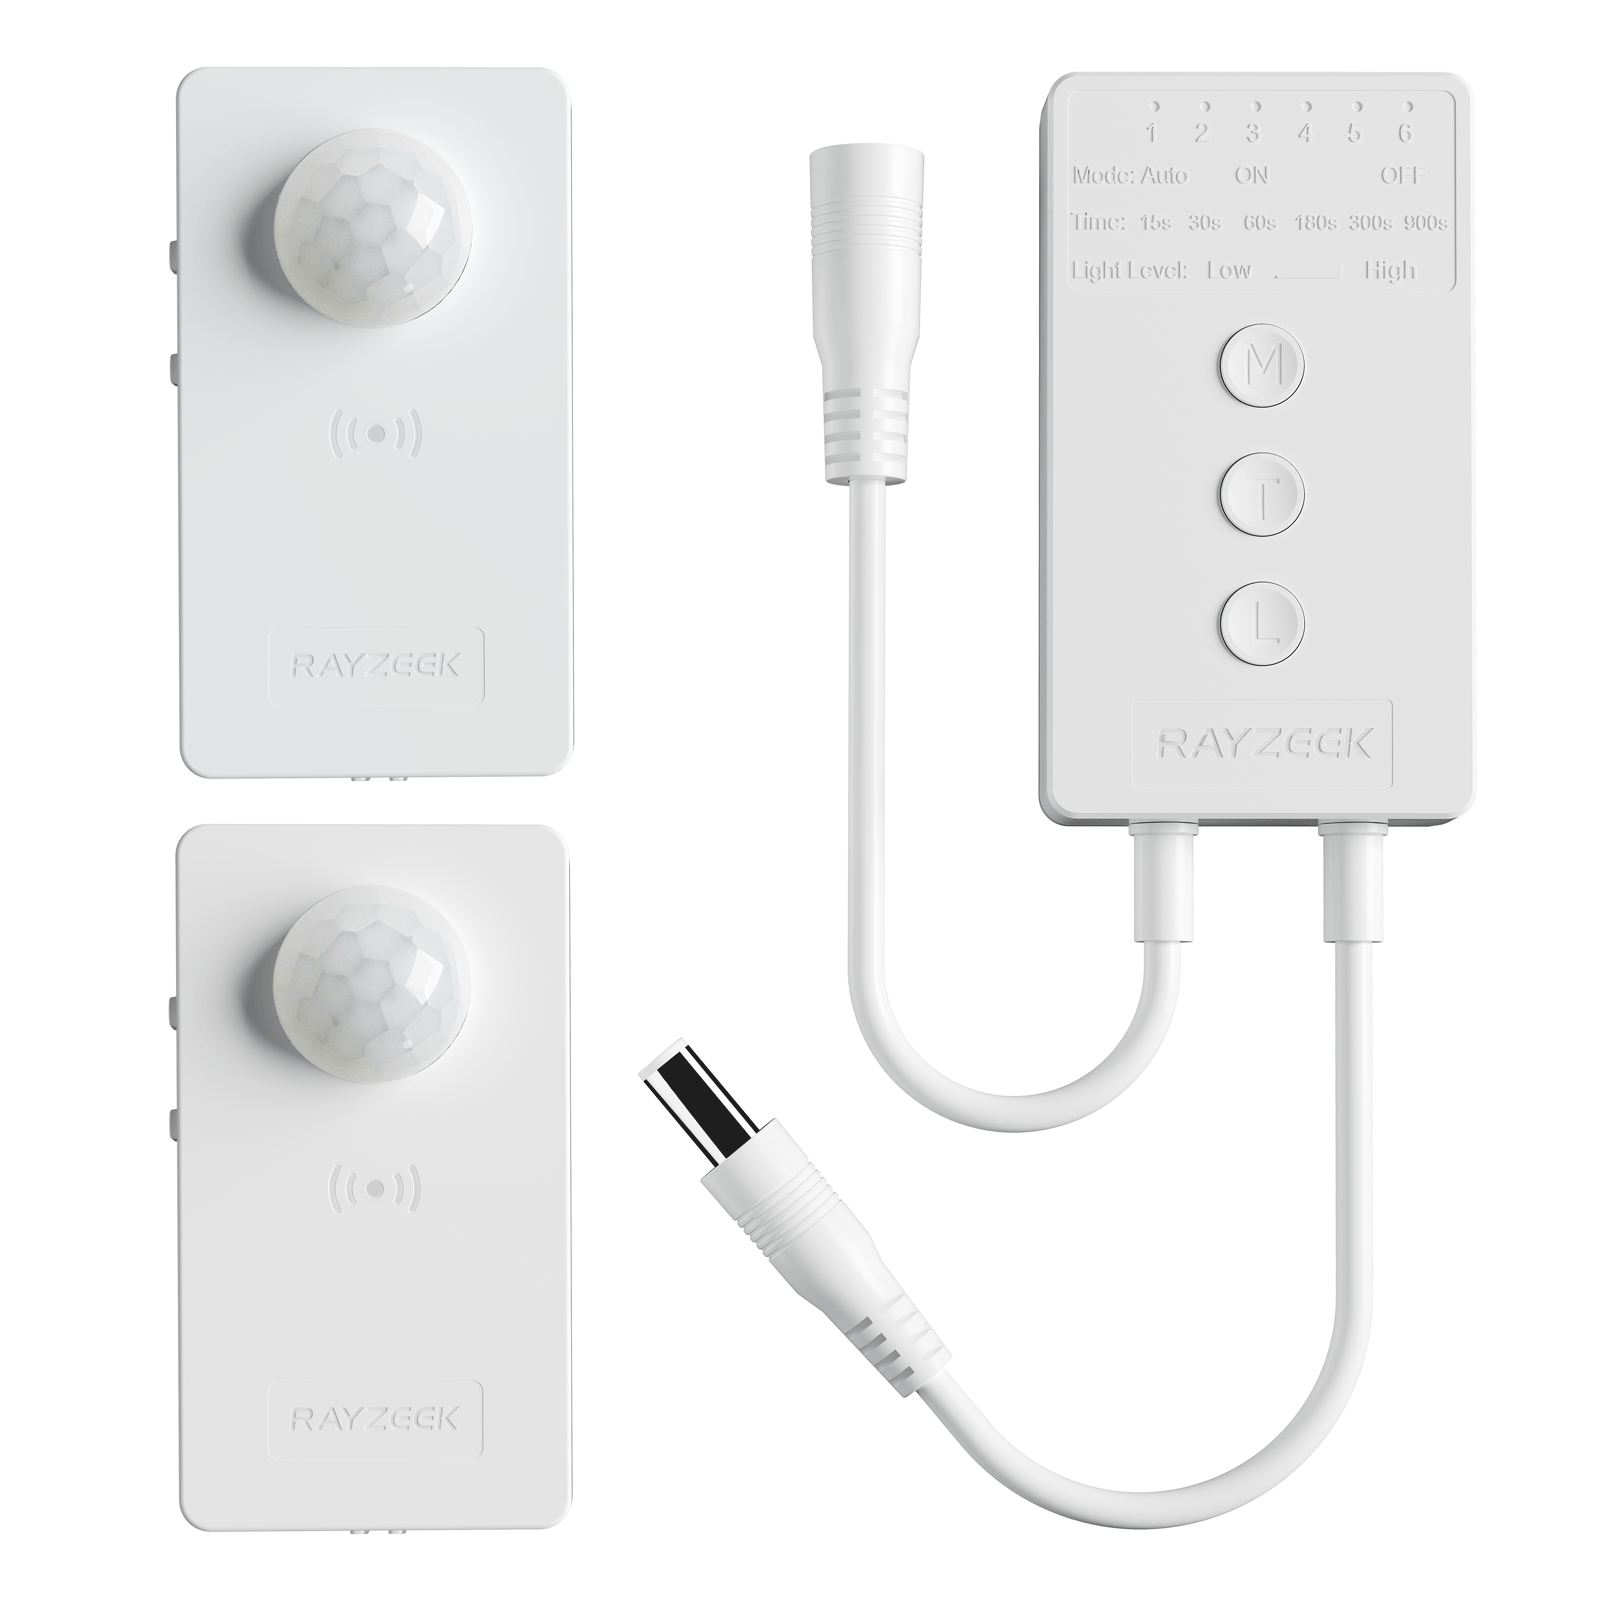
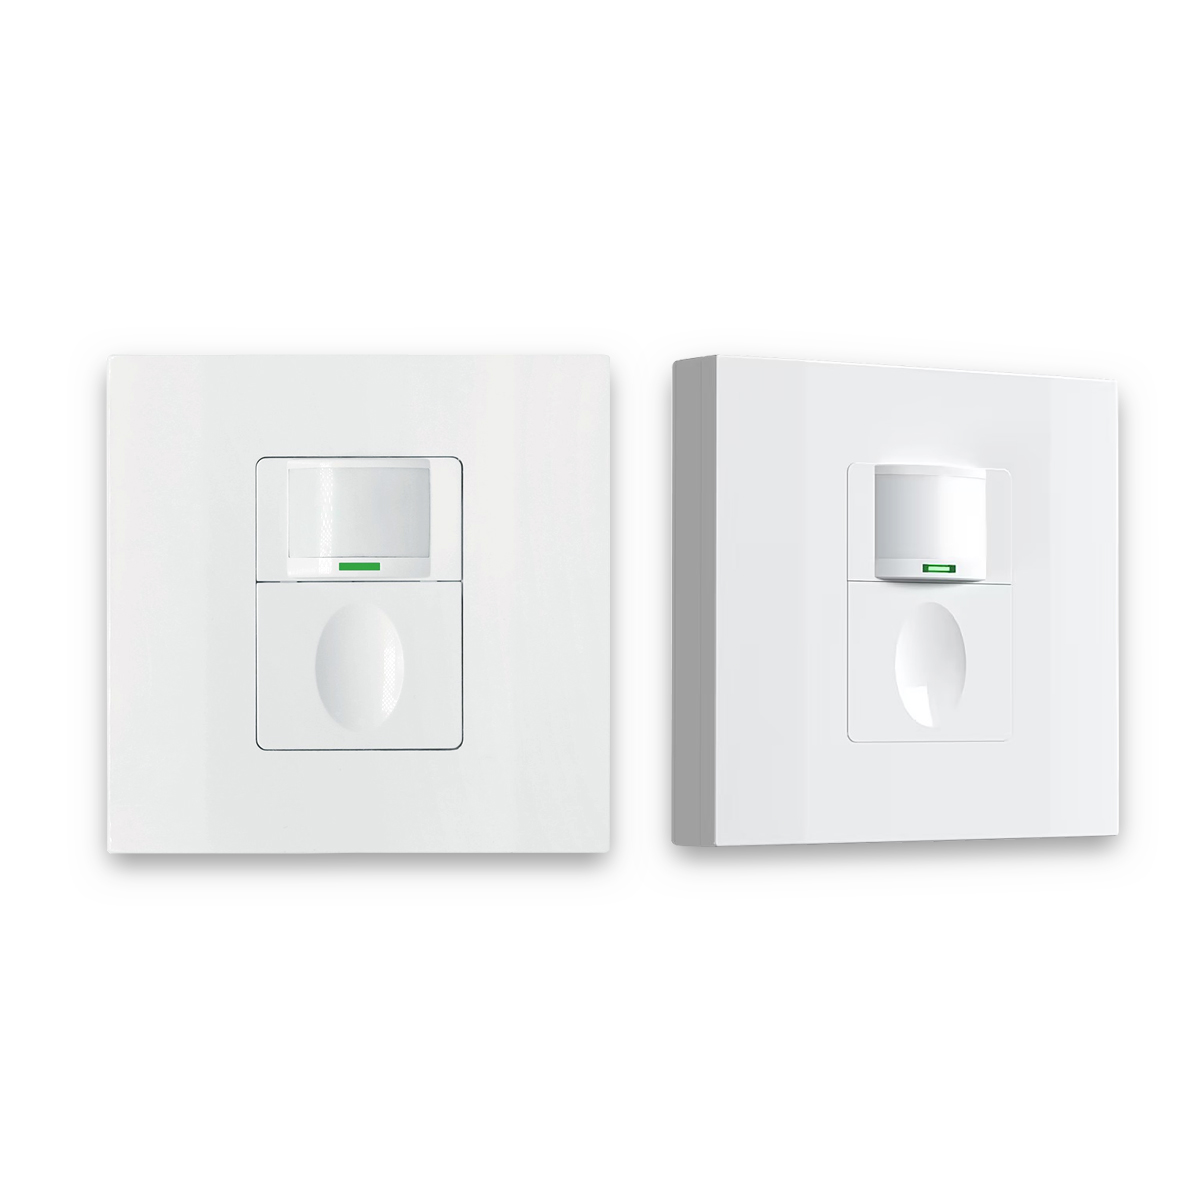
Inspirez-vous des portefeuilles de détecteurs de mouvement Rayzeek.
Vous ne trouvez pas ce que vous voulez ? Ne vous inquiétez pas. Il existe toujours d'autres moyens de résoudre vos problèmes. L'un de nos portefeuilles peut peut-être vous aider.
Filtres à air encrassés
Les filtres à air encrassés sont souvent à l'origine des restrictions de débit d'air. Lorsque la poussière, la saleté et d'autres particules en suspension s'accumulent à la surface du filtre, elles entravent le flux d'air à travers le serpentin de l'évaporateur. Cette réduction du débit d'air a plusieurs conséquences. Tout d'abord, elle abaisse la température du serpentin, ce qui entraîne une condensation accrue de l'humidité à sa surface. Deuxièmement, elle réduit la capacité de refroidissement globale du système, qui doit travailler plus dur pour maintenir la température souhaitée. Troisièmement, il augmente la pression exercée sur le moteur de la soufflerie, ce qui peut entraîner une défaillance prématurée. Le type de filtre à air et son indice MERV (Minimum Efficiency Reporting Value) jouent un rôle important dans sa capacité à piéger les particules tout en maintenant un débit d'air adéquat. Des valeurs MERV plus élevées indiquent une plus grande efficacité de filtration, mais peuvent également entraîner une restriction accrue du flux d'air si elles ne sont pas correctement adaptées aux capacités du système. Le remplacement régulier des filtres, à une fréquence déterminée par des facteurs tels que les conditions environnementales et l'utilisation du système, est essentiel pour maintenir un débit d'air optimal et prévenir les problèmes liés à la condensation.
Évents restreints
Les bouches d'aération obstruées ou restreintes peuvent également perturber l'équilibre du flux d'air dans le système. La fermeture ou l'obstruction intentionnelle des bouches d'alimentation ou de reprise, souvent dans le but de réorienter le flux d'air ou d'économiser de l'énergie, peut avoir des conséquences inattendues. Cette pratique crée un déséquilibre dans le système, entraînant un refroidissement inégal et des variations de température dans l'ensemble de l'espace. En outre, elle augmente la pression statique dans les conduits, ce qui fait travailler le moteur du ventilateur plus fort et peut réduire le débit d'air dans le serpentin de l'évaporateur. Cette réduction du débit d'air peut, à son tour, entraîner une condensation excessive et des fuites d'eau. Une conception et une installation correctes des conduits sont essentielles pour maintenir un débit d'air optimal et les performances du système. Les évents doivent rester ouverts et dégagés pour assurer une bonne distribution de l'air et éviter les déséquilibres de pression.
Un moteur de ventilateur défectueux
Un moteur de ventilateur défectueux peut réduire considérablement le débit d'air dans le serpentin de l'évaporateur, ce qui entraîne toute une série de problèmes. Le moteur de la soufflerie est chargé de faire circuler l'air dans l'ensemble du système, et son bon fonctionnement est essentiel pour un refroidissement efficace et l'élimination de l'humidité. Lorsque le moteur fonctionne mal, que ce soit en raison de problèmes électriques, de l'usure des roulements ou de la défaillance d'un condensateur, le flux d'air est réduit. Ce débit d'air réduit abaisse la température du serpentin, ce qui augmente la condensation et peut entraîner le gel. En outre, un débit d'air insuffisant empêche le système d'éliminer l'humidité de l'air, ce qui entraîne une augmentation de l'humidité intérieure. Un taux d'humidité élevé peut être source d'inconfort, favoriser la formation de moisissures et avoir un impact négatif sur la qualité de l'air intérieur. Pour diagnostiquer les problèmes du moteur de la soufflerie, il faut combiner une inspection visuelle, des tests électriques à l'aide d'un multimètre et une mesure du débit d'air. L'évaluation des performances du moteur du ventilateur par le biais d'un test de pression statique peut également fournir des informations précieuses sur son état. Un entretien régulier et le remplacement en temps voulu d'un moteur de ventilateur défaillant sont essentiels pour maintenir un débit d'air optimal et prévenir les problèmes liés à la condensation.
Problèmes liés au serpentin d'évaporateur : Une plongée en profondeur
Le serpentin d'évaporation, où le réfrigérant absorbe la chaleur de l'air intérieur, est un élément essentiel qui joue un rôle central dans le processus de refroidissement et la formation de condensation. Les problèmes liés au serpentin d'évaporation peuvent directement entraîner des fuites d'eau et d'autres problèmes de performance.
Serpentin d'évaporateur gelé
Un serpentin d'évaporateur gelé est un problème grave qui peut résulter d'une combinaison de facteurs, notamment un débit d'air extrêmement faible, une sous-charge importante de fluide frigorigène, un dispositif de mesure défectueux ou même des températures ambiantes basses. Bien qu'un filtre encrassé ou une faible quantité de réfrigérant soient souvent cités comme causes principales, une compréhension plus approfondie révèle une interaction plus complexe de facteurs. Lorsque la circulation de l'air est fortement réduite, la température du serpentin peut chuter de façon spectaculaire, entraînant le gel de l'humidité de l'air à sa surface. De même, une sous-charge importante de réfrigérant peut entraîner des températures de serpentin excessivement basses, ce qui favorise la formation de glace. Un dispositif de mesure défectueux, incapable de réguler correctement le débit de réfrigérant, peut également contribuer au gel des serpentins. Même des températures ambiantes basses, en particulier pendant les saisons intermédiaires, peuvent exacerber le problème en réduisant la charge thermique du serpentin. Les conséquences du gel des serpentins sont graves. La capacité de refroidissement est complètement perdue car la glace bloque le flux d'air et empêche le transfert de chaleur. Le compresseur peut être endommagé en raison du retour du réfrigérant liquide dans le compresseur, une situation connue sous le nom d'engorgement liquide. En outre, lorsque la glace fond, elle peut submerger le système d'évacuation des condensats, entraînant des fuites d'eau et des dommages potentiels. Le simple fait d'éteindre le système pour dégeler le serpentin peut ne pas suffire, et des méthodes plus avancées peuvent s'avérer nécessaires. L'utilisation de sources de chaleur externes, telles qu'un pistolet thermique ou un chauffage d'appoint, peut accélérer le processus de dégel, mais doit être effectuée avec précaution pour éviter d'endommager le serpentin ou les composants environnants. Il est essentiel de s'attaquer à la cause première du gel pour éviter qu'il ne se reproduise.
Dommages physiques
Les dommages physiques subis par le serpentin de l'évaporateur peuvent également entraîner des fuites et des problèmes de performance. Les perforations, l'usure due aux vibrations ou d'autres formes de dommages mécaniques peuvent créer des ouvertures qui permettent au réfrigérant de s'échapper. La détection et la réparation des fuites des serpentins est une tâche difficile, qui nécessite souvent un équipement et une expertise spécialisés. Les défauts de fabrication, une mauvaise manipulation lors de l'installation ou de l'entretien, et la corrosion peuvent tous contribuer aux fuites des serpentins. La corrosion, en particulier, est un problème important. La corrosion formique, un type de corrosion qui affecte les tubes en cuivre, et la corrosion par piqûres, qui peut se produire sur les serpentins en cuivre et en aluminium, sont des problèmes courants. L'exposition à l'humidité, aux produits de nettoyage et aux polluants peut accélérer le processus de corrosion, ce qui affaiblit le serpentin et finit par provoquer des fuites. Les matériaux utilisés dans la construction des serpentins d'évaporation, généralement le cuivre ou l'aluminium, ont des propriétés différentes en termes d'efficacité du transfert de chaleur, de résistance à la corrosion et de durabilité. Le cuivre offre un excellent transfert de chaleur mais est plus sensible à certains types de corrosion. L'aluminium est généralement plus résistant à la corrosion, mais son efficacité en matière de transfert de chaleur est légèrement inférieure. Des revêtements protecteurs sont souvent appliqués aux serpentins pour améliorer leur longévité, mais leur efficacité peut varier en fonction du revêtement spécifique et de l'environnement d'exploitation.
Facteurs de conception des bobines
Les facteurs de conception des serpentins, tels que la configuration et la densité des ailettes, jouent un rôle crucial dans la gestion de la condensation et les performances globales du système. Les différentes configurations de serpentins, y compris les serpentins en A, les serpentins en N et les serpentins inclinés, offrent des avantages et des inconvénients variables en termes d'efficacité, d'encombrement et de facilité de nettoyage. La forme de la batterie influe sur les flux d'air, les caractéristiques de transfert de chaleur et la manière dont la condensation se forme et s'évacue. La densité des ailettes, mesurée en nombre d'ailettes par pouce (FPI), a également un impact significatif sur les performances. Les ailettes augmentent la surface de transfert de chaleur, ce qui améliore l'efficacité. Toutefois, une densité d'ailettes plus élevée peut également entraîner une restriction accrue du flux d'air, ce qui risque d'exacerber les problèmes de condensation si elle n'est pas correctement gérée. L'équilibre entre l'efficacité, le débit d'air et le contrôle de la condensation est un défi majeur dans la conception des serpentins. La conception doit faciliter un transfert de chaleur efficace tout en permettant une bonne évacuation des condensats afin d'éviter les fuites d'eau.
Techniques de diagnostic avancées pour l'identification des sources de fuite
Pour identifier la cause première d'une fuite d'eau sur un climatiseur, il faut souvent aller au-delà des étapes de dépannage de base et recourir à des techniques de diagnostic avancées. Ces méthodes permettent de mieux comprendre l'état du système et de localiser la source de la fuite avec plus de précision.
Vous êtes peut-être intéressé par
Essais sous pression
L'essai de pression est une technique précieuse pour détecter les fuites de réfrigérant. En pressurisant le système avec un gaz inerte comme l'azote et en surveillant la pression au fil du temps, les techniciens peuvent déterminer s'il y a une fuite et, dans certains cas, en estimer la taille. Différents types d'essais de pression, tels que les essais de pression permanente et les essais sous vide, sont utilisés en fonction des circonstances spécifiques. Un essai de pression consiste à raccorder des jauges et des tuyaux aux orifices de service du système, à pressuriser ou à évacuer le système jusqu'à un niveau donné, puis à observer les variations de pression sur une période donnée. L'équipement requis comprend un ensemble de jauges de collecteur, une pompe à vide et un régulateur d'azote avec les tuyaux et les raccords appropriés. L'interprétation des résultats des tests de pression nécessite une connaissance approfondie des pressions de fonctionnement normales du système et du comportement des fluides frigorigènes dans différentes conditions. Une chute de pression au cours d'un test de pression permanente indique une fuite, tandis que l'incapacité à maintenir un vide au cours d'un test de vide suggère également une fuite.
Injection de colorant
L'injection de colorant est une autre méthode efficace pour localiser visuellement les fuites de réfrigérant. Cette technique consiste à ajouter un colorant fluorescent à l'huile réfrigérante, soit à l'aide d'un outil d'injection, soit directement dans le réservoir d'huile. Le système est ensuite utilisé pour faire circuler le colorant dans les conduites et les composants du réfrigérant. Une lampe UV est utilisée pour inspecter le système, et toutes les zones où le colorant a fui deviennent fluorescentes sous la lumière UV. Il existe différents types de colorants UV et il est essentiel de choisir un colorant compatible avec le fluide frigorigène utilisé dans le système. L'injection de colorant offre l'avantage de confirmer visuellement l'emplacement d'une fuite, ce qui la rend particulièrement utile pour localiser avec précision les petites fuites ou les fuites intermittentes qui pourraient être difficiles à détecter à l'aide d'autres méthodes. Toutefois, il est important de noter que l'injection de colorant peut ne pas convenir à tous les systèmes ou à tous les types de fuites.
Imagerie thermique
L'imagerie thermique, utilisant des caméras infrarouges, est devenue un outil puissant pour diagnostiquer les problèmes de climatisation, y compris les fuites d'eau. La thermographie infrarouge permet aux techniciens de visualiser les variations de température à travers les composants du système, révélant des anomalies qui peuvent indiquer des fuites ou des problèmes de condensation. En capturant des images infrarouges du serpentin de l'évaporateur, des conduites de réfrigérant et d'autres composants, les techniciens peuvent identifier les points froids qui peuvent être causés par des fuites de réfrigérant ou une condensation excessive. Les principes de la thermographie infrarouge reposent sur le fait que tous les objets émettent un rayonnement infrarouge et que la quantité de rayonnement émise est directement liée à la température de l'objet. Une caméra infrarouge détecte ce rayonnement et le convertit en une image visible, où les différentes couleurs représentent les différentes températures. L'utilisation d'une caméra infrarouge pour inspecter un système de climatisation consiste à scanner les composants et à analyser les images thermiques pour détecter les variations de température. Les points froids sur le serpentin de l'évaporateur ou les conduites de réfrigérant peuvent indiquer une fuite, tandis que les zones de condensation excessive peuvent apparaître comme des régions plus froides sur l'image. L'imagerie thermique présente l'avantage d'être un outil de diagnostic non invasif qui permet d'obtenir une vue d'ensemble des performances thermiques du système. Elle peut être particulièrement utile lorsqu'elle est utilisée en conjonction avec d'autres méthodes de détection des fuites, apportant une confirmation supplémentaire et aidant à localiser la source du problème.
Stratégies de maintenance préventive et de soins de longue durée
Prévenir les fuites d'eau et assurer la santé à long terme d'un système de climatisation nécessite une approche proactive de l'entretien. Un entretien régulier permet non seulement de minimiser le risque de fuites, mais aussi d'optimiser les performances du système, d'améliorer l'efficacité énergétique et de prolonger la durée de vie des composants.
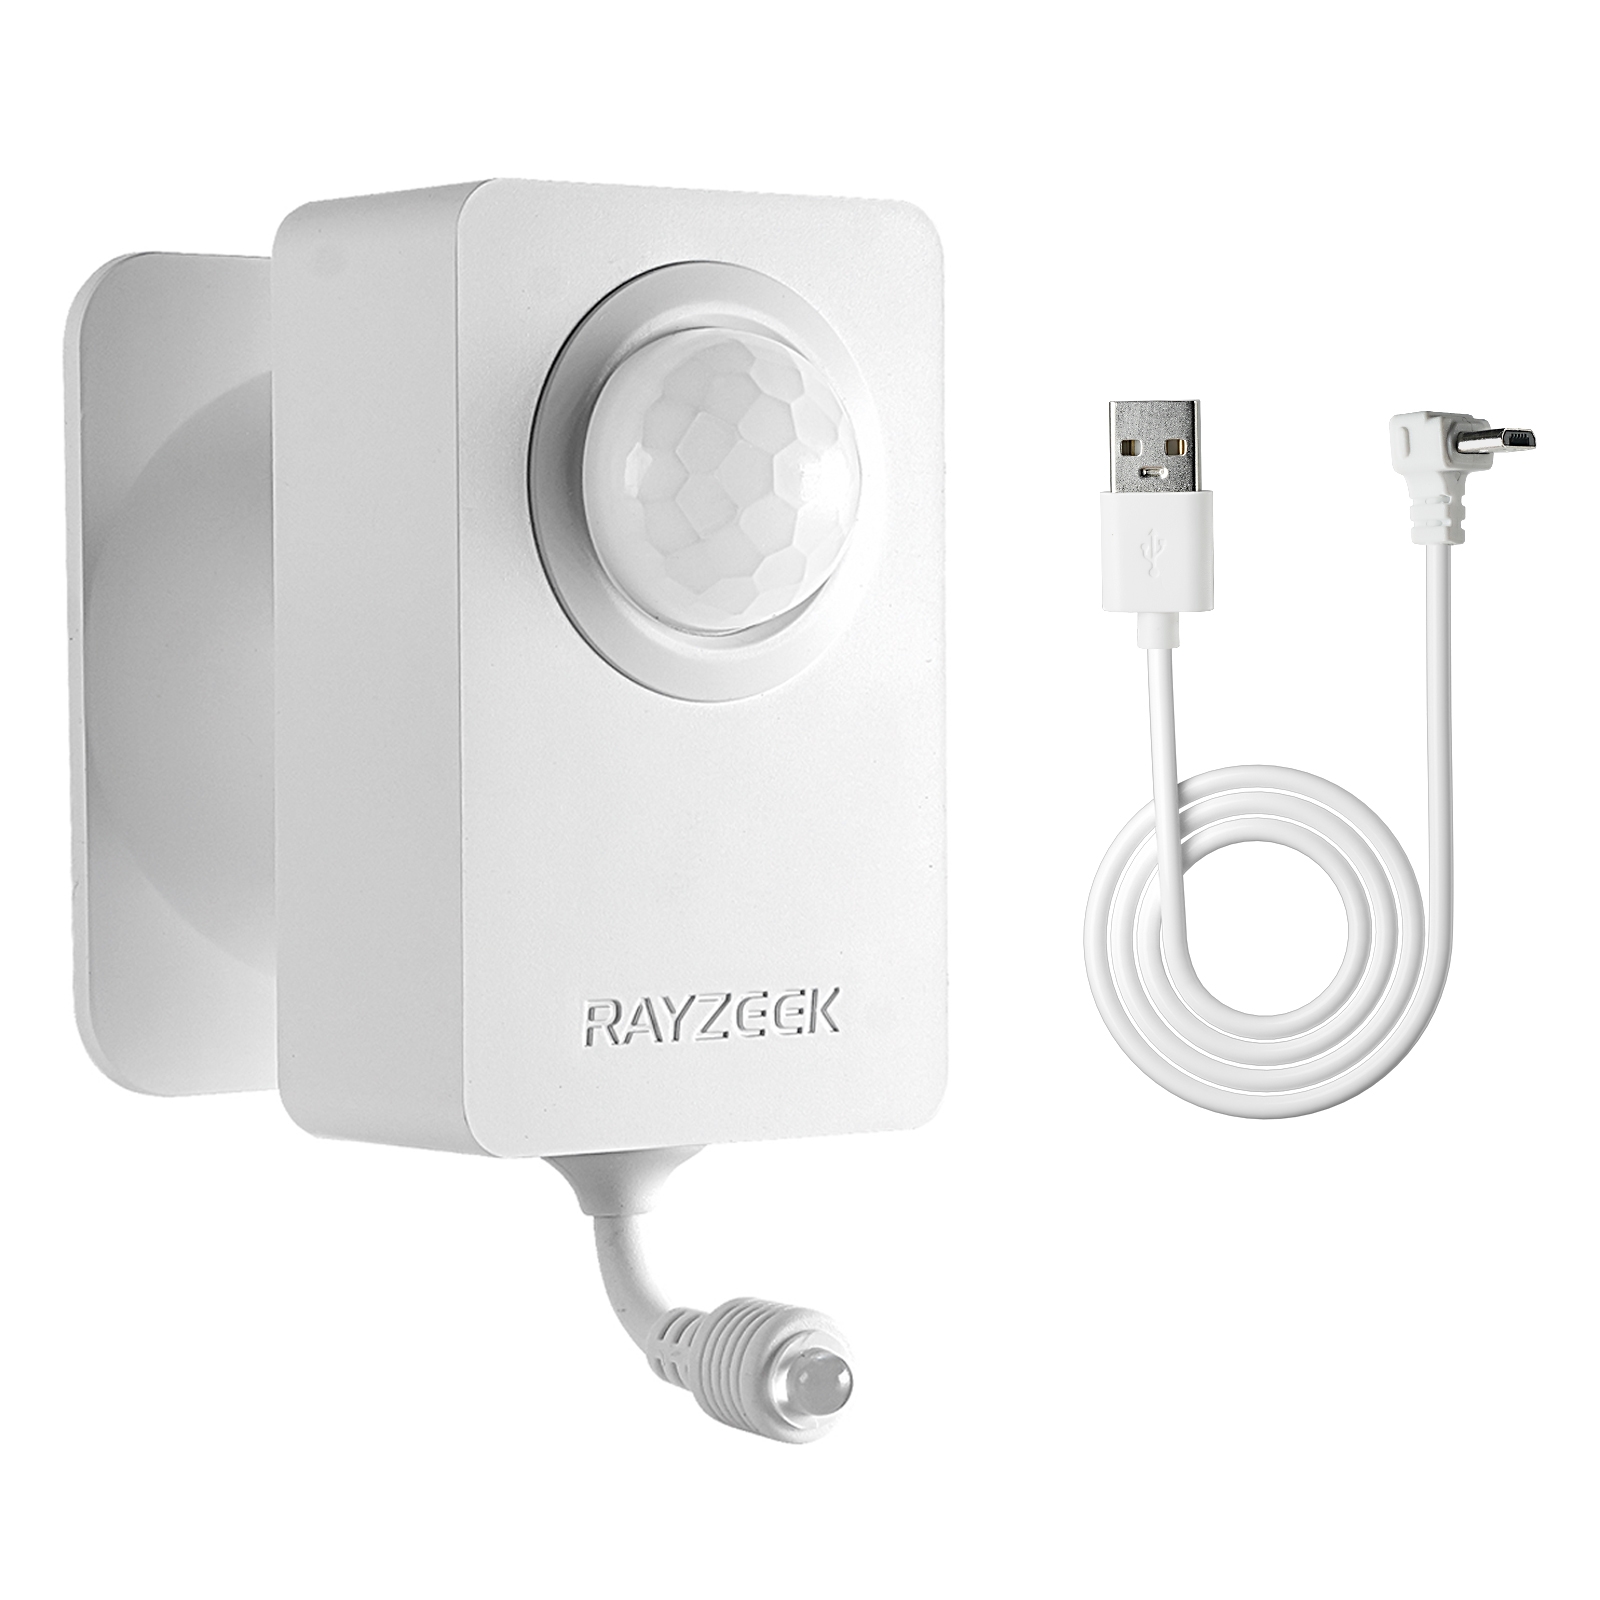
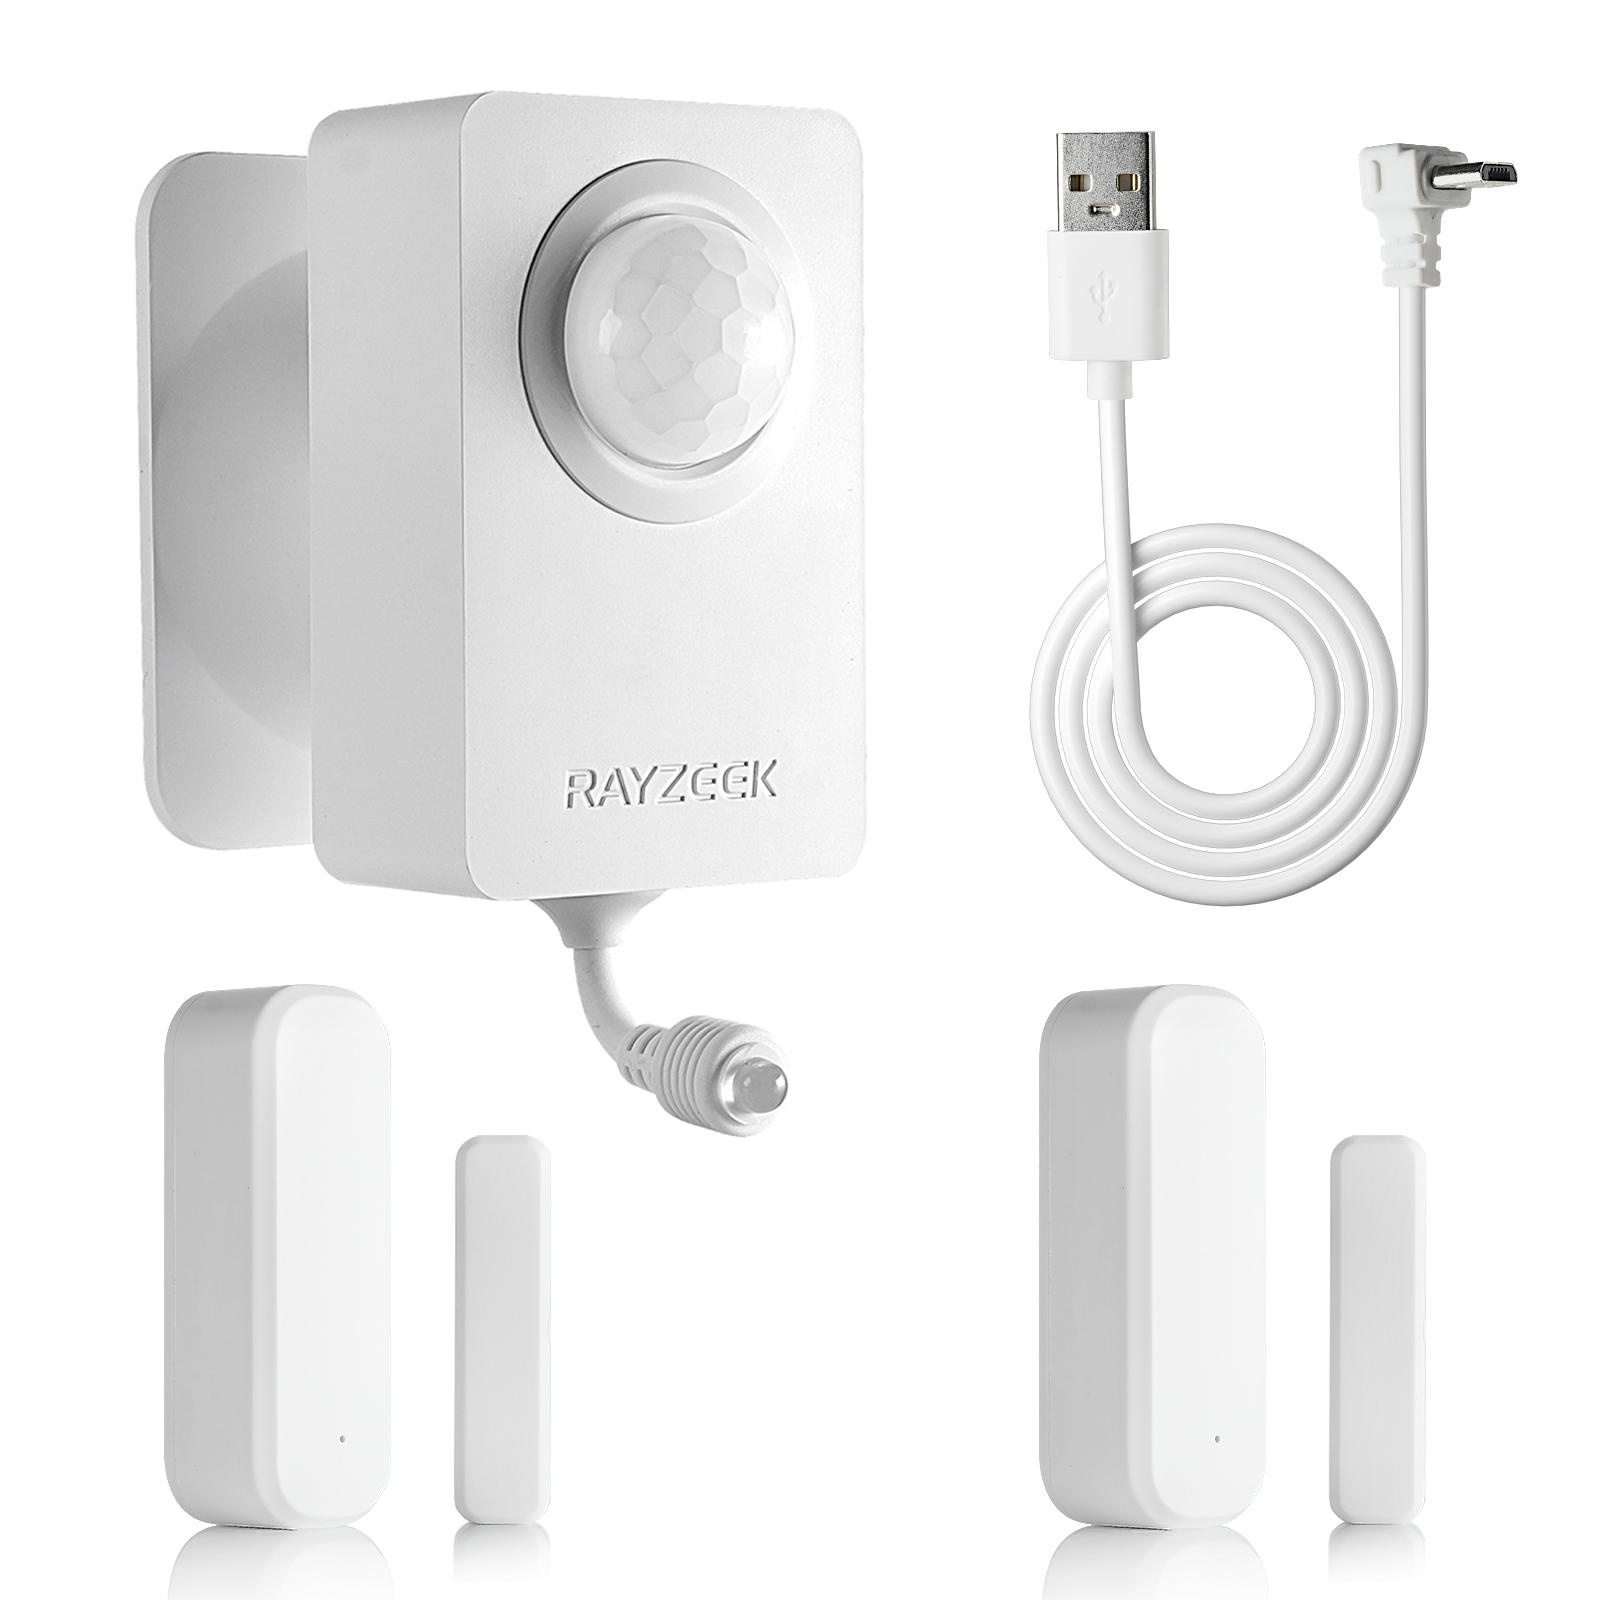
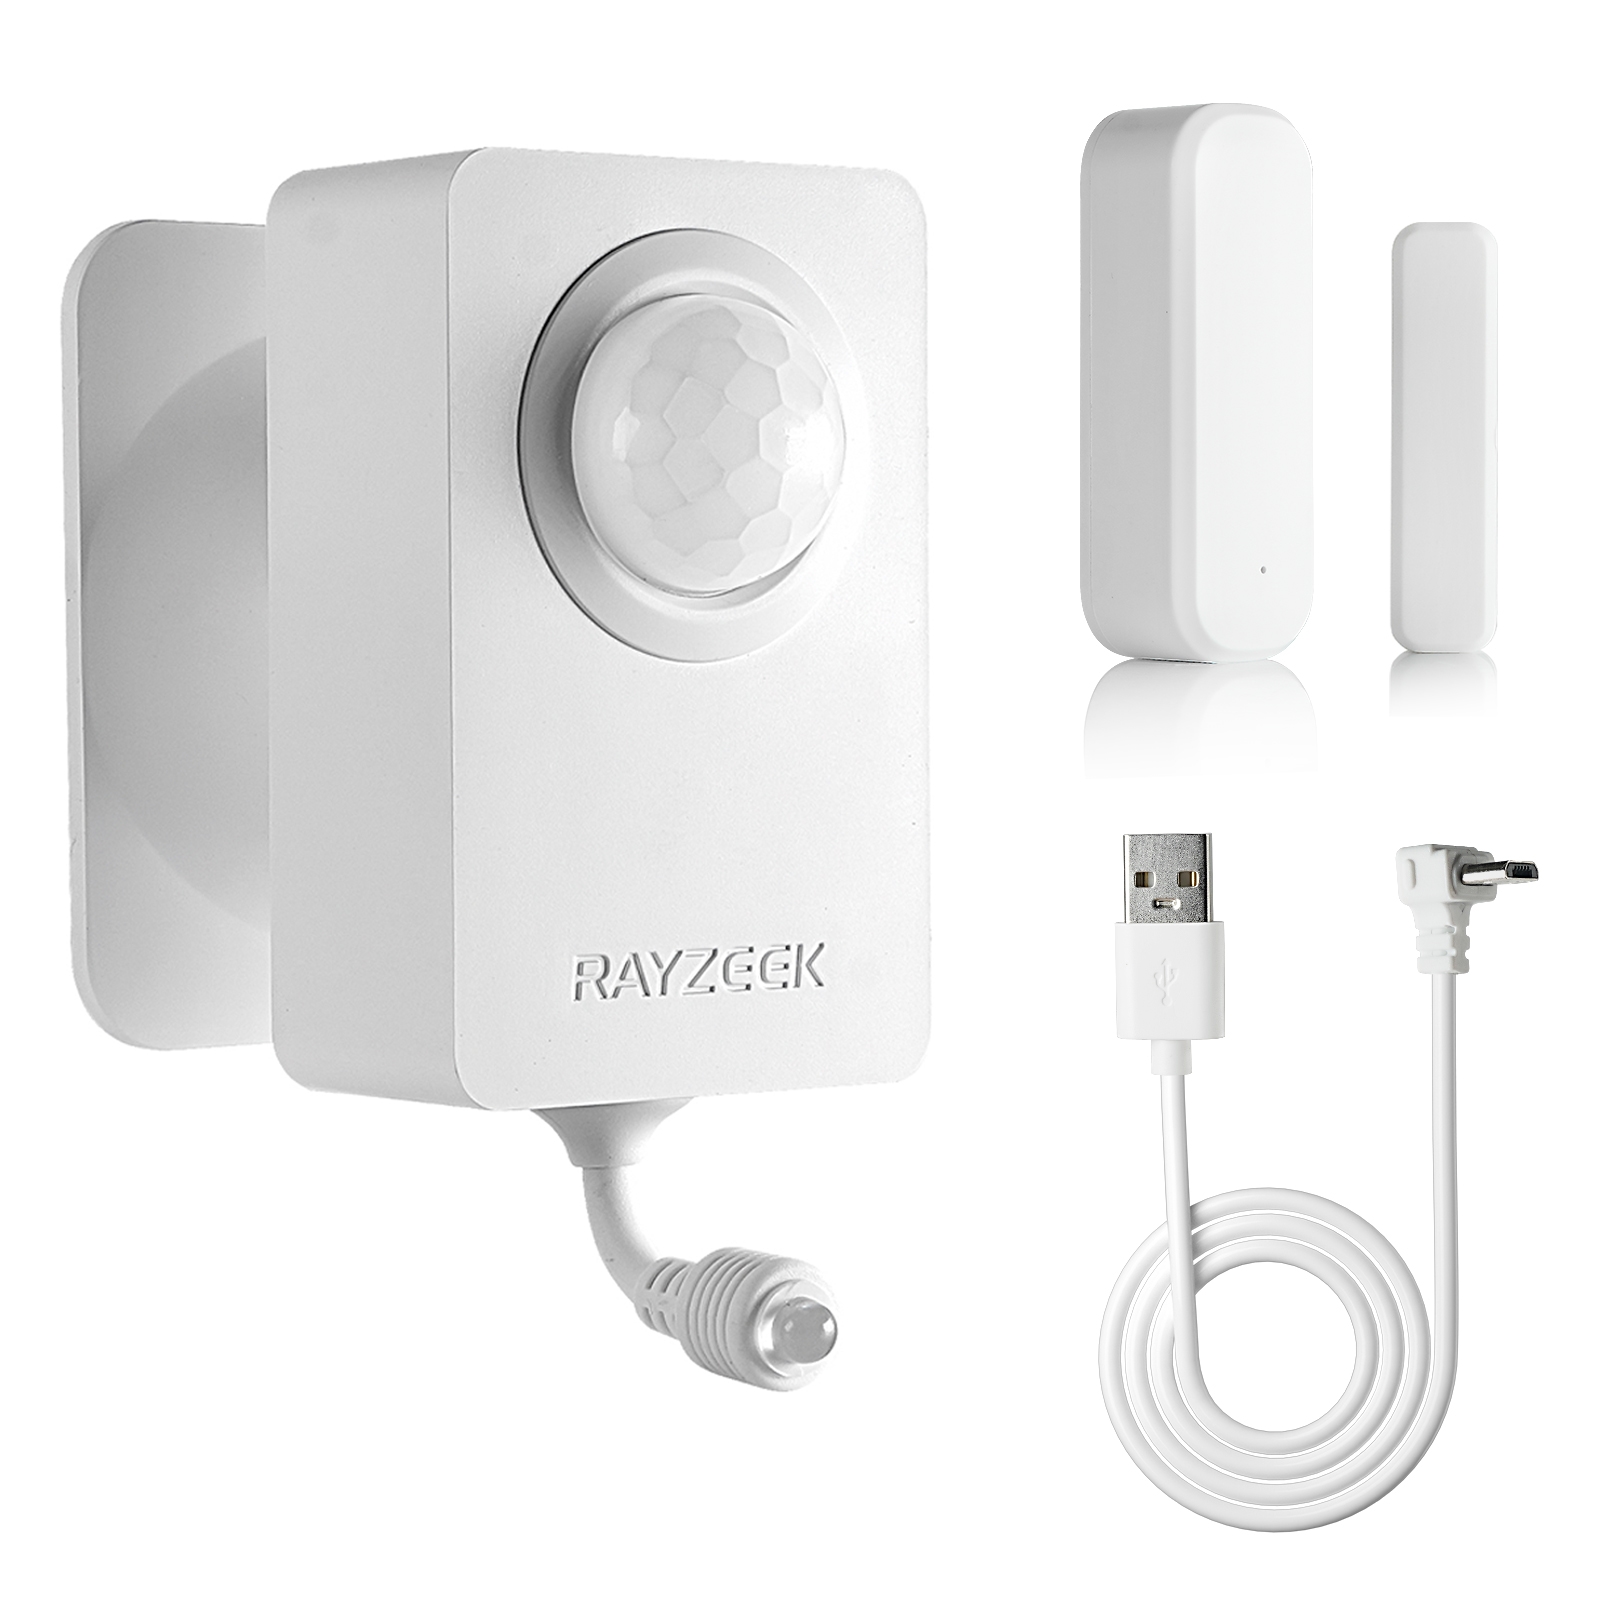
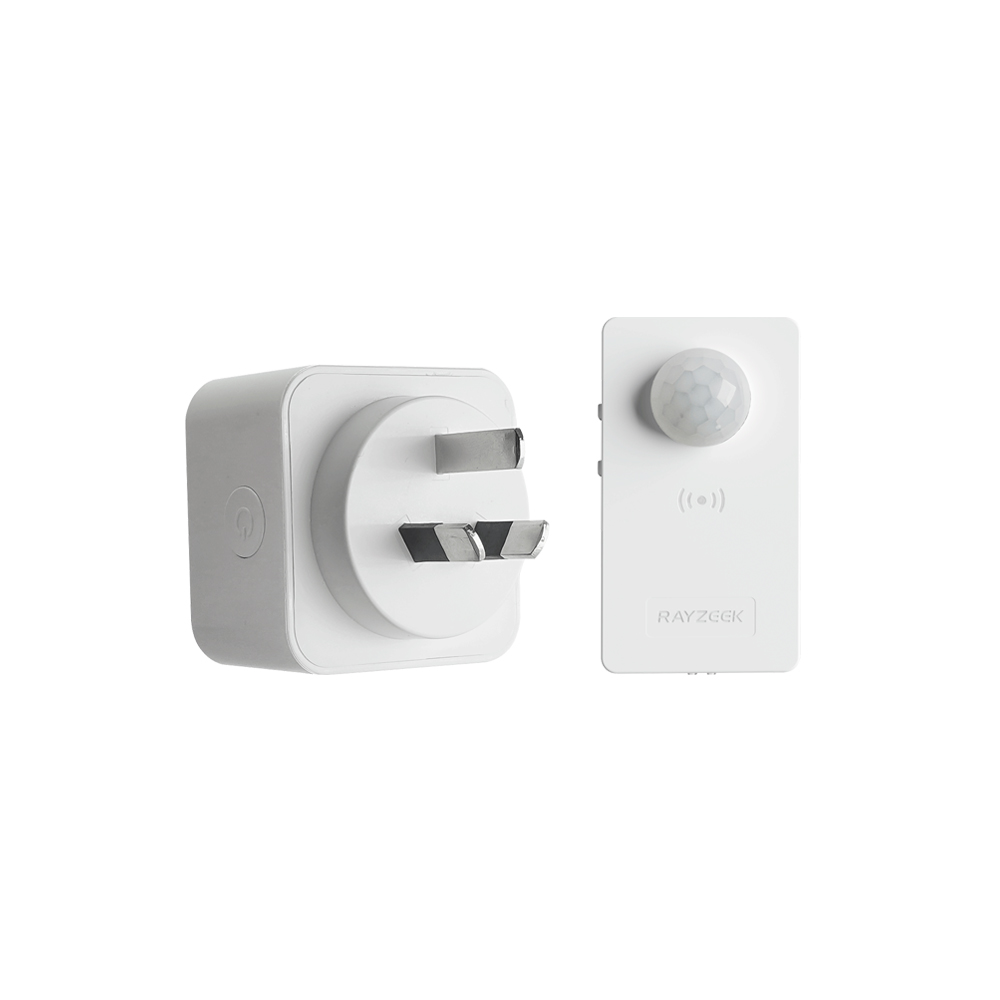
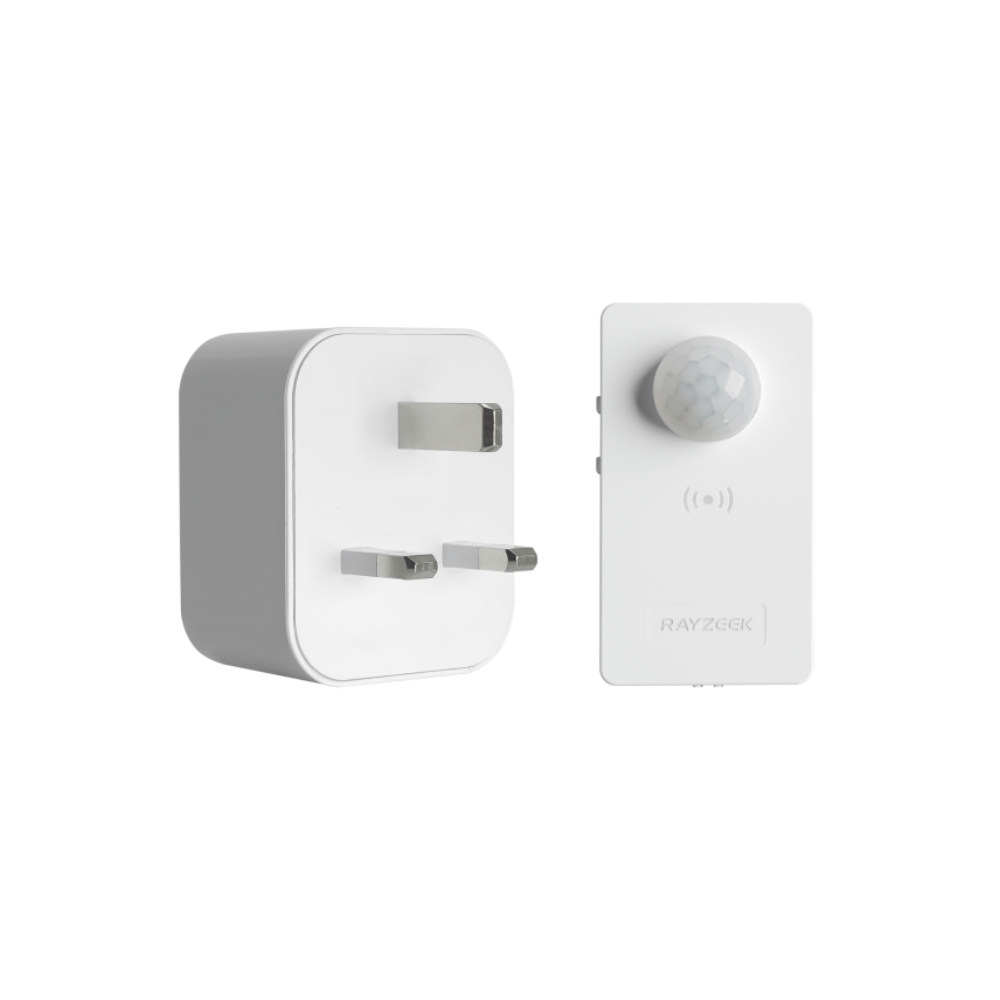
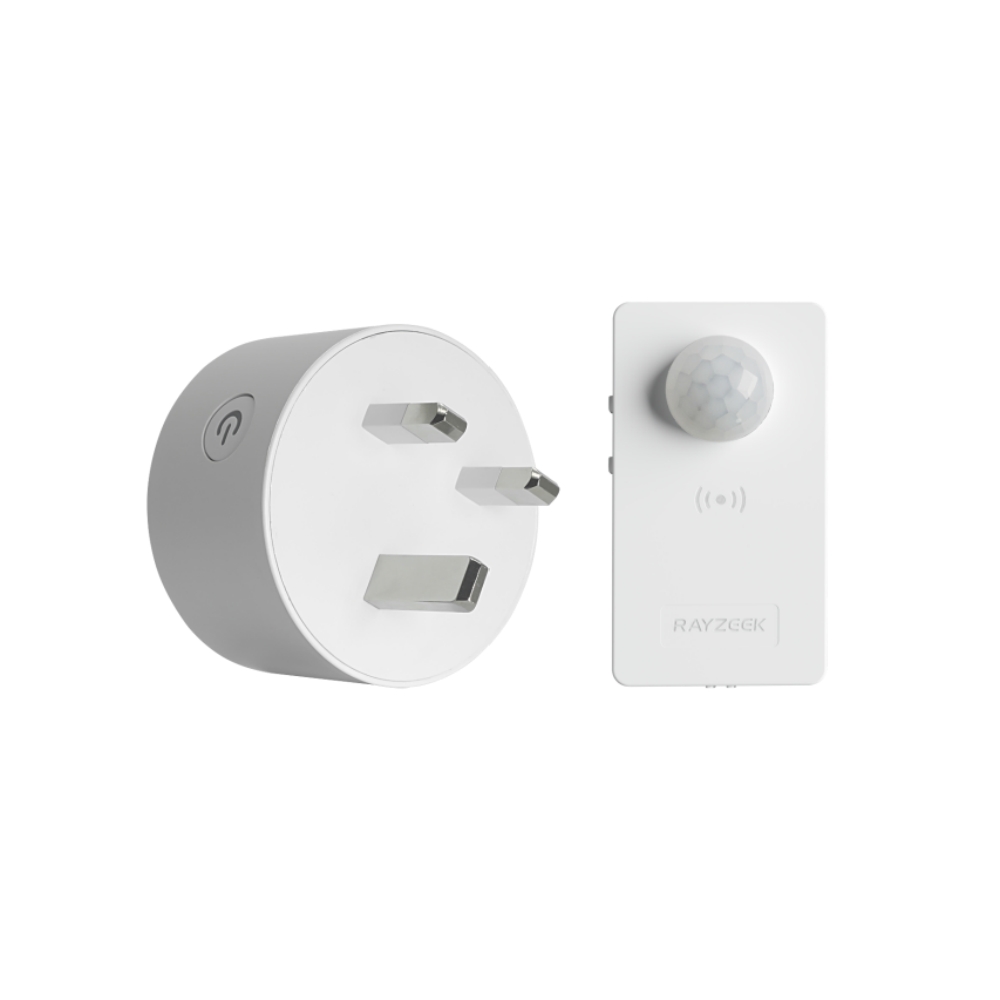
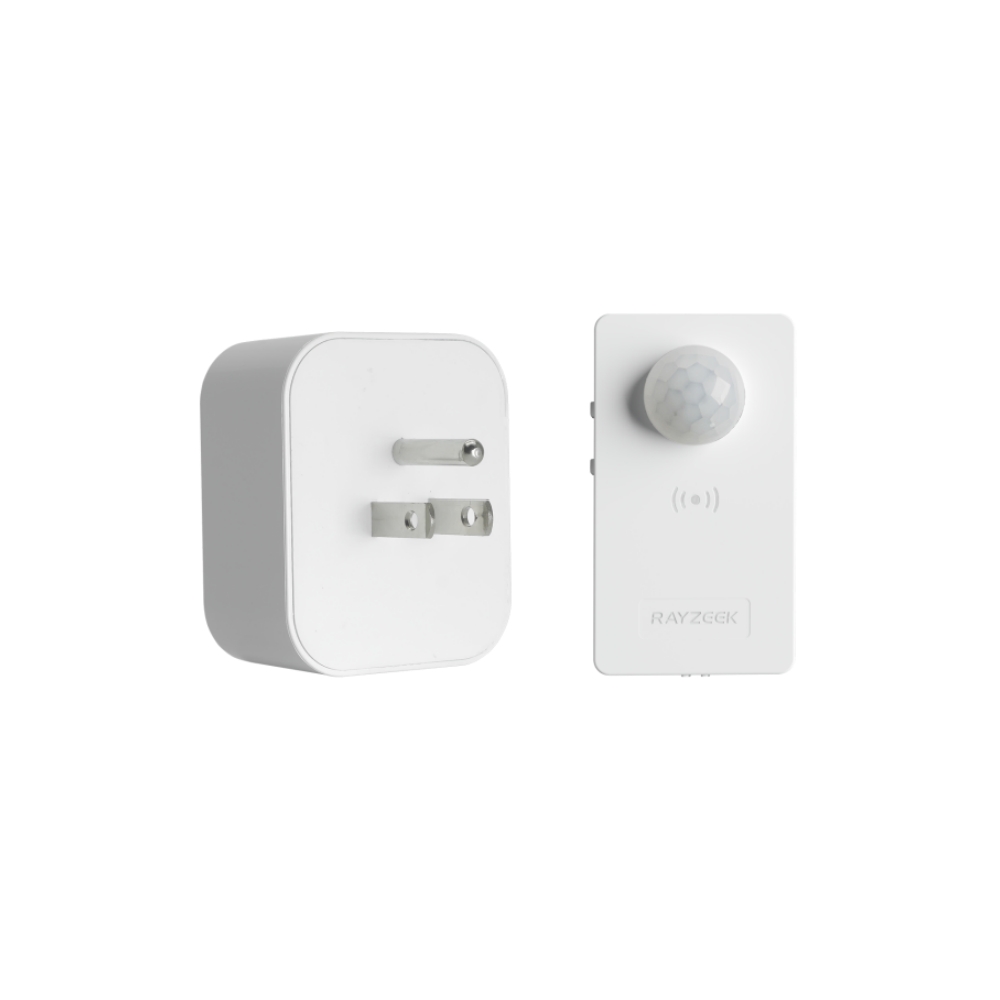
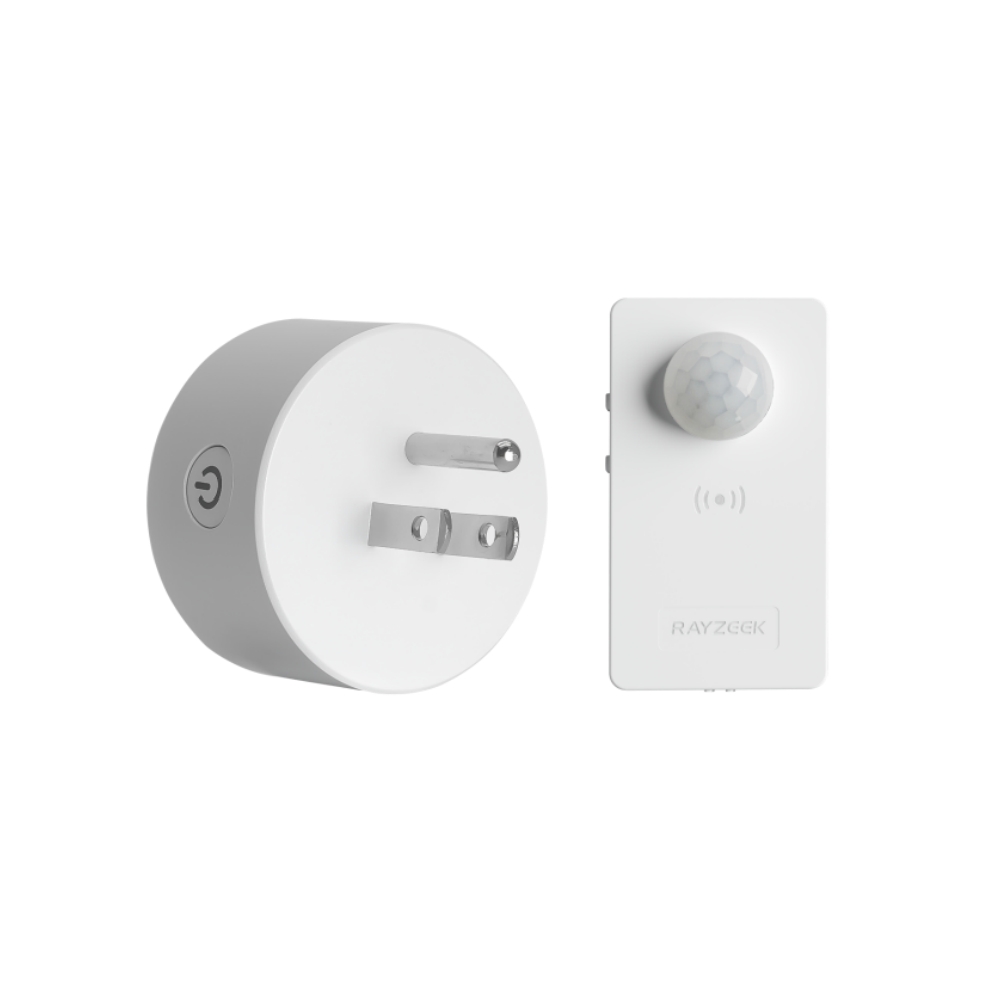
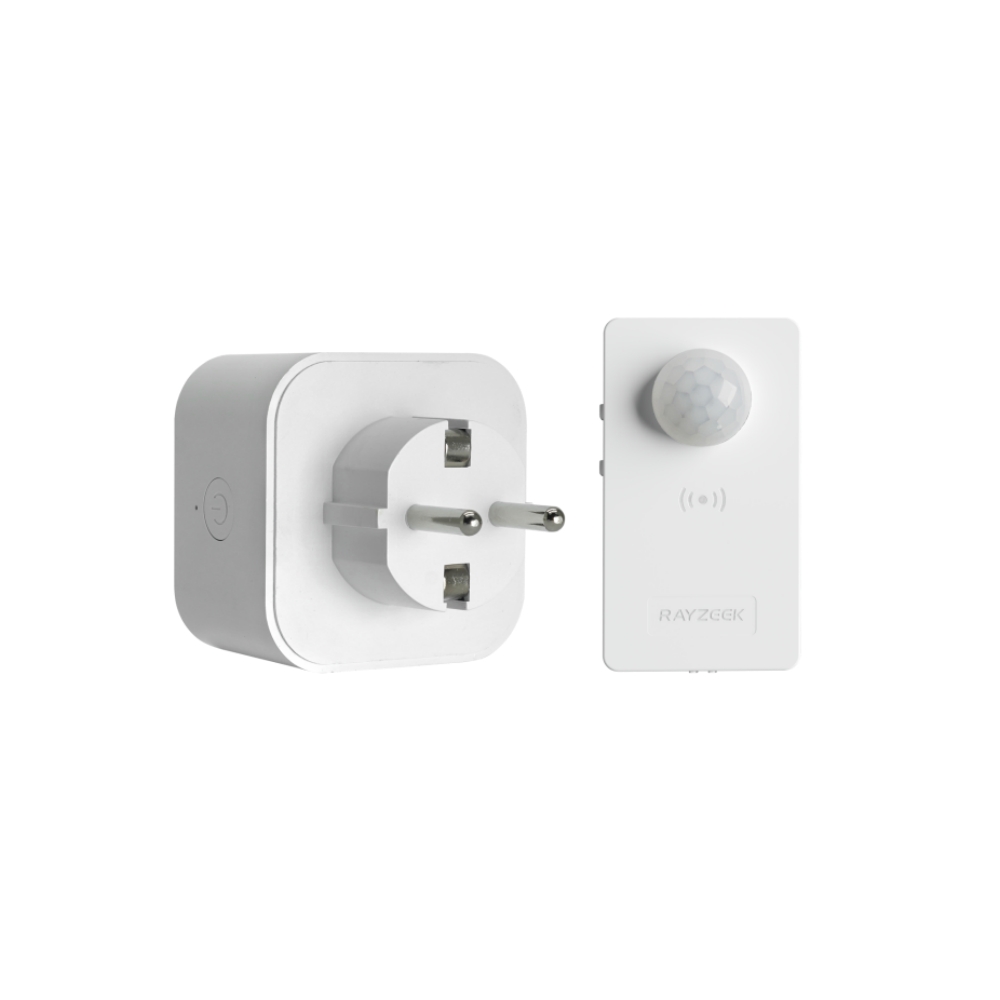
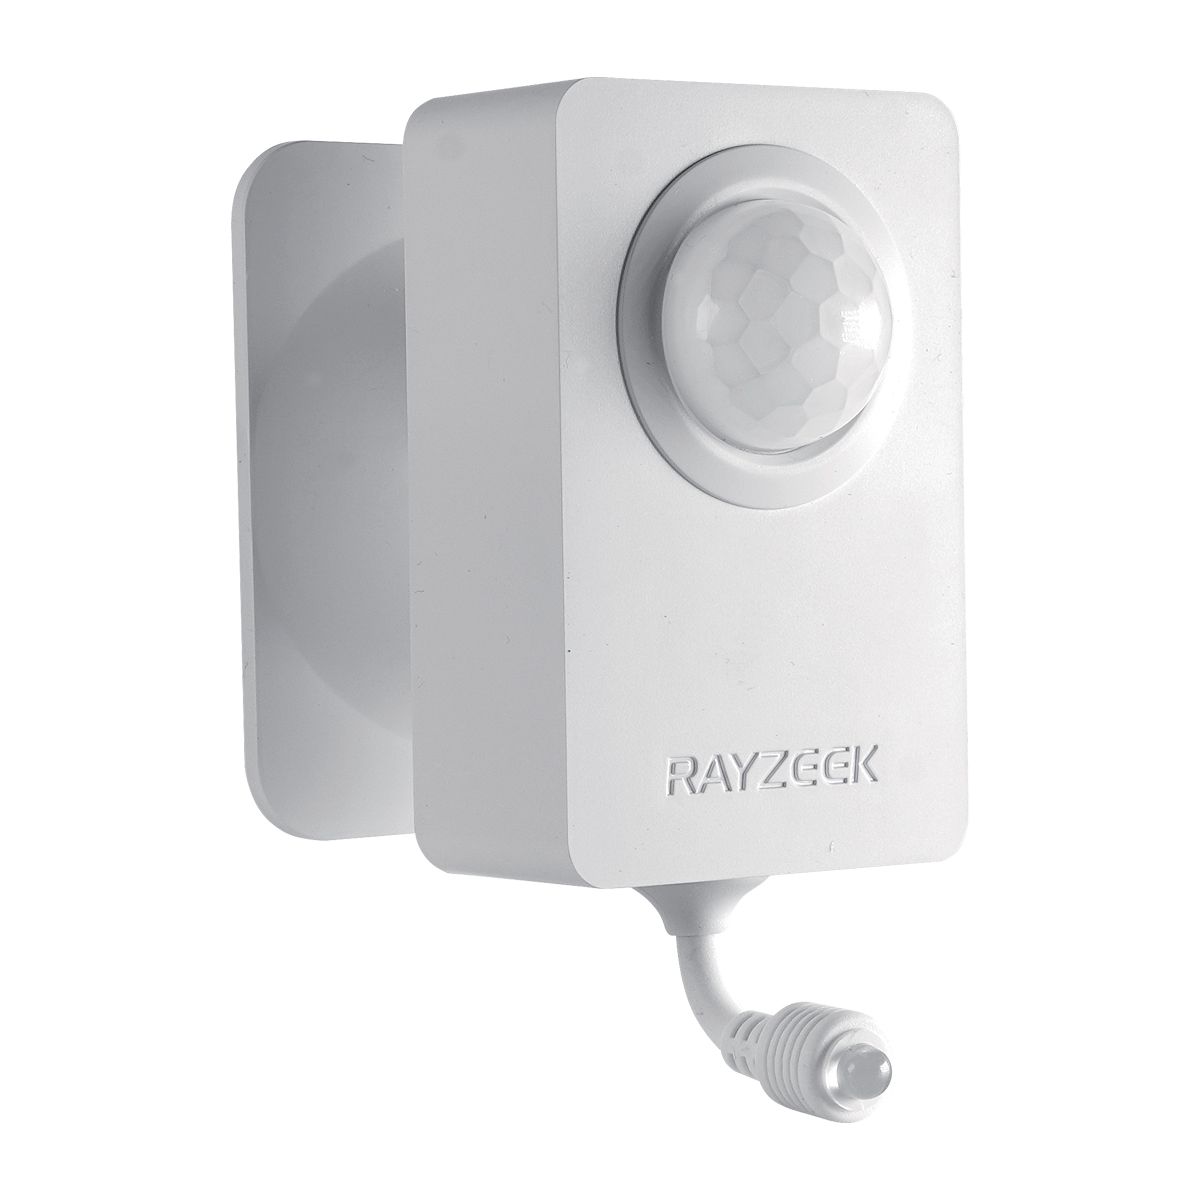
Un plan d'entretien préventif complet doit comprendre une liste de contrôle des tâches visant à remédier aux causes les plus courantes des fuites d'eau. Le nettoyage ou le remplacement régulier des filtres à air est essentiel pour maintenir une bonne circulation de l'air et prévenir les problèmes liés aux serpentins. L'inspection et le nettoyage de la conduite et du bac d'évacuation des condensats permettent d'éviter les obstructions et la corrosion, et d'assurer une bonne évacuation. La recherche et le traitement de tout signe de corrosion sur le bac d'égouttage, le serpentin de l'évaporateur et d'autres composants peuvent prévenir l'apparition de fuites. Une bonne circulation de l'air dans les évents et autour de l'appareil est essentielle pour maintenir l'équilibre du système et prévenir les problèmes de condensation. Une installation et une mise à niveau correctes du système sont également cruciales, car un appareil mal installé ou mal mis à niveau peut entraîner des problèmes de drainage et une pression accrue sur les composants. En plus de ces tâches essentielles, envisagez d'intégrer des dispositifs intelligents tels que le détecteur de mouvement pour climatiseur RZ050 afin d'améliorer encore l'efficacité et la longévité de votre système.
Le RZ050 est conçu pour éteindre automatiquement votre climatisation lorsqu'une pièce est inoccupée, évitant ainsi une usure inutile et permettant d'économiser de l'énergie. Cela peut être particulièrement bénéfique pour éviter l'exacerbation de problèmes mineurs qui, s'ils ne sont pas contrôlés, pourraient conduire à des fuites d'eau. En veillant à ce que votre climatiseur ne fonctionne que lorsque c'est nécessaire, vous économisez non seulement sur vos factures d'énergie, mais vous contribuez également à une approche plus durable et plus responsable de la climatisation des habitations.
RZ050 Détecteur de mouvement pour climatiseur
Éteint automatiquement votre climatisation en votre absence
- Économisez jusqu'à 20-50% sur vos factures d'énergie.
- Installation facile à faire soi-même - il suffit de coller ou de fixer au mur.
- Le mode nuit assure un sommeil confortable sans interruption.
Le maintien d'un débit d'air et d'une charge de réfrigérant optimaux est vital pour la santé à long terme du système et la prévention des fuites. Des mises au point régulières du système et des contrôles de performance peuvent aider à identifier et à résoudre tout problème susceptible d'affecter le débit d'air ou les niveaux de fluide frigorigène. Ces contrôles doivent comprendre la mesure du débit d'air sur le serpentin d'évaporation, la vérification de la charge de réfrigérant à l'aide de méthodes telles que les calculs de surchauffe et de sous-refroidissement, et l'inspection des composants pour vérifier qu'ils ne sont pas usés ou endommagés. Pour maximiser la durée de vie des principaux composants, tels que le compresseur, le moteur de la soufflerie et le serpentin d'évaporation, il faut combiner un entretien adéquat, des réparations opportunes et, le cas échéant, le remplacement par des pièces de haute qualité.
Vous recherchez des solutions d'économie d'énergie activées par le mouvement ?
Contactez-nous pour des détecteurs de mouvement PIR complets, des produits d'économie d'énergie activés par le mouvement, des interrupteurs à détecteur de mouvement et des solutions commerciales d'occupation/occupation.
Bien que les propriétaires puissent effectuer de nombreuses tâches d'entretien préventif, il est recommandé d'effectuer des inspections professionnelles au moins une fois par an, de préférence avant le début de la saison de refroidissement. Une inspection professionnelle doit comprendre un contrôle approfondi de la détection des fuites à l'aide de techniques avancées telles que l'essai de pression ou l'injection de colorant. La charge de réfrigérant doit être vérifiée et tout ajustement nécessaire doit être effectué. Le bon fonctionnement des composants tels que le moteur de la soufflerie, le compresseur et le dispositif de mesure doit être vérifié. L'ensemble du système doit être nettoyé, y compris le serpentin de l'évaporateur, le serpentin du condenseur et la conduite d'évacuation des condensats. Il est essentiel de trouver et de sélectionner des techniciens qualifiés en CVC pour garantir la qualité des inspections et des réparations professionnelles. Les propriétaires doivent s'adresser à des techniciens agréés, assurés et ayant une expérience et une expertise reconnues. Les entreprises de CVC réputées emploient souvent des techniciens qui ont reçu des certifications d'organisations industrielles telles que NATE (North American Technician Excellence), ce qui prouve leur engagement à respecter les normes professionnelles.
Conclusion
Les fuites d'eau dans les systèmes de climatisation sont un problème complexe dont les causes potentielles sont très diverses, allant du simple colmatage des conduites d'évacuation à des problèmes complexes liés au système de réfrigération et à des restrictions de débit d'air. Le traitement de ces fuites nécessite une compréhension approfondie des principes sous-jacents qui régissent le fonctionnement des climatiseurs, ainsi que la capacité d'utiliser des techniques de diagnostic avancées. En nous plongeant dans les subtilités des systèmes d'évacuation des condensats, de la dynamique des fluides frigorigènes, de la gestion des flux d'air et de la conception des serpentins d'évaporation, nous pouvons acquérir une compréhension complète des causes de ces fuites et de la manière de les traiter efficacement. En outre, une approche proactive de la maintenance préventive, associée à des inspections professionnelles régulières, peut réduire de manière significative le risque de fuites d'eau et garantir la santé et l'efficacité à long terme des systèmes de climatisation. Au fur et à mesure que la technologie évolue et que notre compréhension de ces systèmes complexes s'approfondit, nous pouvons nous attendre à l'apparition d'outils de diagnostic et de stratégies d'entretien encore plus sophistiqués, améliorant encore notre capacité à garder nos maisons fraîches et confortables tout en prévenant l'intrusion indésirable de fuites d'eau.

