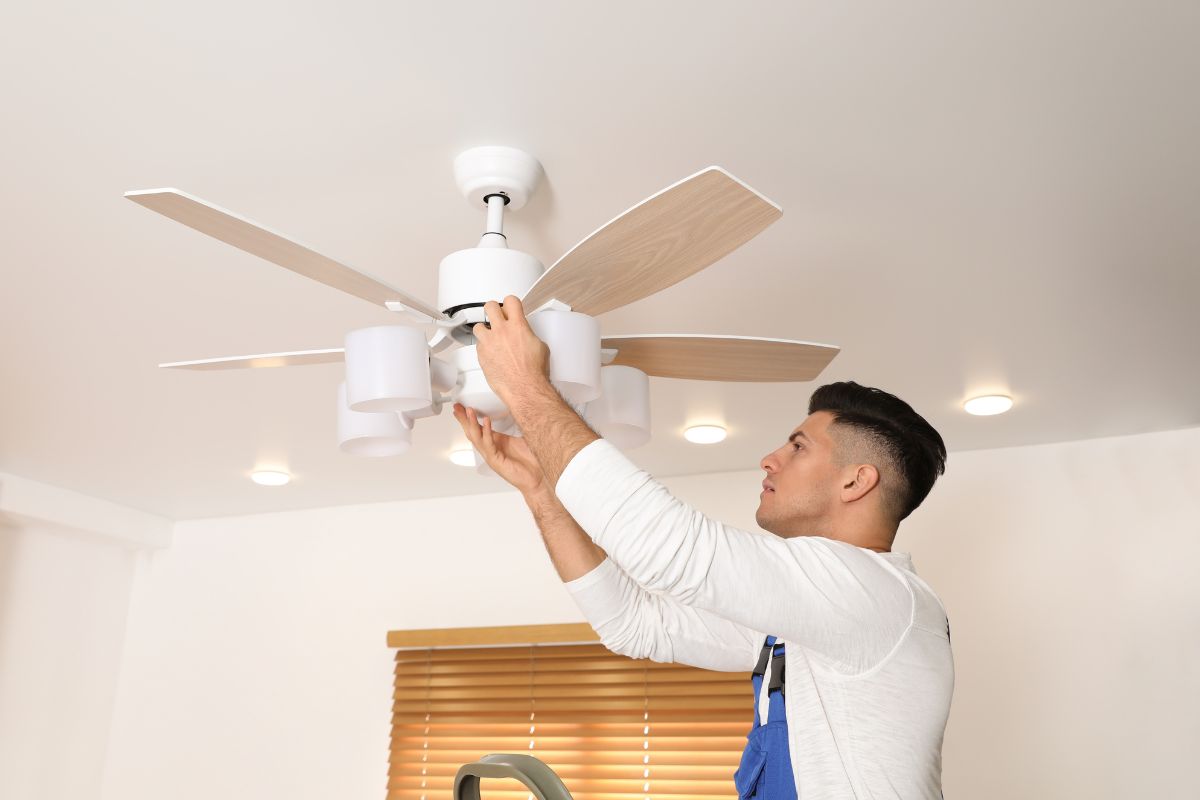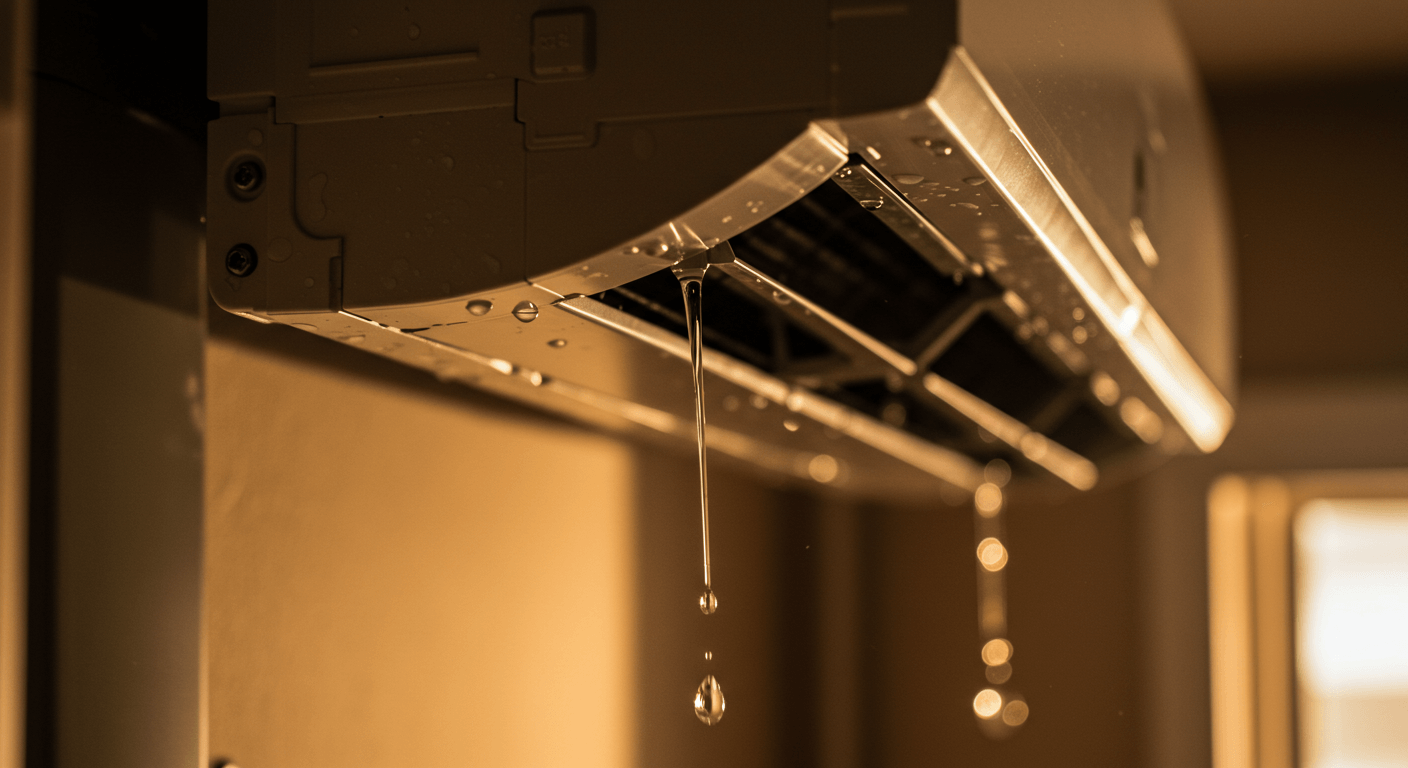
That constant drip, drip, drip coming from your air conditioner… sound familiar? It’s a bit like a leaky faucet, isn’t it? Annoying, wasteful, and a sure sign that something’s not quite right. If you’ve got water leaking inside your home from your AC unit, you’re not alone. It’s a pretty common problem. But here’s the thing: you really shouldn’t ignore it. After all, you wouldn’t let a leaky pipe go unfixed, would you? Ignoring an AC leak can lead to water damage, mold growth, and even a complete system breakdown. Think of it as a small issue that can quickly turn into a major, and expensive, headache.
Now, you might see some water dripping from your AC unit outside, and that’s sometimes perfectly normal. Especially on those hot, humid days. It’s often just the AC doing its job, kind of like how your car’s exhaust sometimes drips water on a cold morning. But water leaking inside your house? That’s a different story. That almost always means there’s something wrong with the AC system itself. See, the water produced when your AC cools your home is supposed to be contained and then drained away. So, if water’s ending up inside, it means something’s preventing it from going where it should.
So, in this guide, we’re going to focus on the internal parts of your AC that can cause these water leaks. We’ll give you a step-by-step way to figure out what’s wrong and how to fix it. To do that, it’s important to understand why your AC makes water in the first place, and how it’s supposed to get rid of it. Think of it like being a detective! You need to understand how things should work to figure out what’s gone wrong. We’ll explore the cooling process, the parts that handle the water, and then walk you through how to troubleshoot the problem, starting with simple checks and moving on to when it might be time to call in a professional. Sound good?
Why Is My AC Leaking Water?
So, why is your AC leaking water? Well, the first thing to understand is that your air conditioner naturally produces water as it cools your home. It’s not magic, it’s science! Think about a cold glass of iced tea on a hot day. See how water droplets form on the outside of the glass? That’s kind of the same thing that’s happening inside your AC. The AC has something called an evaporator coil that gets super cold as part of something called the refrigerant cycle. We’ll get into the refrigerant cycle a bit later, but for now, just know that it’s what makes the coil cold. When warm, humid air blows across that cold coil, the moisture in the air turns from a gas (water vapor) into a liquid (water). It’s the same process that creates dew on the grass in the morning.
Now, all that water – which, by the way, is called condensate – has to go somewhere, right? It can’t just stay inside your AC unit. That’s where the condensate drain system comes in. You can think of it as your AC’s plumbing system, designed specifically to get rid of all that water.
So, what are the key parts of this condensate drain system? Here’s a quick rundown:
- Drain pan: This is a tray that sits directly below the evaporator coil. It’s there to catch all the condensate that drips off the coil, kind of like a shallow bathtub catching drips.
- Drain line: This is a pipe that carries the condensate away from the drain pan. It’s basically the “drainpipe” that takes the water away from your AC.
- Evaporator coil: We’ve already mentioned this, but it’s the part of the AC where the condensation actually forms. It’s the cold part where the magic happens, where the water vapor turns back into liquid.
Now, how much condensate does your AC produce? Well, that depends a lot on the humidity level in your home. The more humid it is, the more water your AC will make. Higher humidity means there’s more moisture in the air, which leads to more condensation on the evaporator coil. Think about it like the difference between a dry desert day and a muggy summer day – the muggy day is going to leave you feeling much wetter! You might hear terms like relative humidity and dew point. Relative humidity basically measures how much water vapor is in the air, while the dew point is the temperature at which condensation starts to form. You can think of relative humidity as how “full” the air is with water, and the dew point as the temperature where the air can’t hold any more and the water starts to come out. Higher outdoor temperatures also play a role, because your AC has to work harder to cool your home. And the harder your AC works, the more water it’s likely to produce.
One more thing that’s really important is proper airflow. Your AC needs to breathe, just like you do! Airflow helps evaporate moisture from the evaporator coil, which prevents too much condensation and even ice from building up. It helps keep the coil from getting overwhelmed with water. If the airflow is restricted, the coil can get too cold, and ice can form. Then, when that ice melts, it can create a lot of water that overwhelms the drain system and causes a leak. This is actually a pretty common cause of leaks, and we’ll talk about it more later. But remember, any water leaking inside your home from your AC is never normal. So, if you see water inside, it’s definitely time to do some investigating. Now, before we dive into the details of the drain system, let’s take a closer look at how your AC actually cools your home, because that’s where the water comes from in the first place.
Refrigerant Cycle and Condensation
Okay, let’s talk about how your AC actually cools your home. The key is a special fluid called refrigerant. This refrigerant is essential to the whole cooling process. It circulates through a closed loop, absorbing heat from the air inside your home and then releasing it outside. You can think of it like a heat shuttle, constantly moving heat from inside to outside. What’s really cool about refrigerant is that it can easily change between a liquid and a gas. And that ability to change state is what makes it so effective at transferring heat.
The real key to the cooling process is the evaporator coil, which is located inside your air handler. This is where the air inside your home actually gets cooled. As the liquid refrigerant passes through the evaporator coil, it evaporates, meaning it turns into a gas. Think about how sweat cools your skin as it evaporates. When a liquid evaporates, it absorbs heat. So, as the refrigerant evaporates, it absorbs heat from the surrounding air, which makes the coil get really cold. That’s why the evaporator coil feels so cold to the touch (but please, don’t touch it while the AC is running!).
Okay, so now you’ve got warm, humid air from your home being blown over that cold evaporator coil. And that’s where the water starts to appear! Just like with that cold glass of iced tea we talked about earlier, the water vapor in the air condenses on the cold surface of the coil, and that forms liquid water. The warm air’s moisture just can’t stay as vapor when it hits that cold coil. And that condensate is the water that your AC’s drain system is designed to remove. And, of course, that’s the water we’re trying to keep from leaking inside your house!
Now, if you really want to get into the nitty-gritty, this cooling process relies on a principle called the latent heat of vaporization. Basically, this is the energy it takes for a substance to change state – in this case, from a liquid to a gas. It’s like the hidden energy that’s absorbed or released when something changes from a liquid to a gas or vice-versa. The refrigerant absorbs this energy from the surrounding air, and that’s what causes the air to cool. You could say the refrigerant is essentially “stealing” heat from the air! And this whole process is what creates the condensation we’ve been talking about. By the way, technicians use measurements called superheat and subcooling to make sure the refrigerant charge is correct and that the system is running efficiently. These measurements help them fine-tune the refrigerant cycle so it’s working its best. So, now that we know where the water comes from, the next question is: how does your AC get rid of it? That’s what we’ll explore in the next section.
The Condensate Drain System
Okay, let’s talk about the condensate drain system. It’s often overlooked, but it’s just as important to your AC’s proper function as that more complicated refrigerant system we just discussed. You can think of it as the unsung hero of moisture management. It’s the quiet workhorse that keeps your house dry. Its main job is to safely and efficiently remove all that condensate that’s produced during the cooling process. Without it, you’d basically have a constant puddle forming under your AC unit!
The first part of this system is the drain pan. This is where the water first collects. This pan is located directly below the evaporator coil, inside the air handler unit. It’s positioned perfectly to catch all the drips coming off the coil. Its main purpose is to collect all that condensate. You can think of it like a tray catching water from a leaky faucet.
Connected to the drain pan is the drain line. This is the pipe that carries all that water away from the unit. It usually exits somewhere near the outdoor unit or connects to a plumbing drain. Think of it like the drainpipe in your sink. Now, here’s something important: the drain line has to be sloped downwards so that gravity can do its thing. Water flows downhill, so the pipe needs to be angled correctly to allow the water to drain properly.
Now, here’s the bad news: problems with the drain system are the main reason why ACs leak water inside. This is where things often go wrong. The drain line can get clogged up with algae, mold, or just plain old debris, and that stops the water from draining properly. It’s just like a clogged sink drain – the water backs up. The drain pan itself can also crack or rust, especially in older systems. A cracked pan is like a leaky bucket. And drain lines are often made of PVC, which can crack, or copper (in older systems), which can corrode over time. Both materials have their weaknesses. All of these issues can disrupt the flow of water and lead to leaks. Now, some AC systems use something called a condensate pump to move the water if gravity drainage isn’t possible. We’ll talk about those pumps a little later.
The Importance of Airflow
Just like your lungs need to breathe, your air conditioner needs proper airflow to function efficiently. Airflow is absolutely essential for your AC to work correctly. It’s essential for the entire cooling process and plays a critical role in preventing all sorts of problems. It’s not just about cooling your home; it’s about keeping the whole system healthy.
One of the main things that airflow does is help evaporate moisture from the evaporator coil. It helps keep the coil from getting too wet. As warm air passes over the coil, the moisture condenses, but proper airflow helps that condensate evaporate and then be carried away by the drain system. It’s a delicate balance between condensation and evaporation.
The bad news is that lots of things can restrict airflow. These are the common culprits that can cause problems. A dirty air filter is a big one. Other common problems include blocked vents, closed dampers, and leaky ductwork. Any of these can choke off your AC’s “breathing.” And any of these restrictions can reduce the amount of air flowing over the evaporator coil. Less air means less cooling and a higher risk of problems.
When the airflow is reduced, it can cause the evaporator coil to get really cold and even freeze. It’s like putting the coil in a deep freezer. When that happens, ice blocks the normal drainage of the condensate. The ice acts like a dam, preventing the water from flowing down the drain. And when that ice melts, it can produce a huge amount of water that overwhelms the drain pan and leads to leaks. It’s like a sudden flood. A dirty air filter is one of the most common – and easiest to fix – causes of this problem, and we’ll talk about how to check that later. Now, different types of AC units have slightly different drain systems, and we’ll explore those next. Just so you know, restricted airflow also lowers the refrigerant pressure in the evaporator coil, which makes it even colder and more likely to freeze. That’s a more technical detail for those who want to understand the “why” behind it all. And leaky ductwork also reduces airflow to the evaporator coil, which means less cool air reaches your rooms, and the coil can get too cold.
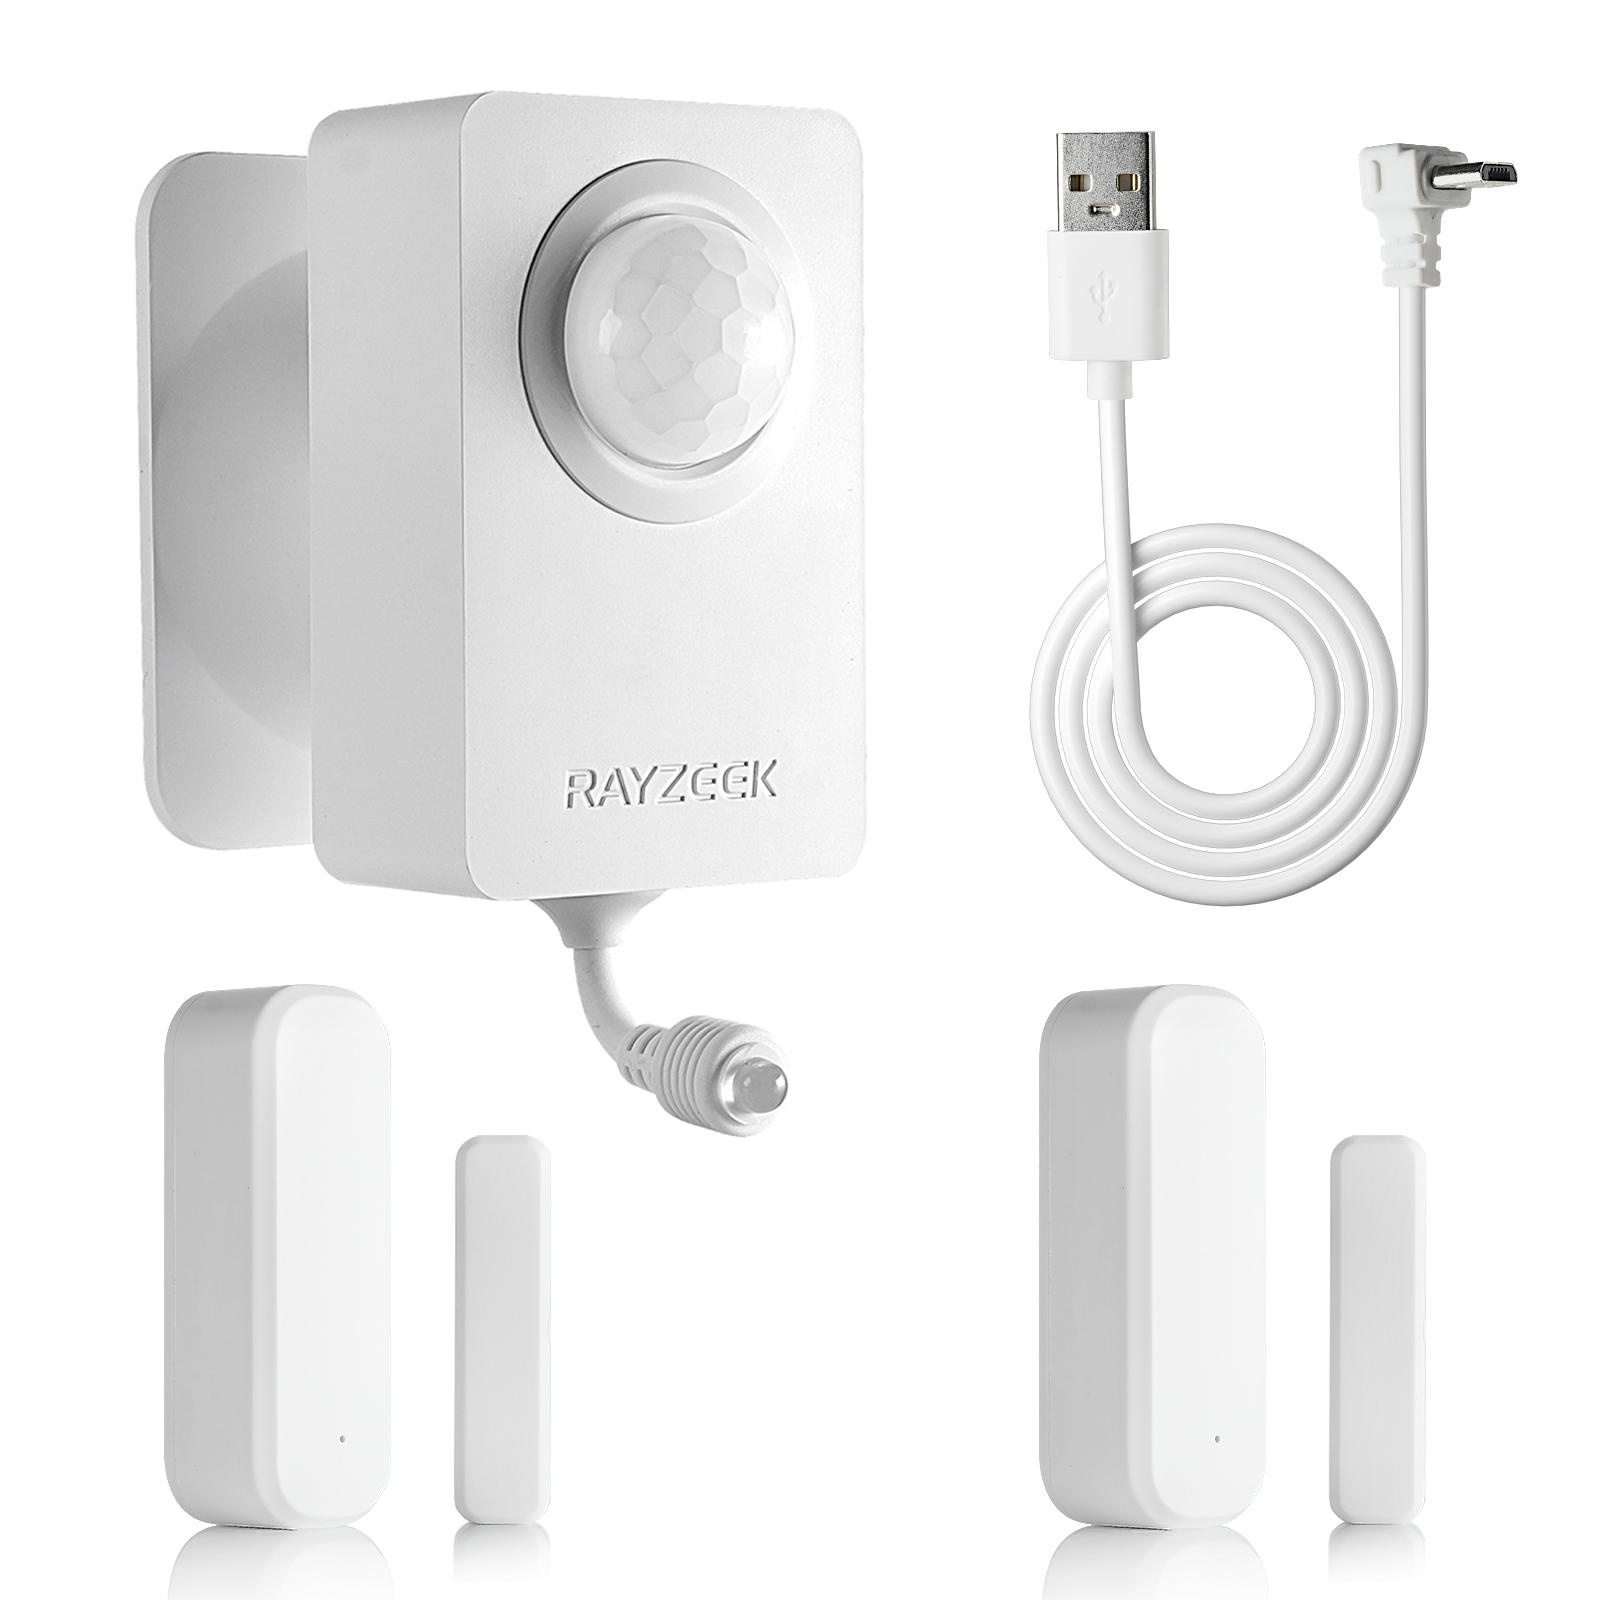
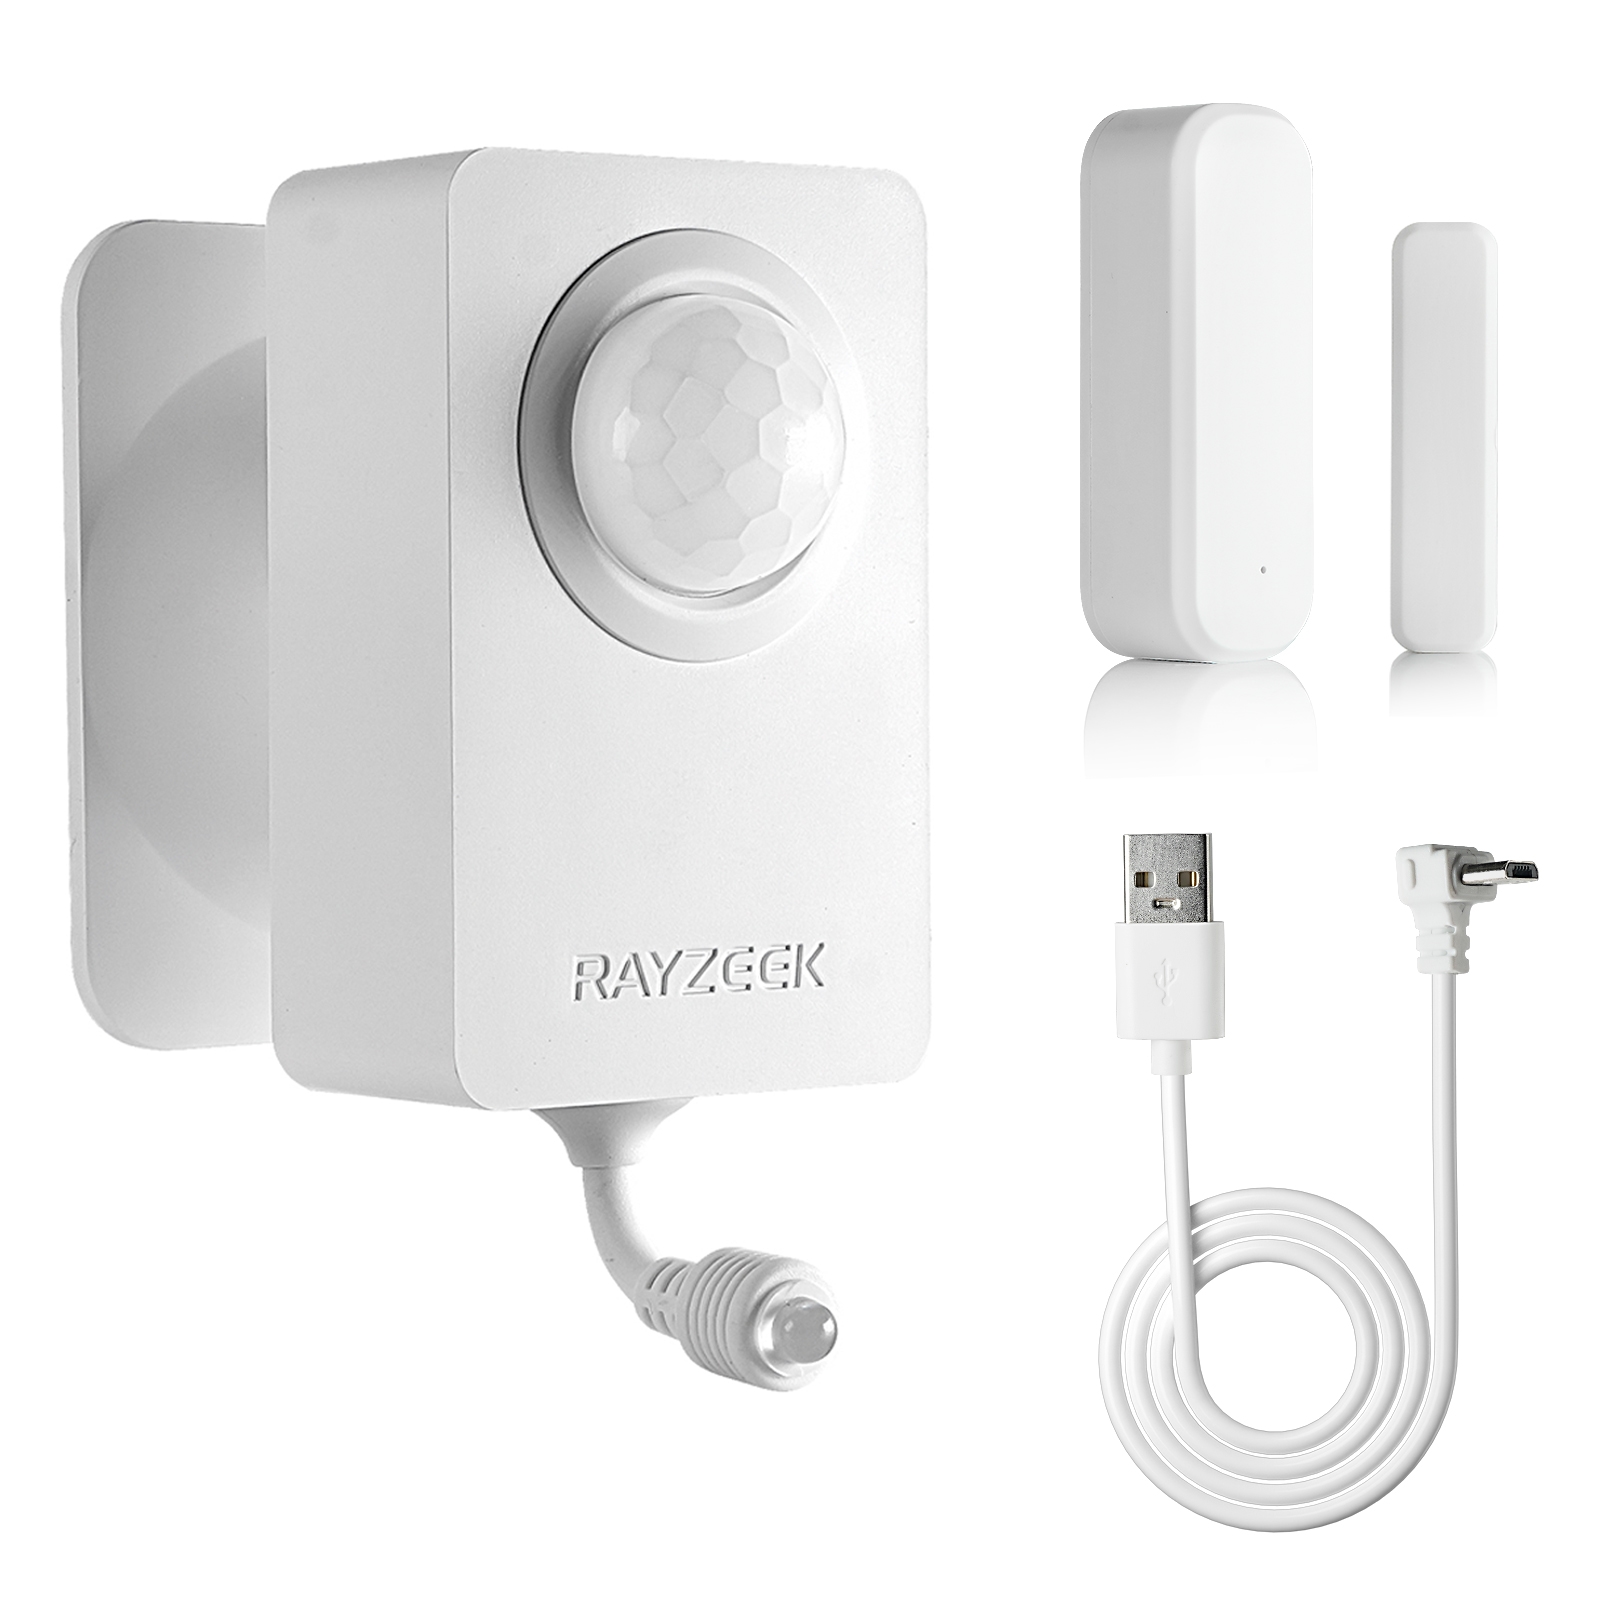
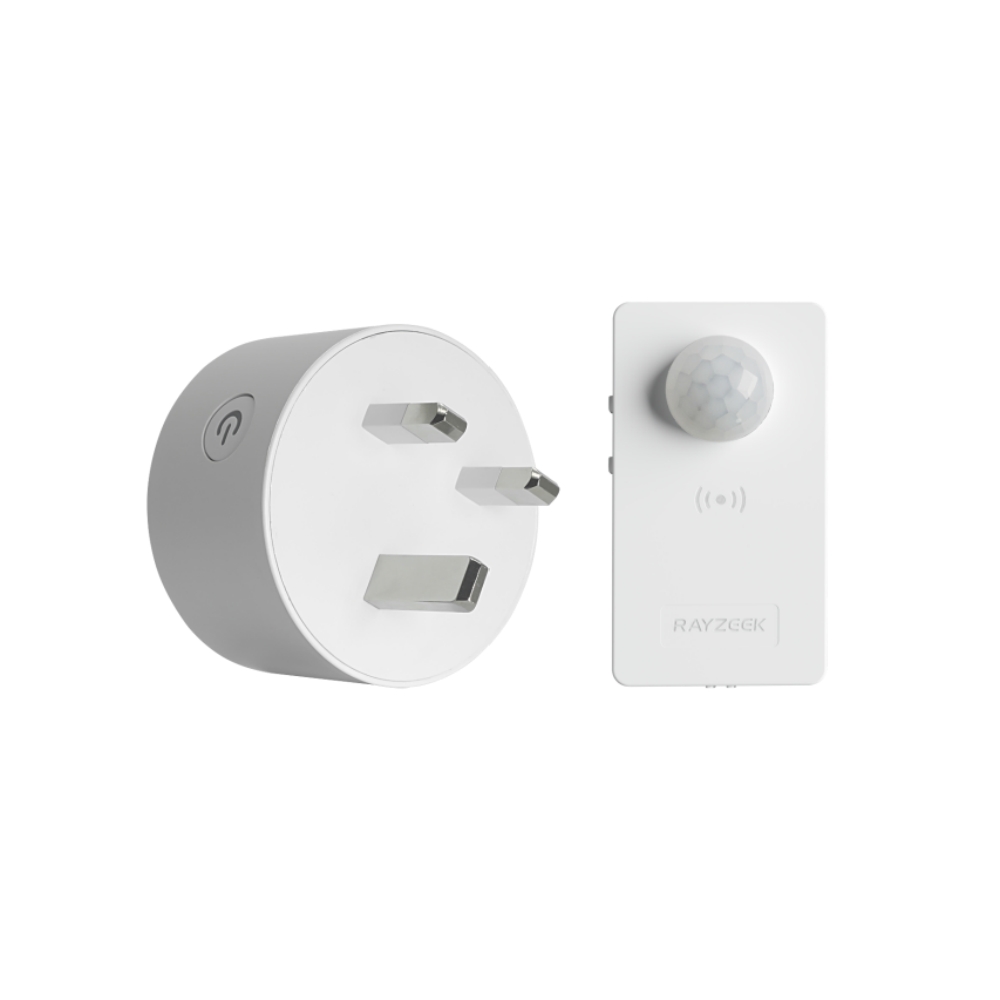
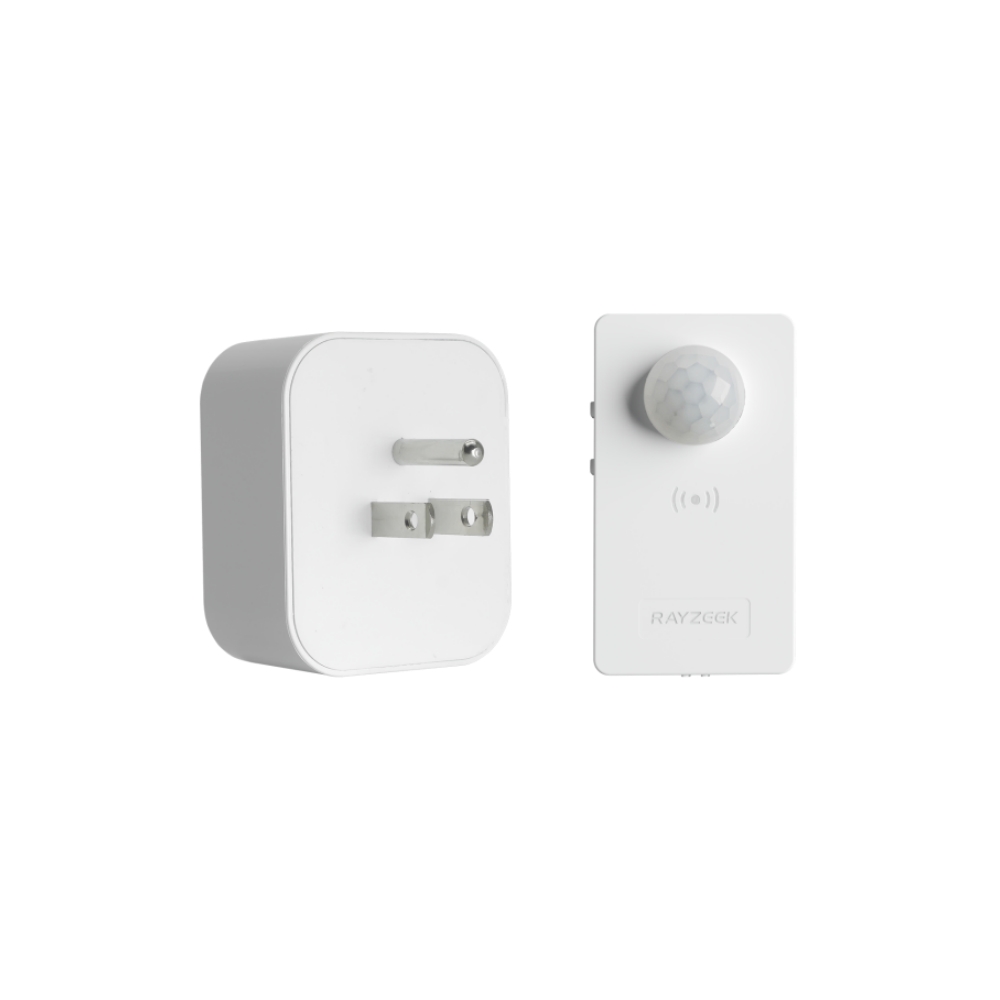
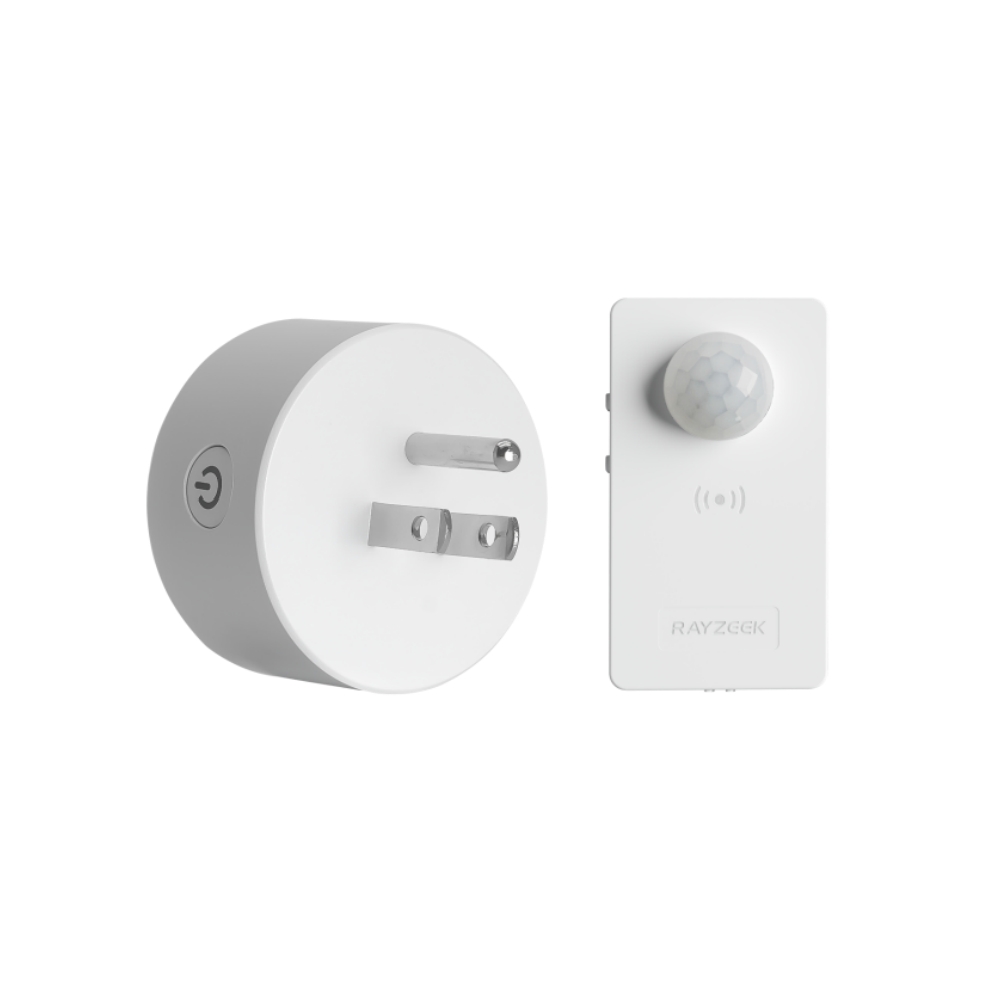
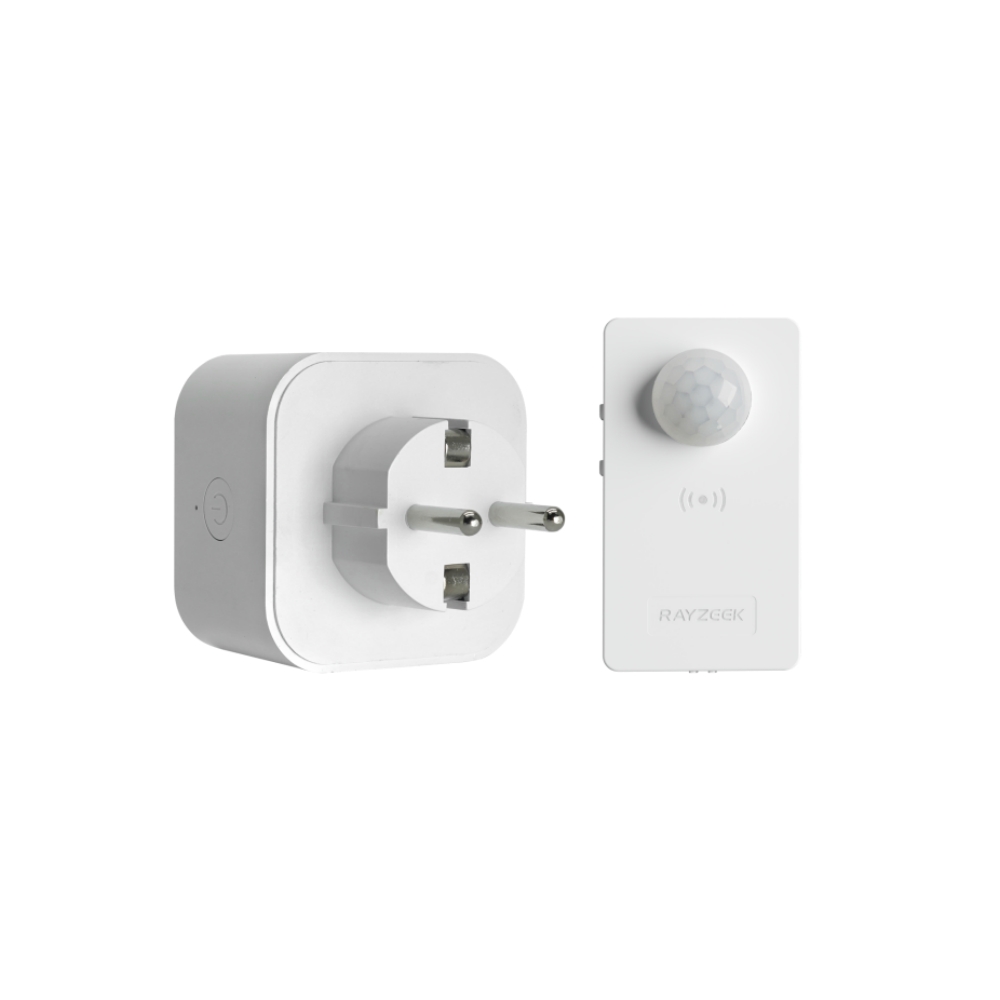
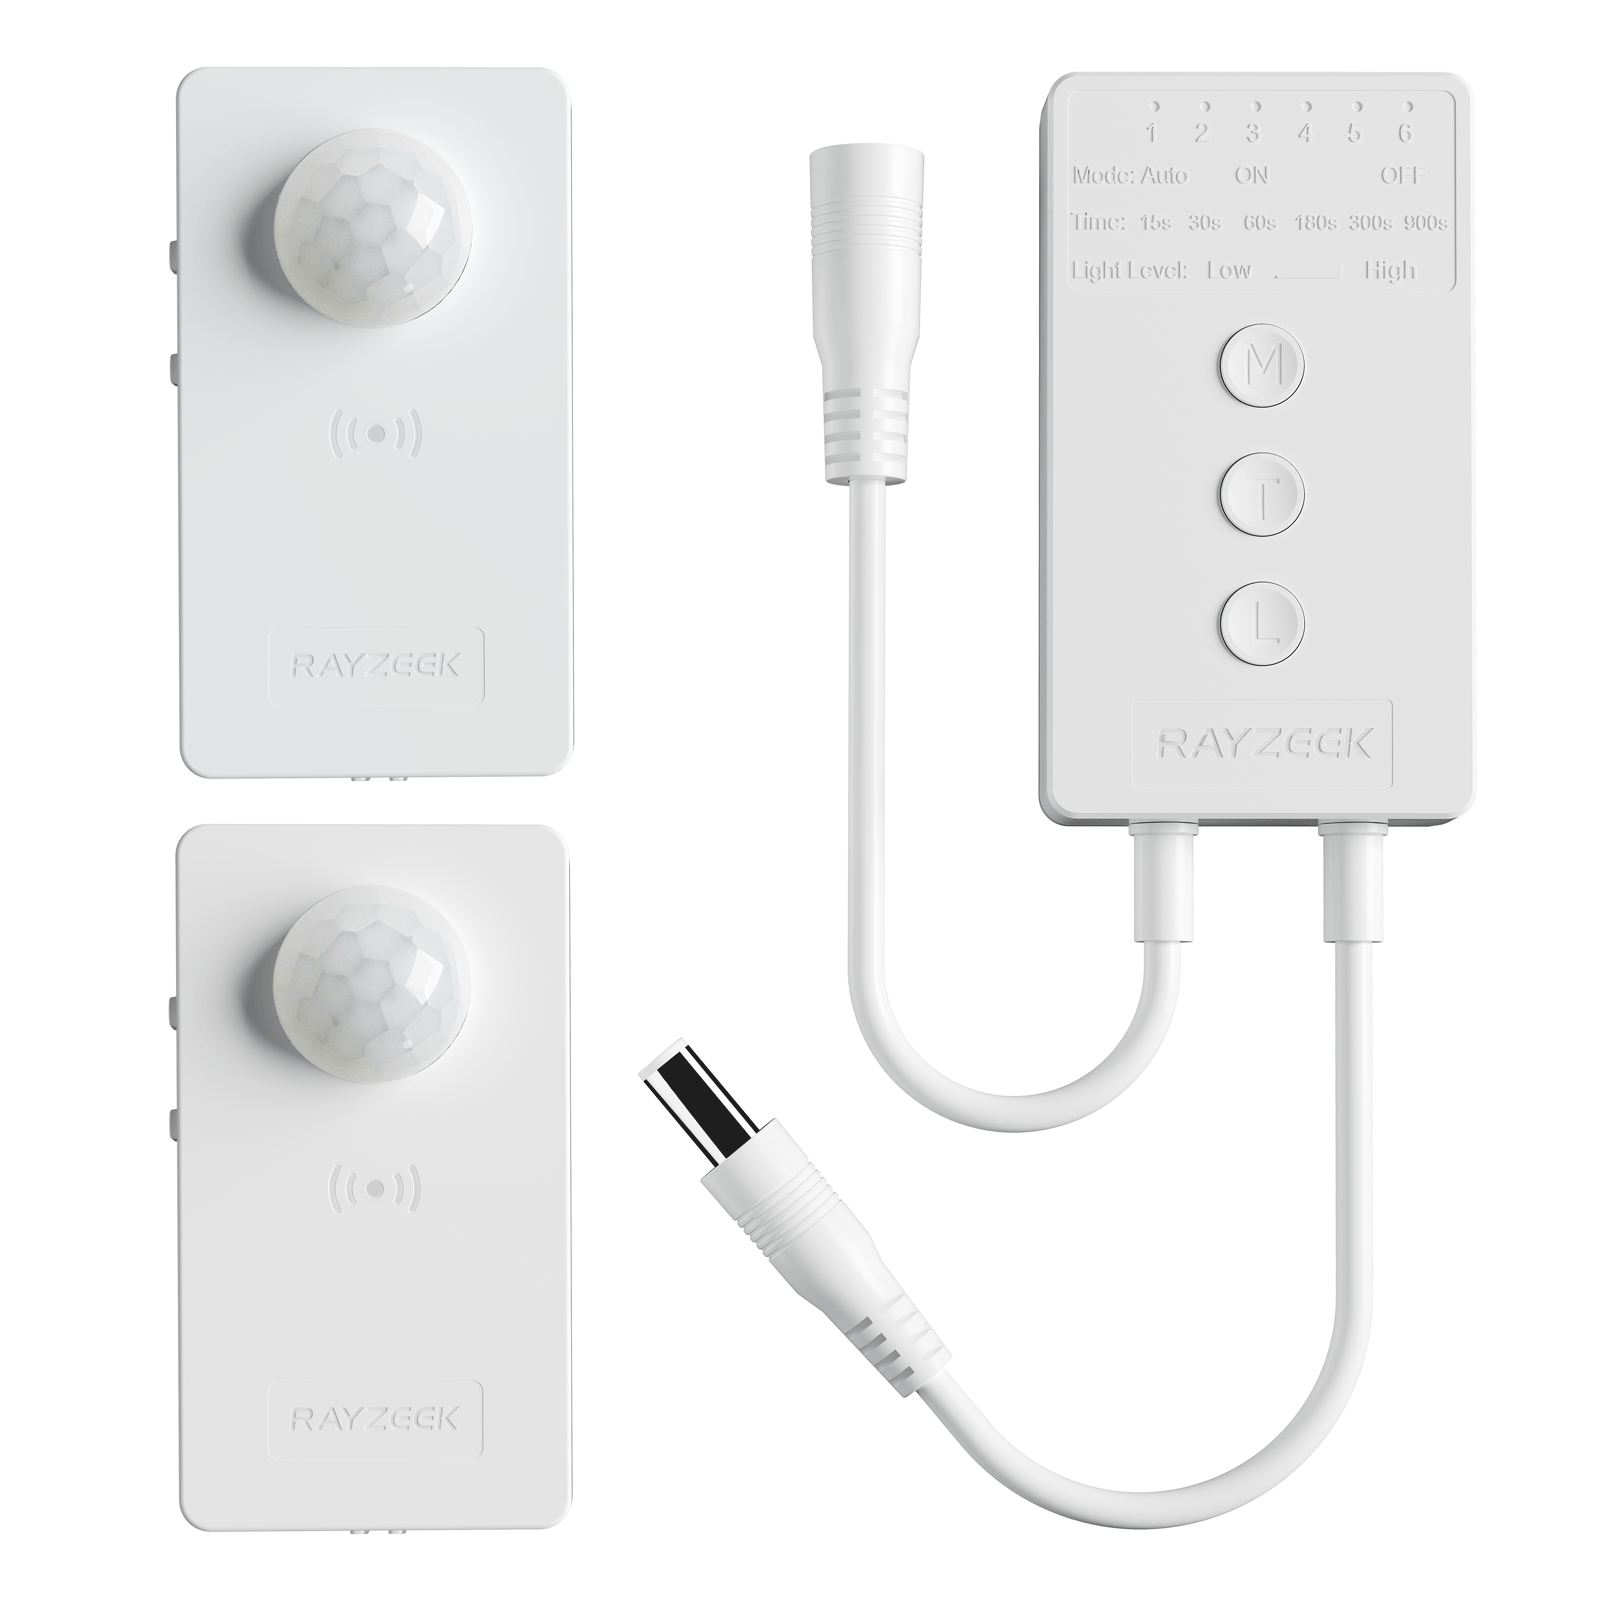
Looking For Motion-Activated Energy-Saving Solutions?
Contact us for complete PIR motion sensors, motion-activated energy-saving products, motion sensor switches, and Occupancy/Vacancy commercial solutions.
AC Unit Types and Leaks
No matter what type of AC unit you have, they all produce condensate, and they all have a system for draining it away. They all have to deal with the water they create.
So, what are the most common types of AC units out there? Here’s a quick list:
- Window ACs: These are single-unit systems that you install in a window. They’re the most self-contained type of unit.
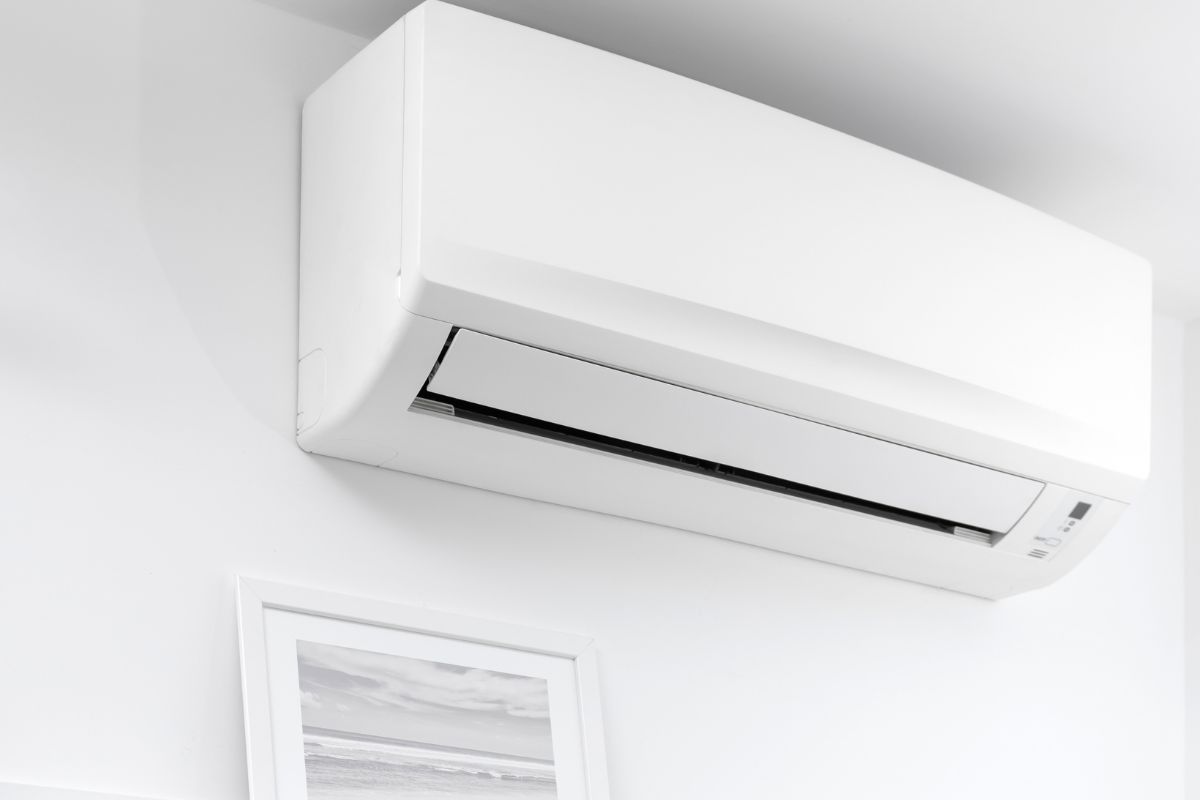
- Central ACs: These are split systems, meaning they have an indoor unit and an outdoor unit. They’re connected by refrigerant lines and ductwork. Central ACs are the most common type in many homes.
- Split systems (ductless): These are similar to central ACs, but they don’t use ductwork. Instead, they use refrigerant lines to connect the indoor and outdoor units. Split systems are becoming more and more popular because they’re so flexible.
- Portable ACs: These are self-contained units that you can move around. They often have a reservoir that you need to empty, or a hose for continuous drainage. Portable ACs are great for cooling single rooms.
Even though the drain system designs can vary a bit, all of these AC types can experience leaks, especially if they’re not installed or maintained properly. Mini-split systems, which have multiple indoor units, might have separate drain lines for each unit, or they might have a combined drain. This can make the drainage system a little more complicated. Central ACs often rely on gravity drains, while window, portable, and some split systems might use condensate pumps. The type of drainage system your AC has can affect what might cause it to leak.
Drain System Variations
Window air conditioners usually have a drain pan that slopes towards the back. This allows the condensate to drain outside, often through a short little tube. It’s a pretty simple, gravity-fed system.
Central air conditioners have a drain pan that’s located under the air handler unit. This is usually in the attic, basement, or a closet. A drain line runs from this pan to the outside of your house, or to a drain. This is a more involved system than what you’d find in a window unit.
Split systems have a drain pan that’s located in a similar spot to central ACs, under the indoor unit. The drain line connects to the outdoor unit, or to a separate drain. The drain line routing can sometimes be a little more complicated with split systems.
Now, here’s something else to keep in mind: many AC systems, especially those with air handlers located in attics, also have a secondary drain pan. This is basically a backup in case the primary drain pan fails, or if the drain line gets clogged. You can think of it like a safety net for your ceiling. The secondary pan is often located right under the unit, to prevent water from damaging your ceilings. In fact, building codes often require secondary drain pans in attics or above finished living spaces. It’s a safety regulation to prevent water damage. Some secondary drain pans even have a float switch that shuts off the AC if it detects water, which is an extra layer of protection. Secondary drain pans can be made of metal, which is more durable, or plastic. Metal pans are generally more resistant to cracking.
Preventing AC Leaks
Okay, so how can you prevent these AC leaks from happening in the first place? Well, taking some proactive steps to maintain your AC unit can really reduce the risk of leaks, and it can save you money and hassle in the long run. As they say, an ounce of prevention is worth a pound of cure!
So, what can you do to prevent AC leaks? Here are some key things to keep in mind:
- Change your air filter regularly. This means every 1-3 months, depending on how much you use your AC and what type of filter you have. A clean filter ensures proper airflow, which prevents the evaporator coil from freezing. This is the easiest, and often the most effective, thing you can do.
- Schedule annual professional maintenance. A technician can check your refrigerant levels, inspect the drain system, clean the coils, and identify any potential problems before they lead to leaks. It’s like getting a regular checkup for your AC.
- Keep the drain line clear. You can do this by periodically flushing it with vinegar or diluted bleach. This prevents clogs from algae and mold buildup. It’s like giving your drain line a good cleaning. You should flush the line every few months, or even more often if you live in a humid climate. Important note: NEVER mix vinegar and bleach! This is extremely dangerous, as it creates toxic fumes.
- Consider using leak detection features. Some newer AC systems, or add-on devices, offer leak detection. This alerts you to potential problems early on, which can help you catch a small leak before it turns into a big problem.
By following these simple steps, you can help keep your AC running smoothly and prevent costly water damage. It’s all about being proactive and taking good care of your AC system.
How to Fix a Leaking AC: A Step-by-Step Guide
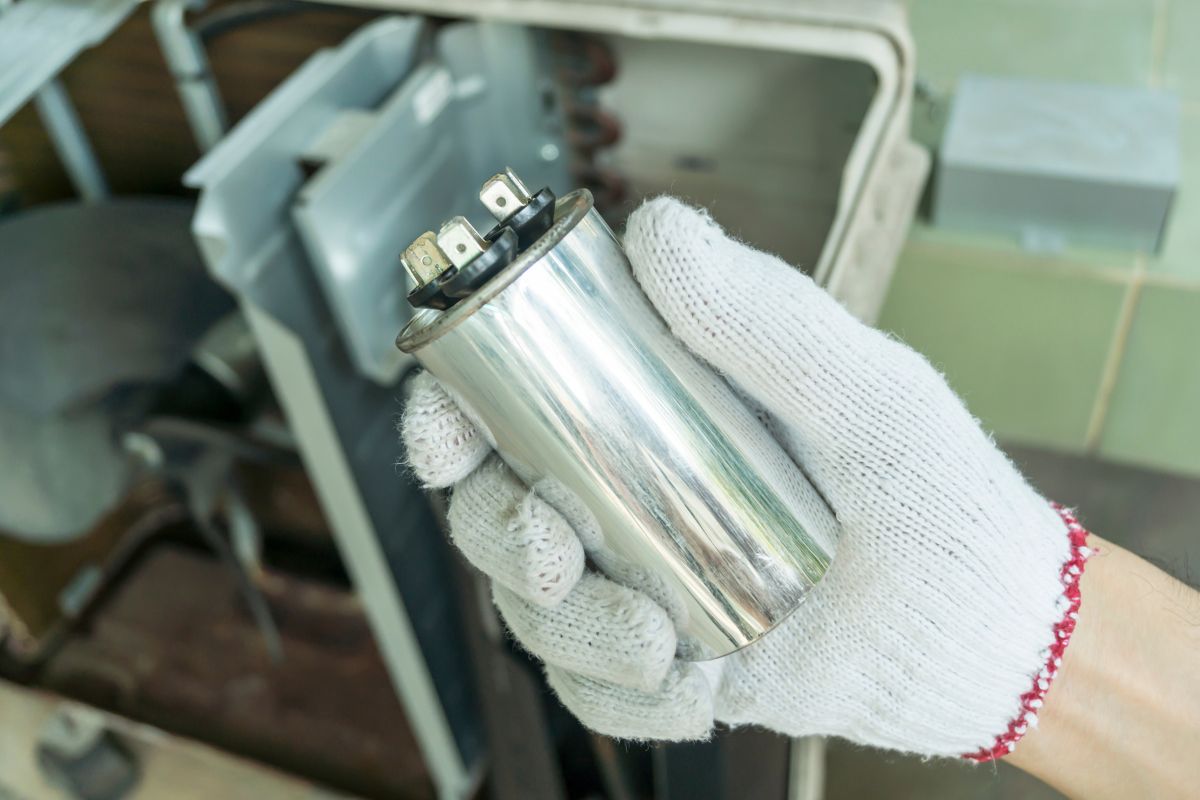
Okay, so you’re ready to troubleshoot your leaking AC? Great! But before you do anything, it’s absolutely essential to prioritize safety. The very first thing you need to do is turn off the AC at both the thermostat and the circuit breaker. This is absolutely essential to prevent electrical shock. Also, be aware that capacitors can store electricity even after you’ve turned off the power. We’ll talk more about that in the next section. And finally, if you’re at all uncomfortable working with electricity or plumbing, please, call a professional. It’s just not worth taking any risks!
Okay, here’s a step-by-step guide to troubleshooting your leaking AC. But remember: safety first!
- Step 1: Check the Air Filter. A dirty filter restricts airflow and can cause the evaporator coil to freeze. This is the most common, and often the easiest, thing to check.
- Step 2: Inspect the Drain Pan. Look for any cracks, rust, or signs of overflow. Basically, check for any visible damage.
- Step 3: Check the Drain Line. Look for any clogs and clear them out. You want to make sure the water can flow freely.
- Step 4: Check for a Frozen Evaporator Coil. If you see ice buildup, that indicates a problem. This usually means there’s an airflow or refrigerant issue.
- Step 5: Check the Condensate Pump (If Applicable). If your system has a condensate pump, make sure it’s running and pumping water.
- Step 6: Gather Your Tools. You’ll probably need things like screwdrivers, pliers, a wet/dry vac, a flashlight, and possibly a level.
If you’ve tried all these steps and the leak is still there, or if you’re just not sure about any part of the process, it’s definitely time to call a qualified HVAC technician. Don’t hesitate to call a pro if you need help. It’s always better to be safe than sorry!
Get Inspired by Rayzeek Motion Sensor Portfolios.
Doesn't find what you want? Don't worry. There are always alternate ways to solve your problems. Maybe one of our portfolios can help.
Safety First!
Before you do anything else, your very first step is to turn off the power to your air conditioner at the thermostat. The thermostat controls the low-voltage power to the unit. This is the first step in making sure the power is off.
Next, and this is absolutely crucial, turn off the power at the circuit breaker. The breaker controls the high-voltage power. This is typically 240V for central ACs and 120V for window ACs. Turning off both the thermostat and the breaker makes sure that all the power is disconnected, which prevents electrical shock. If you can’t find the right breaker, check your home’s electrical panel diagram, or call an electrician. Don’t guess – find the right breaker.
Even with the power off, there are still electrical hazards to be aware of. Capacitors can store a dangerous electrical charge even after you’ve disconnected the power. So, avoid touching any electrical components. Unless you’re a trained technician, it’s best to just leave them alone. Remember, water and electricity don’t mix. Be careful of any spills, and make sure the area is dry before you start working. Also, make sure the AC unit is properly grounded to prevent electrical shock. Grounding provides a safe path for electricity in case something goes wrong. Your safety is the most important thing. If you’re not comfortable with any of these steps, please, call a professional HVAC technician. It’s always better to be safe than sorry.
Check the Air Filter
The first thing you should check is your air filter. It’s usually located near the return air vent, or inside the air handler unit itself. If you’re not sure where it is, check your AC manual. The manual is your best friend when it comes to finding specific parts.
Once you’ve found the filter, carefully remove it. Then, hold it up to the light. If you can’t see light clearly shining through it, that means it’s dirty and needs to be replaced. A dirty filter restricts airflow, which reduces cooling efficiency and can even cause the evaporator coil to freeze, leading to leaks. It’s like trying to breathe through a clogged straw.
If the filter is dirty, replace it with a new one. Make sure you get the correct size. An improperly sized filter can allow air to bypass it, which reduces filtration and can even damage your system. It’s like wearing shoes that are too big or too small – they just won’t work right.
There are several different types of air filters you can use. Fiberglass filters are disposable and the least expensive, but they don’t filter the air as well as other types. They’re the most basic kind of filter. Pleated filters are also disposable, but they provide better filtration because they have more surface area to trap particles. Washable filters are reusable, and while they cost more upfront, you can clean them and reuse them. They’re a more environmentally friendly option. You might also see something called a MERV rating. This measures how efficient a filter is. A higher MERV rating means better filtration, but it can also restrict airflow if it’s too high for your system. So, it’s a balance between filtration and airflow. Check your AC manual for the recommended MERV rating. And if you have pets or allergies, you might need to change your filter more often, because pets and allergies create more particles that can clog the filter. Once you’ve checked or replaced the filter, you can move on to inspecting the drain pan.
Inspect the Drain Pan
Next, you’ll need to find the drain pan. It’s usually located directly under the evaporator coil, inside the air handler unit. You might need to remove some access panels on the air handler to get to it, so be prepared to do a little disassembly.
Once you can see the drain pan, carefully inspect it for any signs of damage. Look for cracks, rust, or any other signs that it’s deteriorating. If you find small cracks, you might be able to temporarily repair them with waterproof sealant, but replacing the pan is usually the best idea. Sealants are really just a temporary fix, and they might not hold for very long. Think of it like putting a bandage on a wound – it might help for a little while, but it’s not a permanent solution. Replacing the pan is the best way to make sure the problem is completely fixed.
Check to see if there’s any standing water in the drain pan. If there is, that usually means the drain line is clogged, which is preventing the water from draining properly. If the water is overflowing, that’s a sign of a serious clog, or that the pan itself is cracked. It means the water has nowhere else to go.
Make sure the drain pan is level, or slightly sloped towards the drain line opening. You can use a level to check the slope of the pan. It should slope towards the drain so that gravity can do its job. Water needs to flow downhill, after all. If the drain pan looks okay, the next step is to check the drain line.
Check the Drain Line
Clearing a clogged AC drain line isn’t just about removing something that’s blocking the pipe. It’s about restoring the delicate balance of pressure and flow that allows your AC to breathe and function efficiently. It’s like clearing a blocked artery – you’re restoring the flow of something essential. The drain line is usually a PVC pipe that runs from the drain pan to the outside of your house, or to a drain.
Maybe You Are Interested In
- Voltage: 2 x AAA Batteries OR 5V DC
- Transmission Distance: up to 30m
- Day/Night mode
- Voltage: 2 x AAA Batteries OR 5V DC
- Transmission Distance: up to 30m
- Day/Night mode
- Voltage: 2 x AAA
- Transmission Distance: 30 m
- Time delay: 5s, 1m, 5m, 10m, 30m

- Load Current: 10A Max
- Auto/Sleep Mode
- Time delay: 90s, 5min, 10min, 30min, 60min
- Load Current: 10A Max
- Auto/Sleep Mode
- Time delay: 90s, 5min, 10min, 30min, 60min
- Load Current: 10A Max
- Auto/Sleep Mode
- Time delay: 90s, 5min, 10min, 30min, 60min
- Load Current: 10A Max
- Auto/Sleep Mode
- Time delay: 90s, 5min, 10min, 30min, 60min
- Load Current: 10A Max
- Auto/Sleep Mode
- Time delay: 90s, 5min, 10min, 30min, 60min
- Load Current: 10A Max
- Auto/Sleep Mode
- Time delay: 90s, 5min, 10min, 30min, 60min

- Occupancy mode
- 100V ~ 265V, 5A
- Neutral Wire Required
- 1600 sq ft
- Voltage: DC 12v/24v
- Mode: Auto/ON/OFF
- Time Delay: 15s~900s
- Dimming: 20%~100%
- Occupancy, Vacancy, ON/OFF mode
- 100~265V, 5A
- Neutral Wire Required
- Fits the UK Square backbox
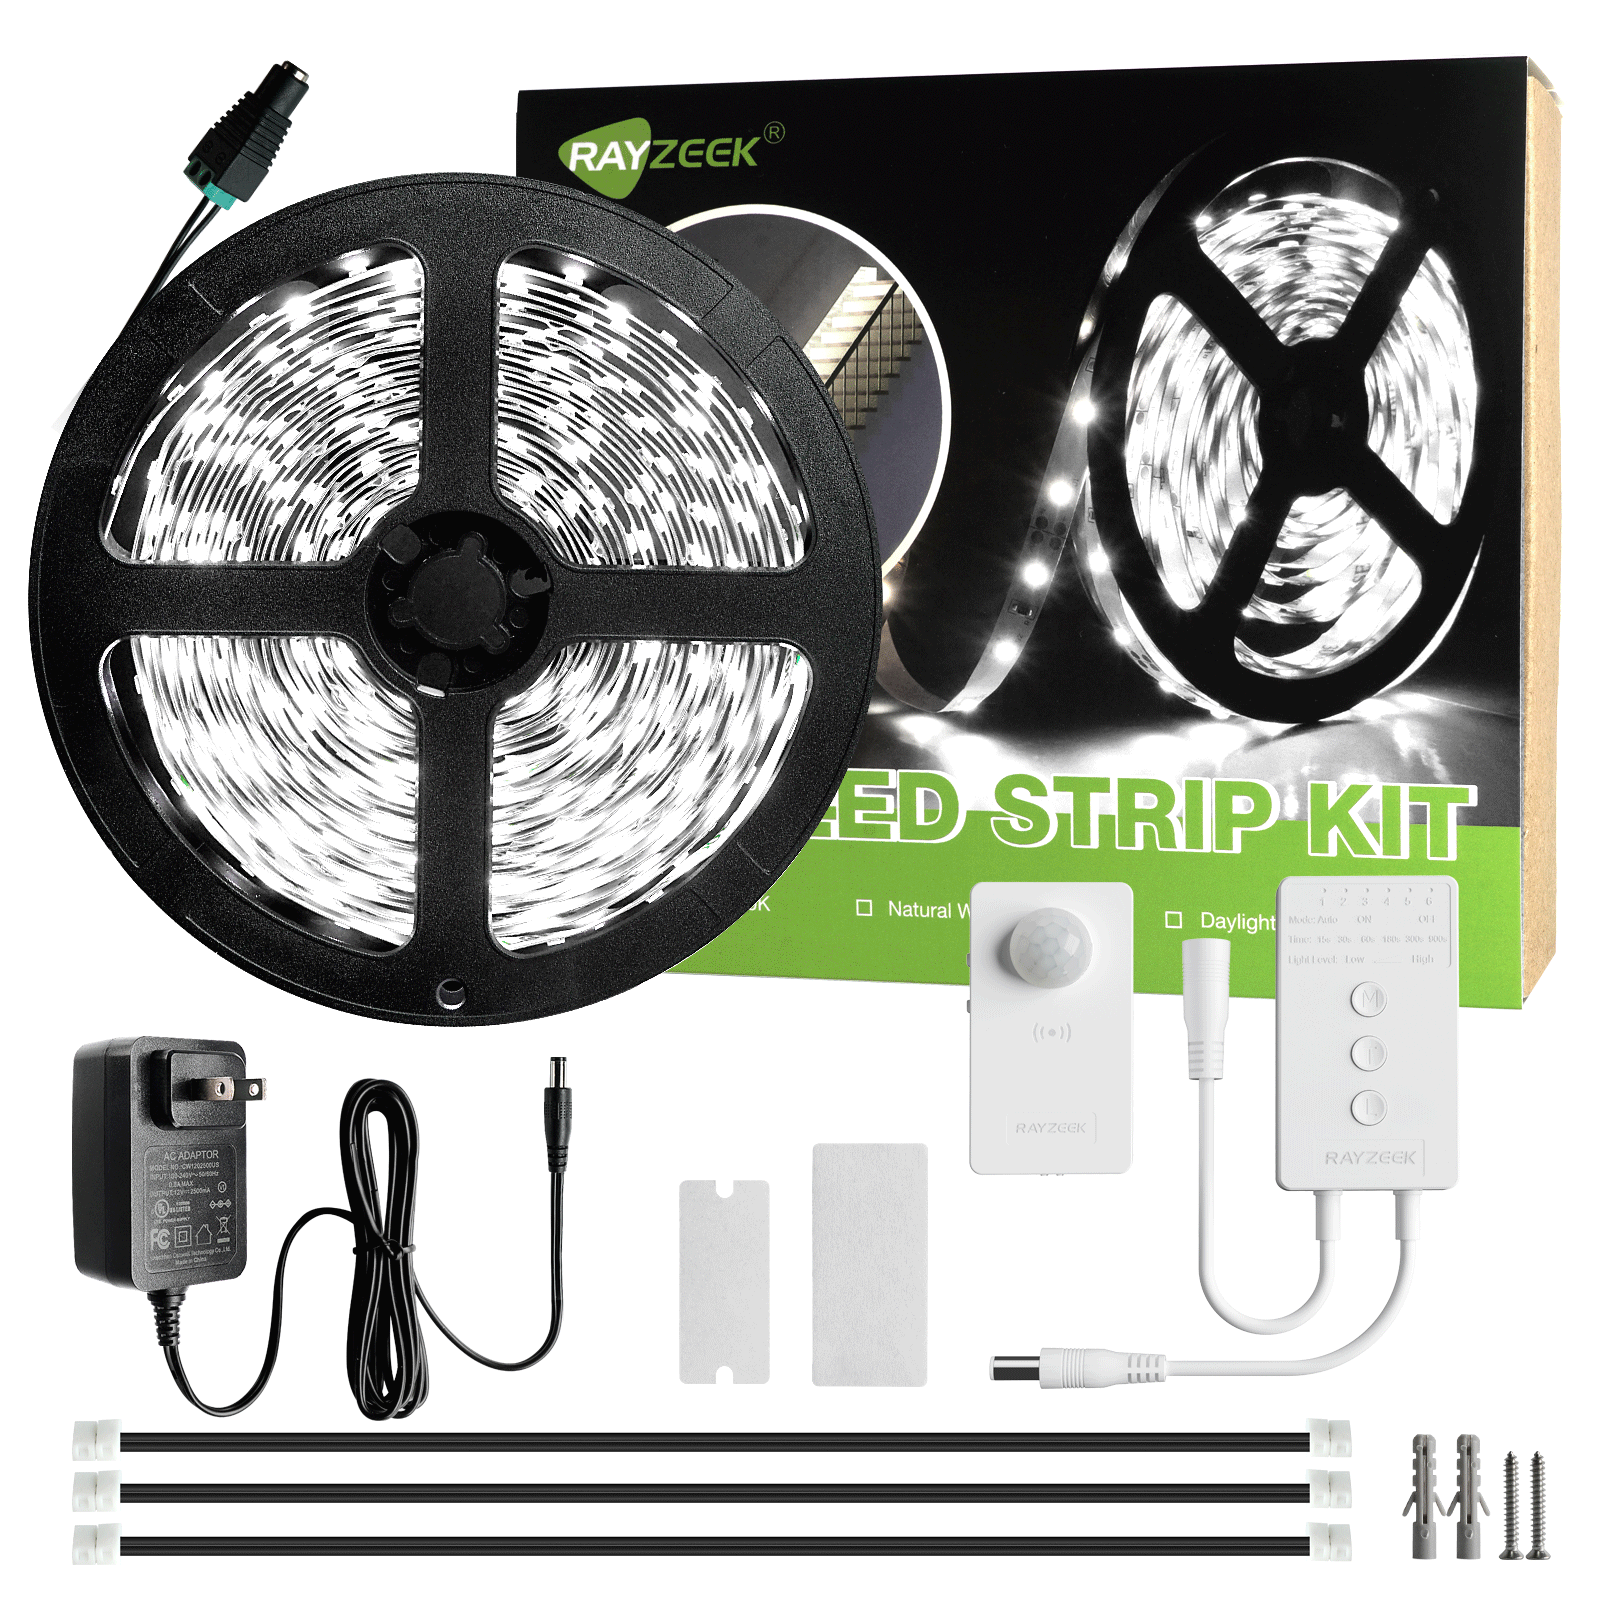
- Voltage: DC 12V
- Length: 2.5M/6M
- Color Temperature: Warm/Cold White
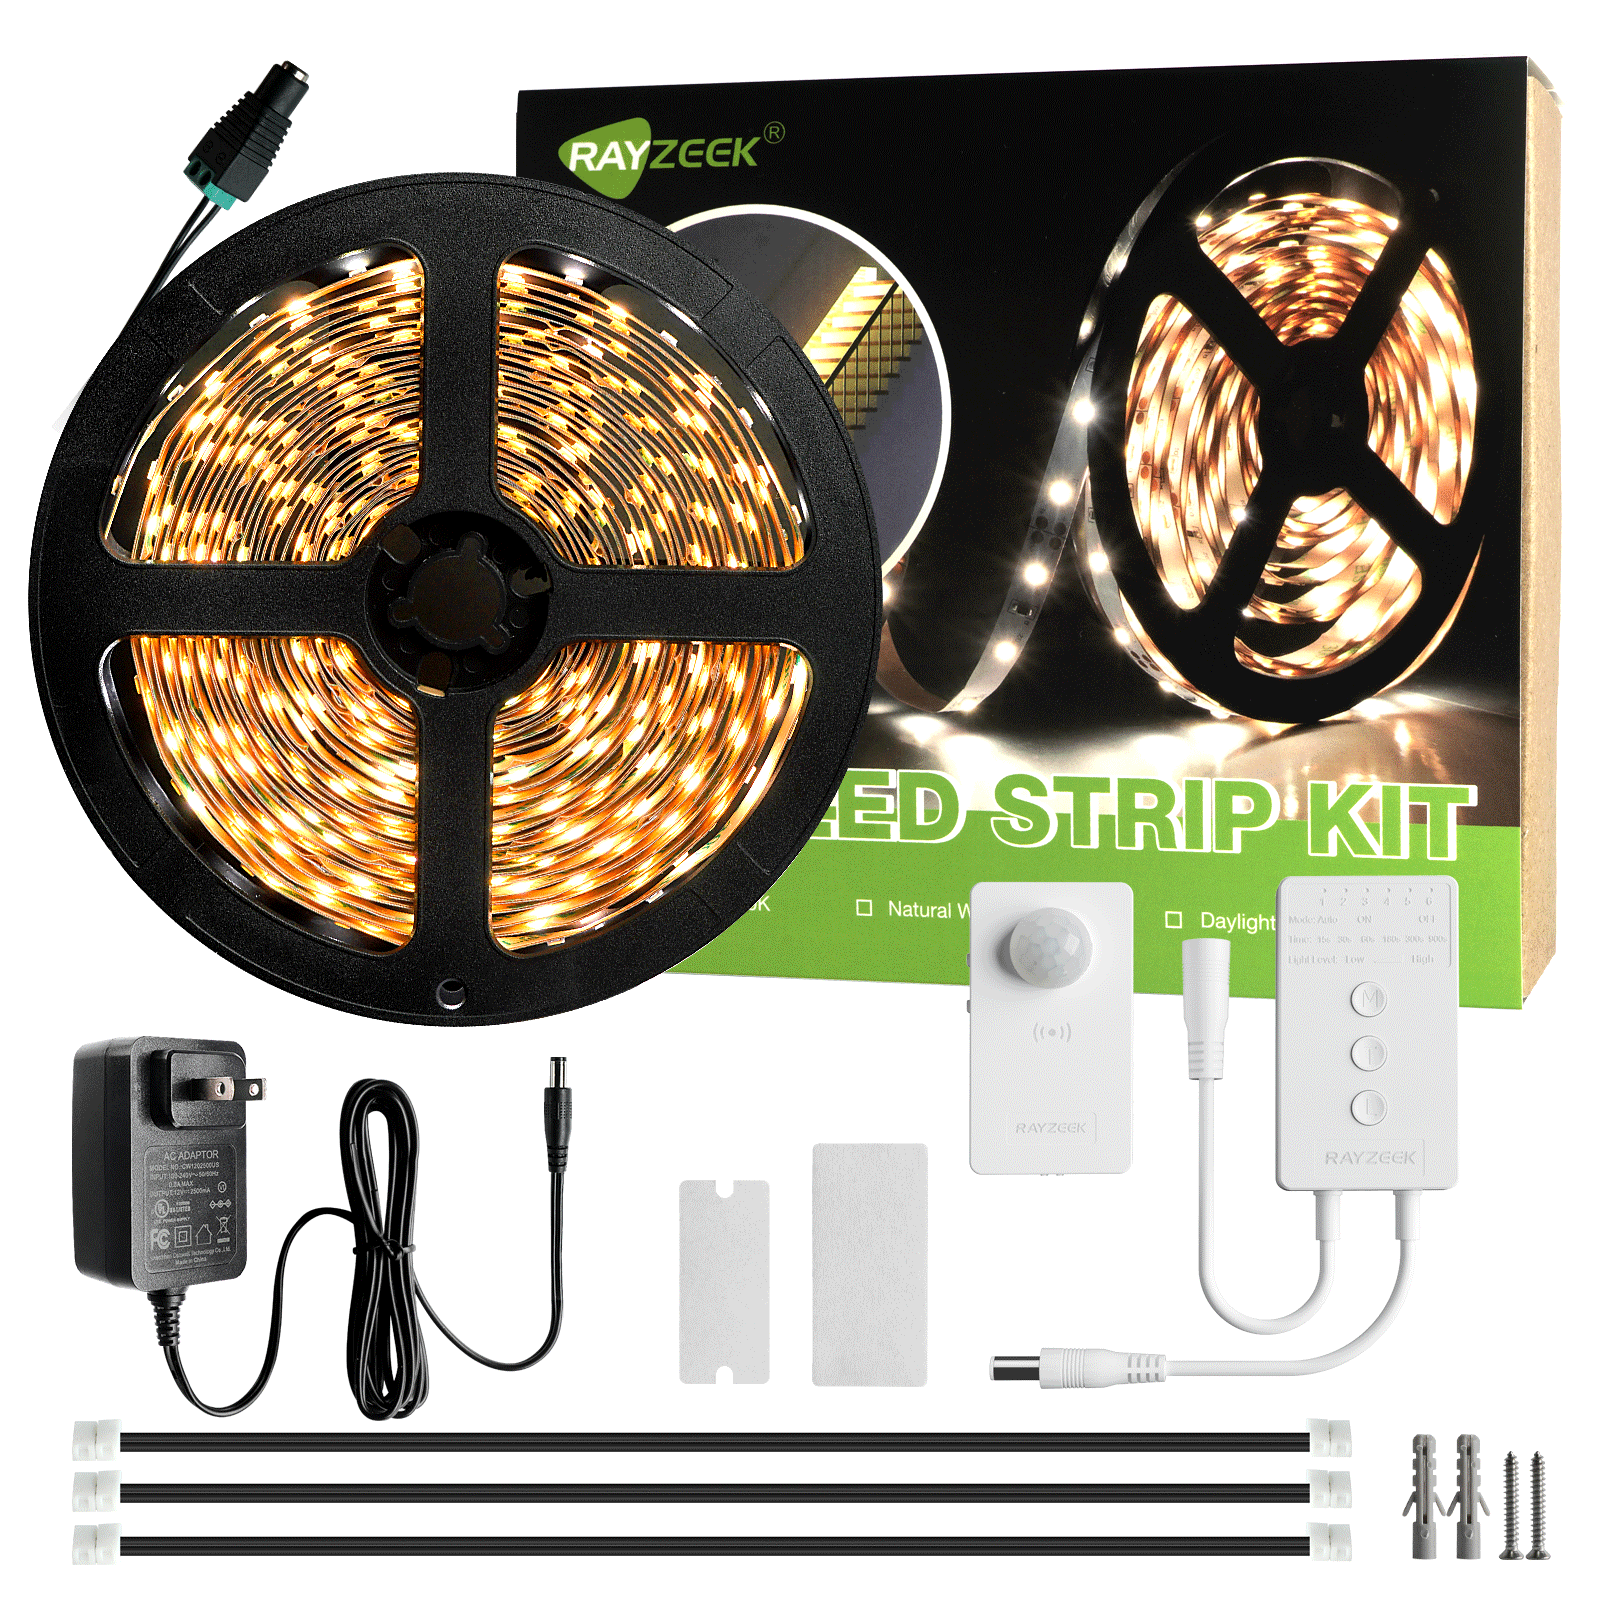
- Voltage: DC 12V
- Length: 2.5M/6M
- Color Temperature: Warm/Cool White
- Voltage: DC 12V
- Length: 2.5M/6M
- Color Temperature: Warm/Cool White
- Voltage: DC 12V
- Length: 2.5M/6M
- Color Temperature: Warm/Cold White
- Occupancy mode
- 12V ~ 24V, 5A
- Neutral Wire Required
- 1600 sq ft
- Voltage: DC 12v/24v
- Day/Night Mode
- Time delay: 15min, 30min, 1h(default), 2h
- Occupancy, Vacancy, ON/OFF mode
- 120V 5A
- Neutral Wire Required
- Fits the US 1-Gang wall box
- Occupancy, Vacancy, ON/OFF mode
- 120V, 5A
- Neutral Wire Required
- Fits the US 1-Gang wall box
Follow the drain line from the drain pan all the way to where it exits your house. Check for any visible clogs, kinks, or places where the pipe has become disconnected. Clogs are often caused by algae, mold, or debris that builds up over time and blocks the flow of water.
The most effective way to clear a clog is to use a wet/dry vacuum. Attach the vacuum hose to the end of the drain line. You might need an adapter to make it fit properly. Then, turn on the vacuum. If you don’t have a wet/dry vac, you can try using a stiff wire or a plumbing snake. But be careful not to puncture the line. After you’ve cleared the clog, flush the line with water to make sure it’s completely clear. You can also use compressed air, but make sure you use low pressure. Too much pressure can damage the line or cause it to disconnect.
To prevent clogs from forming in the future, you can periodically flush the drain line with vinegar or diluted bleach. To use vinegar, pour a cup of white vinegar (not apple cider vinegar) into the drain line and let it sit for about 30 minutes. Then, flush it with water. You can also use a diluted bleach solution. Use 1 part bleach to 16 parts water. Important: Never, ever mix bleach and vinegar! This creates toxic chlorine gas. If you have a stubborn clog, you might want to consider using a specialized AC drain line cleaner. These cleaners are designed specifically for this purpose. Also, check to make sure that the drain line is securely connected to the drain pan, and at all other connection points. Loose connections can lead to leaks. Once you’ve checked and cleared the drain line, you can move on to checking for a frozen evaporator coil.
Check for a Frozen Evaporator Coil
If you think you might have a frozen evaporator coil, the first thing you need to do is turn off the AC at both the thermostat and the breaker. Remember, safety first! Then, look for ice on the evaporator coil itself. You might need to remove an access panel to see it clearly, so be prepared to do some disassembly.
If you find ice on the coil, you need to let it thaw completely. This could take several hours, depending on how much ice there is. Do not use a hairdryer, or any other heat source, to try and thaw the coil. This can damage it. Just let it thaw naturally. Patience is key here.
While the coil is thawing, check for any airflow problems. This includes checking the air filter (like we talked about earlier) and making sure that all the vents and registers are open and not blocked by anything. You want to make sure the air can flow freely.
Another thing that can cause the coil to freeze is low refrigerant. If you think you might have a refrigerant leak (you might hear a hissing sound, see an oily residue, or notice that your AC isn’t cooling as well as it used to), call a professional. Refrigerant leaks require specialized tools and expertise to fix. Other things that could cause the problem include a faulty blower motor, or other mechanical issues. Keep in mind that repeatedly running your AC with a frozen coil can damage the compressor, which can lead to a very expensive repair. If your system has a condensate pump, you should check that next. Otherwise, if you’ve tried all of these troubleshooting steps and the leak is still there, it’s time to call a professional.
Check the Condensate Pump (If Applicable)
Not all AC systems have a condensate pump. You only need one if the AC unit is located below the drain line exit point (for example, if it’s installed in a basement), or if the drain line has to run uphill. If your system does have one, it will be located near the air handler. It’s usually a small, box-shaped device.
First, make sure the pump is plugged in and that it’s receiving power. Then, check the reservoir. That’s the container that collects the water. It should fill up and then empty periodically. You should see the water level going up and down.
Listen to see if the pump is running. It should cycle on and off as the reservoir fills up and empties. You should hear a humming sound when it’s running.
If the pump isn’t running, there are a few things you can check. First, check the float switch in the reservoir. It might be stuck in the ‘off’ position. The float switch is like a little lever that turns the pump on and off. Next, check the power cord to see if there’s any damage. Make sure the cord is securely plugged in. Also, check the discharge tube to see if it’s clogged. This tube carries the water away from the pump. Important: This next step is for advanced users only, and only after you’ve disconnected the power. You can use a multimeter to check the pump motor for continuity. This is a more advanced test that requires some electrical knowledge. If you’ve checked all of these things and the pump still isn’t working, or if you’re not comfortable with any of these steps, it’s time to call a professional.
When to Call a Professional
While you can often fix minor AC leaks by following the troubleshooting steps we’ve talked about, there are definitely times when you need to call a qualified HVAC technician. If you’re not comfortable with any of the steps, don’t hesitate to call a pro. Your safety is the most important thing. If the problem keeps happening even after you’ve tried troubleshooting, it’s time for professional help. Some problems are just too complex to fix yourself. If you think you might have a refrigerant leak (you might hear a hissing sound, see an oily residue, or notice that your AC isn’t cooling as well as it used to), call a technician right away. Refrigerant leaks require specialized tools and knowledge to repair. And if you have a major component failure, like a faulty compressor, motor, or control board, you’ll need professional expertise. These are complex parts that require specialized training to repair or replace.
Finding a reliable technician is really important. Start by asking friends, family, or neighbors for referrals. Word-of-mouth is often the best way to find someone good. You can also check online reviews on sites like Google and Yelp to see what other customers have to say. Make sure you verify that they’re licensed and insured. You want to make sure they’re qualified and that you’re protected in case something goes wrong. Look for technicians who are certified by organizations like NATE (North American Technician Excellence), or other reputable groups. Certification shows that they’ve met certain standards of competence. For major repairs, get multiple quotes to make sure you’re getting a fair price. Don’t just go with the first quote you get. And be careful of companies that immediately recommend replacing the entire system without doing a thorough diagnostics first. A good technician will try to figure out what the problem is before recommending a replacement. Keep in mind that the cost of a service call can vary a lot depending on where you live, the time of year, and what the problem is. But you should expect to pay a diagnostic fee, plus the cost of any repairs. Remember, your safety is the most important thing. Don’t try to do repairs that are beyond your skill level. It’s always better to be safe than sorry.