Ever been there? You’ve got your portable air conditioner cranked all the way up, but you’re still feeling sticky and uncomfortable. Or maybe you’re shopping for one, staring at all those numbers and technical terms, worried about picking the wrong one and wasting your money. What’s the secret to staying cool and comfortable without breaking the bank? It’s all about understanding BTUs – British Thermal Units. Think of BTUs as the cooling capacity of your AC. Choosing the right portable AC isn’t just about the brand or the price tag. It’s about matching the BTU rating to the size of the room you want to cool. It’s like finding the right size engine for your car: too small, and it’ll struggle; too big, and you’re wasting fuel.
That’s where we come in. This article is all about making BTUs easy to understand. We’ll give you a step-by-step guide to figuring out the right BTU level for your needs. We’ll break down the jargon and give you the tools you need to confidently choose the perfect portable AC, ensuring you get optimal cooling without wasting energy. We’ll cover everything from the basic BTU calculation to those extra factors that can make a big difference, like ceiling height, insulation, and how much sun your room gets. Think of these as the “fine-tuning” adjustments that ensure you get the perfect fit for your space.
What is a Portable Air Conditioner?
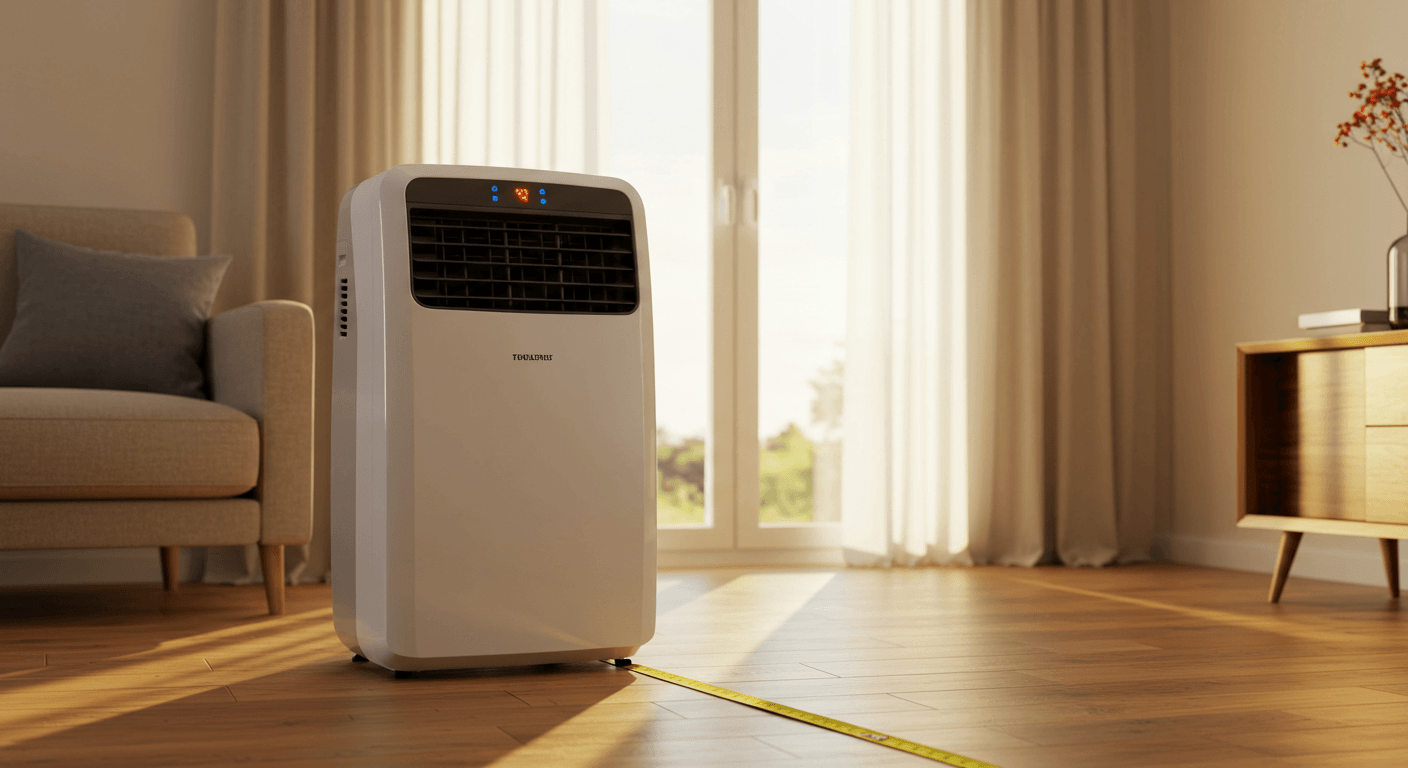
So, what exactly is a portable air conditioner? Unlike window units or central AC systems, a portable AC is a self-contained cooling unit. It’s designed to be easily moved from room to room, giving you the flexibility to cool specific areas as needed. You can take the cool with you!
How do they work? A portable AC cools air by removing heat and humidity using what’s called a refrigerant cycle. It’s like a mini-refrigerator for your room, using a special fluid to absorb heat and then release it outside. Now, here’s a key point: portable ACs need to be vented to the outside, usually through a window, using an exhaust hose. This hose is how the hot air gets out, so the cool air can stay in. There are two main types of hoses: single-hose and dual-hose. Single-hose systems draw air from the room and exhaust some of it, which can create negative pressure. Dual-hose systems, on the other hand, draw air from outside, making them more efficient. Think of it like breathing: a single-hose system is like breathing out through one nostril, while a dual-hose system breathes in through one and out through the other – it’s more balanced. That negative pressure from single-hose systems? It can actually draw in warm, unconditioned air from other parts of your house.
How do portable ACs stack up against other cooling options? Well, unlike window ACs, which are fixed in place, portable units give you the freedom to move them wherever you need them. And compared to central AC systems that cool your entire house, portable ACs are designed for cooling individual rooms. This makes them perfect for “spot cooling” or when you don’t want to cool the whole house.
Like anything, portable air conditioners have their pros and cons. Let’s take a look:
Advantages:
- Portability: Easily move it from room to room.
- No permanent installation: No need to call a contractor or make major changes to your home.
- Easy setup: Just plug it in, vent it, and you’re ready to go.
Disadvantages:
- Lower efficiency: They generally use more energy than window units to cool the same space.
- Noise: They can be a bit noisy, especially at higher fan speeds.
- Venting required: You’ll need to vent it to the outside, usually through a window.
Keep in mind that portable ACs aren’t ideal for very large, open spaces or rooms without windows for venting. They work best in enclosed rooms where you can easily vent the hot air. Also, be aware that noise levels can range from 45 to 65 dB (decibels), depending on the model and fan speed. That’s about the same as a quiet to normal conversation. Some models are quieter than others, so it’s a good idea to check the noise rating before you buy.
BTU Explained
Okay, let’s dive into BTUs. BTU stands for British Thermal Unit, and it’s a standard unit of measurement for heat energy. Technically, it represents the amount of heat needed to raise the temperature of one pound of water by one degree Fahrenheit. Even though it’s called “British,” it’s the standard way we measure air conditioner capacity here in the United States.
Now, when we’re talking about air conditioning, BTU measures the removal of heat, not the addition. It’s all about how much heat the AC can pull out of your room. A higher BTU rating means a greater cooling capacity. In other words, the bigger the number, the more cooling power you have. But here’s a key insight: BTU isn’t just about cooling power; it’s also about finding the right match for your room size and conditions.
Looking For Motion-Activated Energy-Saving Solutions?
Contact us for complete PIR motion sensors, motion-activated energy-saving products, motion sensor switches, and Occupancy/Vacancy commercial solutions.
Think of BTU as a measure of “cooling power” – its ability to remove heat from a room. It’s similar to how horsepower measures the power of a car engine. A higher BTU is like having a more powerful engine; it can handle a bigger load (more heat).
Why is choosing the correct BTU so important? Because it’s the key to efficient and effective cooling. An undersized unit will struggle to cool the room, running constantly and wasting energy. It’ll be working overtime and still not keeping you comfortable. On the other hand, an oversized unit will cycle on and off too frequently, leading to poor humidity control and discomfort. It’ll cool the room down too fast, but it won’t remove enough moisture, leaving you feeling clammy.
It’s important to remember that the BTU rating primarily indicates cooling capacity for a given space, not necessarily the speed of cooling. It’s about how much heat it can handle overall, not how fast it can drop the temperature. Also, keep in mind that factors like the outside temperature, insulation, and even duct leakage (though this is less relevant for portable ACs than central AC) can affect how well the AC actually performs compared to its rating. Think of it like this: even a powerful car will struggle on a steep hill or with a heavy load. Similarly, a high-BTU AC might not perform as well in a very hot or poorly insulated room.
One more thing to keep in mind: the Department of Energy (DOE) uses a different testing standard than the Association of Heating, Refrigerating and Air-Conditioning Engineers (ASHRAE). So, you might see two different BTU ratings for the same unit. DOE ratings are typically lower than ASHRAE ratings because they try to simulate real-world usage conditions. The ASHRAE rating is more of a lab test. The DOE number might be a bit lower, but it’s often a more accurate reflection of how the AC will perform in your home. Now that we’ve covered the basics, the next section will guide you through calculating the appropriate BTU level for your specific needs. We’ll show you how to use these numbers to find the perfect AC for your space.
How to Calculate BTU for a Room
Ready to figure out the right BTU capacity for your portable air conditioner? It all starts with a simple calculation to determine the cooling needs of your room. A good rule of thumb is to use 20 BTU per square foot of living space. Think of this basic calculation (square footage x 20) as a simplified model of heat transfer, kind of like a basic physics formula, but with some real-world tweaks to make it more accurate.
Step one: calculate the square footage of your room. Just multiply the length and width of the room. Remember finding the area of a rectangle in math class? If you have an irregularly shaped room, divide it into smaller rectangles, calculate the area of each, and then add them together. Break it down into smaller, easier-to-measure pieces.
Step two: multiply that square footage by 20. This gives you your baseline BTU requirement – the basic cooling power you’ll need.
Step three: adjust for ceiling height. If your ceiling is higher than 8 feet, you’ll need to increase the BTU. Taller rooms have more air to cool, right? A common rule of thumb is to increase the BTU by about 10% for every 2 feet of additional ceiling height. So, for every two feet above eight feet, add 10%.
Let’s look at an example. A 12ft x 18ft room has a square footage of 216 sq ft (12 x 18 = 216). Multiply that by 20 BTU per square foot, and you get a baseline of 4320 BTU (216 x 20 = 4320).
Here’s another example, this time with a ceiling height adjustment. Let’s say you have a 15ft x 20ft room, giving you a square footage of 300 sq ft. Now, imagine the ceiling is 12ft high (4ft above the standard 8ft). You’d increase the BTU by 20% (two 2ft increments). The baseline is 6000 BTU (300 x 20 = 6000), and the adjustment adds 1200 BTU (0.20 x 6000 = 1200), bringing your total to 7200 BTU.
Let’s get a little more complex. Imagine a 14ft x 16ft room (224 sq ft) with a 10ft ceiling (2ft above standard) and direct sunlight. Now we need to make multiple adjustments. The baseline is 4480 BTU (224 x 20 = 4480). A 10% increase for ceiling height adds 448 BTU (4928 total). Another 10% for sunlight adds 493 BTU (5421 total). And if two people regularly use the room, you’ll need to add 800 BTU (2 x 400 BTU per person = 800 BTU), bringing the final result to 6221 BTU.
One last thing: if your BTU calculation results in a decimal, always round up to the nearest whole number. You want to make sure you have enough cooling power!
While there are many online BTU calculators out there, keep in mind that they often use simplified formulas. They can give you a quick estimate, but they might not be as accurate as doing the calculations yourself. HVAC professionals use more sophisticated methods, like Manual J, that consider a wider range of factors for a more precise calculation. These methods take into account everything from window types to insulation levels, giving you the most accurate result. But don’t worry, we’re not going to get that technical. The following sections will delve into these additional factors that can refine your BTU estimate. We’ll go beyond the basics and look at the things that can fine-tune your calculation.
Measuring Room Dimensions
Before we go any further, let’s make sure you have the right tools to accurately measure your room. A standard measuring tape is your trusty friend for this task. For larger rooms, a laser measure can be a convenient and speedy alternative. Think of them as high-tech measuring tapes that use lasers to get the distance.
To measure the room, extend the measuring tape along the longest wall, measuring from the inside of the wall to the opposite inside wall to get the length. Then, measure the perpendicular wall (making sure you’re measuring at a right angle to the length), also from the inside, to get the width.
For a general BTU estimate, measuring to the nearest foot should be accurate enough. But if you want to be extra careful, measure to the nearest inch for more precise calculations.
Got an irregularly shaped room? No problem! Just divide it into smaller rectangles. Think of it like breaking a complex shape down into simpler ones. Measure the length and width of each rectangle, calculate their individual areas, and then add all the areas together to get the total square footage.
If you don’t have a measuring tape handy, you could try using a smartphone app (though the accuracy might vary) or estimate by pacing, if you know your average stride length. Just keep in mind that these methods might not be as accurate as using a measuring tape.
Keep in mind that small measurement errors (an inch or two) won’t make a huge difference in the overall BTU calculation. However, significant errors (several feet) can really throw off your calculations and lead to choosing the wrong size AC. Remember, accurate measurements are the foundation of the BTU calculation we discussed earlier. Getting the measurements right is the first step to getting the right size AC for your needs.
BTU Calculation: A Simple Formula
Just to refresh your memory, the basic formula for calculating BTU needs is: Square Footage x 20 BTU/sq ft = Required BTU. This is your starting point for figuring out the right cooling capacity.
For example, a 10ft x 15ft room (150 sq ft) would need 3000 BTU (150 x 20 = 3000). And a larger room, say 20ft x 25ft (500 sq ft), would require 10,000 BTU (500 x 20 = 10,000).
Remember to round up any decimal results to the nearest whole number. While online calculators can be helpful, and HVAC professionals use more advanced methods, this basic formula is a great starting point for understanding your cooling needs. We’ve covered detailed examples and adjustments already, so this is just a quick reminder of the basics before we move on to those additional factors.
Additional Factors that Impact BTU
Okay, so the basic BTU calculation (square footage x 20) gives you a good starting point, but it’s not the whole story. Several other factors can significantly impact your cooling needs. Think of these factors as adjustments to the baseline calculation, like fine-tuning an engine to ensure a more accurate estimate.
What are these factors? They include things like high ceilings, the quality of your insulation, how much direct sunlight the room gets, the size and number of windows, your local climate, and even the heat generated by people and appliances in the room.
Basically, each of these factors either adds to or subtracts from the base BTU calculation. They influence the “heat load,” which is how much heat your air conditioner needs to remove to keep the room at a comfortable temperature.
Ignoring these factors can significantly impact the accuracy of your BTU calculation, which can lead to choosing an undersized or oversized AC unit. This can result in discomfort, wasted energy, and even potential damage to the unit. So, it’s definitely worth taking the time to get it right.
Believe it or not, other factors can also play a role, such as the orientation of your building, whether trees or other buildings shade your windows, and even the color of your roof!
While precise calculations often require professional software, there are general guidelines and rules of thumb you can use to adjust your BTU calculation based on these factors. For example, you might add a certain percentage for sunny rooms or poorly insulated spaces. Don’t worry, we’ll give you some easy-to-follow guidelines to adjust your calculations. In the following subsections, we’ll explore each of these factors in more detail, providing practical guidance for adjusting your BTU calculation. Let’s dive in and see how they affect your cooling needs!
Maybe You Are Interested In
- Voltage: 2 x AAA Batteries OR 5V DC
- Transmission Distance: up to 30m
- Day/Night mode
- Voltage: 2 x AAA Batteries OR 5V DC
- Transmission Distance: up to 30m
- Day/Night mode
- Voltage: 2 x AAA
- Transmission Distance: 30 m
- Time delay: 5s, 1m, 5m, 10m, 30m

- Load Current: 10A Max
- Auto/Sleep Mode
- Time delay: 90s, 5min, 10min, 30min, 60min
- Load Current: 10A Max
- Auto/Sleep Mode
- Time delay: 90s, 5min, 10min, 30min, 60min
- Load Current: 10A Max
- Auto/Sleep Mode
- Time delay: 90s, 5min, 10min, 30min, 60min
- Load Current: 10A Max
- Auto/Sleep Mode
- Time delay: 90s, 5min, 10min, 30min, 60min
- Load Current: 10A Max
- Auto/Sleep Mode
- Time delay: 90s, 5min, 10min, 30min, 60min
- Load Current: 10A Max
- Auto/Sleep Mode
- Time delay: 90s, 5min, 10min, 30min, 60min

- Occupancy mode
- 100V ~ 265V, 5A
- Neutral Wire Required
- 1600 sq ft
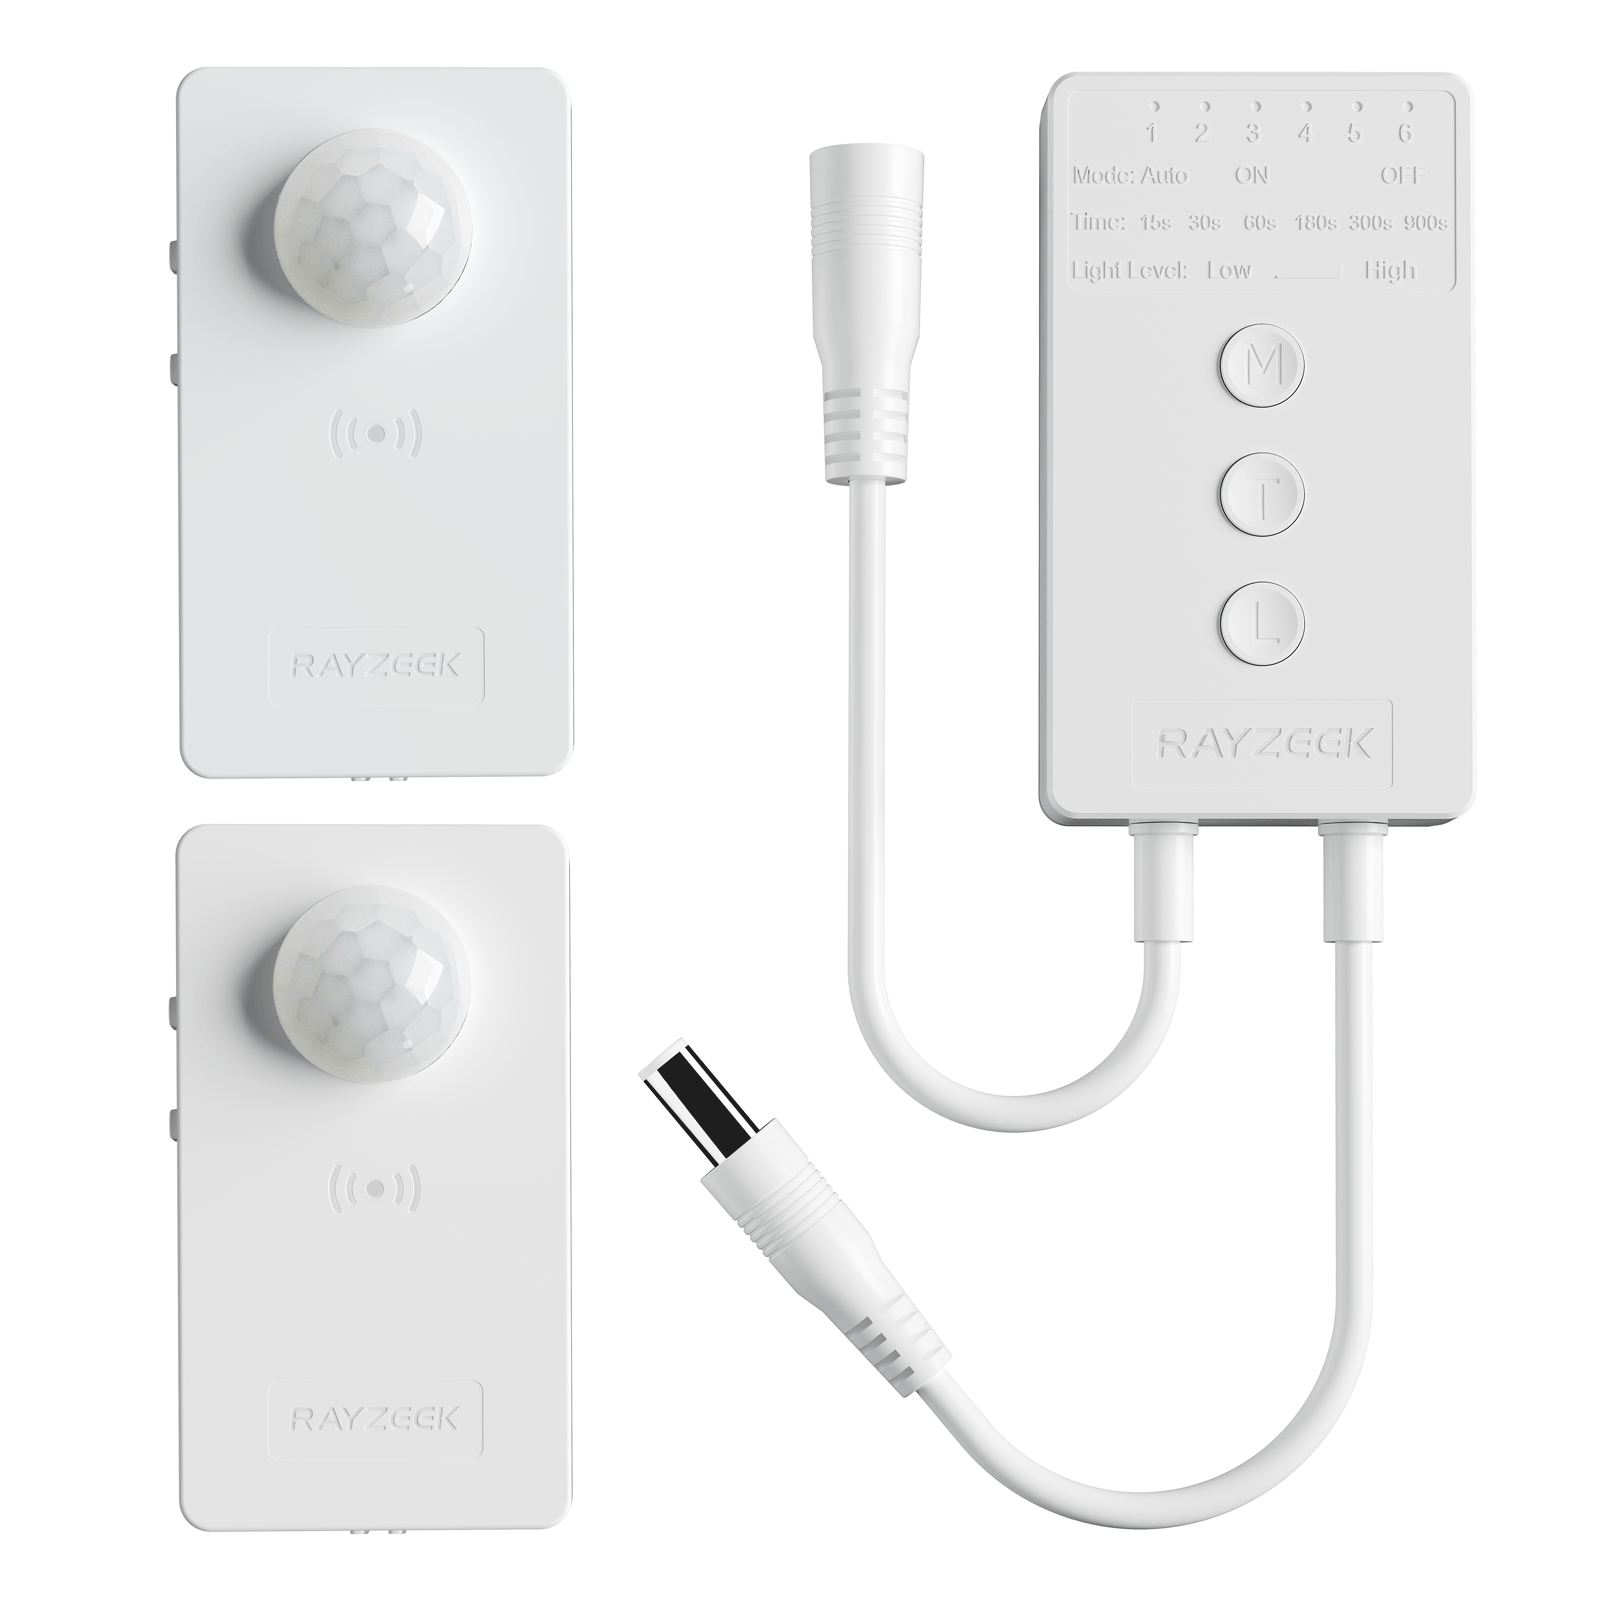
- Voltage: DC 12v/24v
- Mode: Auto/ON/OFF
- Time Delay: 15s~900s
- Dimming: 20%~100%
- Occupancy, Vacancy, ON/OFF mode
- 100~265V, 5A
- Neutral Wire Required
- Fits the UK Square backbox
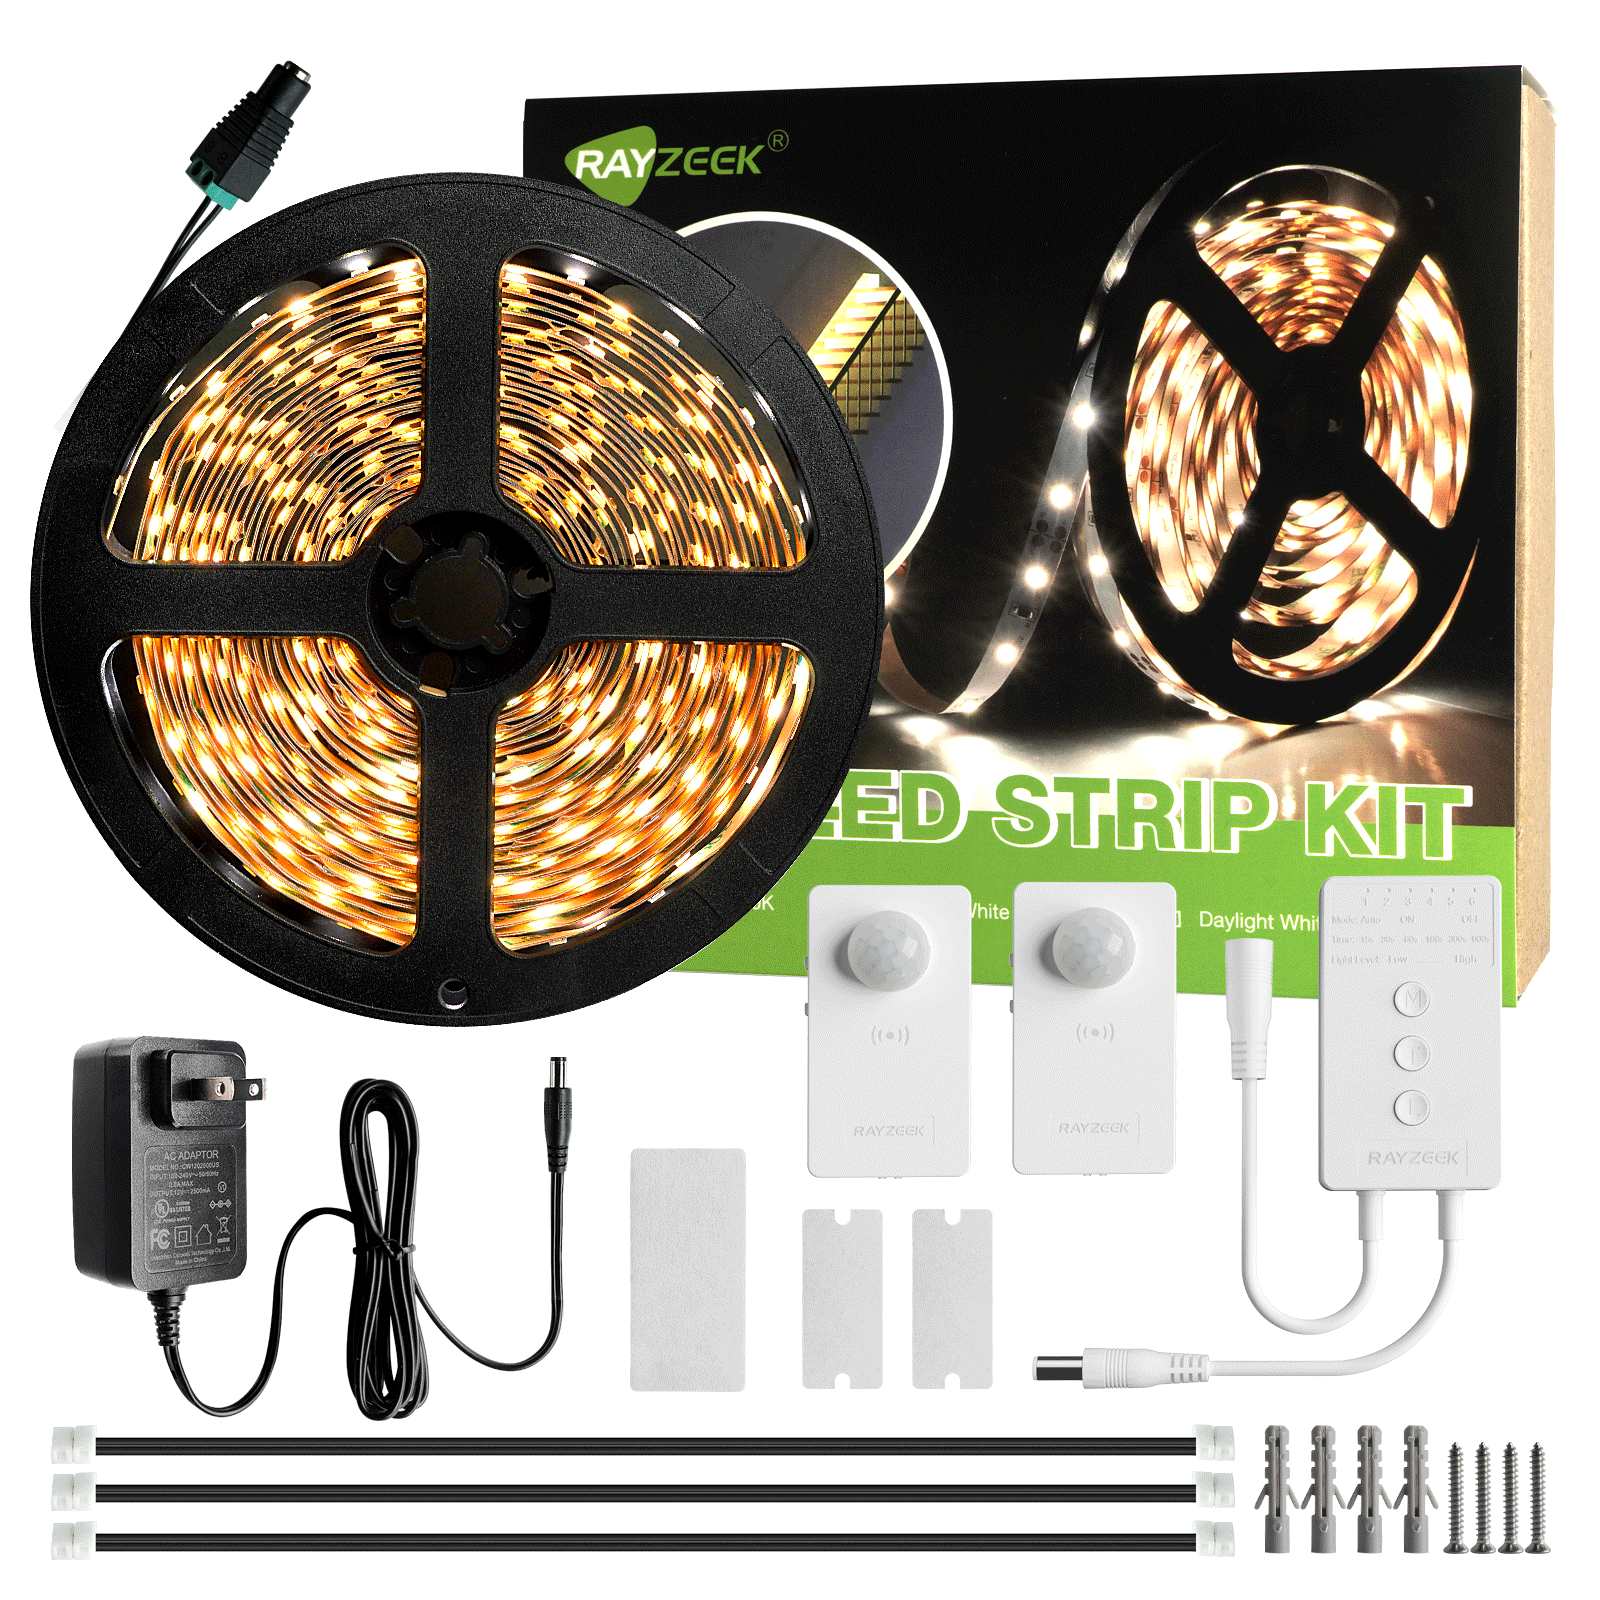
- Voltage: DC 12V
- Length: 2.5M/6M
- Color Temperature: Warm/Cold White
- Voltage: DC 12V
- Length: 2.5M/6M
- Color Temperature: Warm/Cool White
- Voltage: DC 12V
- Length: 2.5M/6M
- Color Temperature: Warm/Cool White
- Voltage: DC 12V
- Length: 2.5M/6M
- Color Temperature: Warm/Cold White
- Occupancy mode
- 12V ~ 24V, 5A
- Neutral Wire Required
- 1600 sq ft
- Voltage: DC 12v/24v
- Day/Night Mode
- Time delay: 15min, 30min, 1h(default), 2h
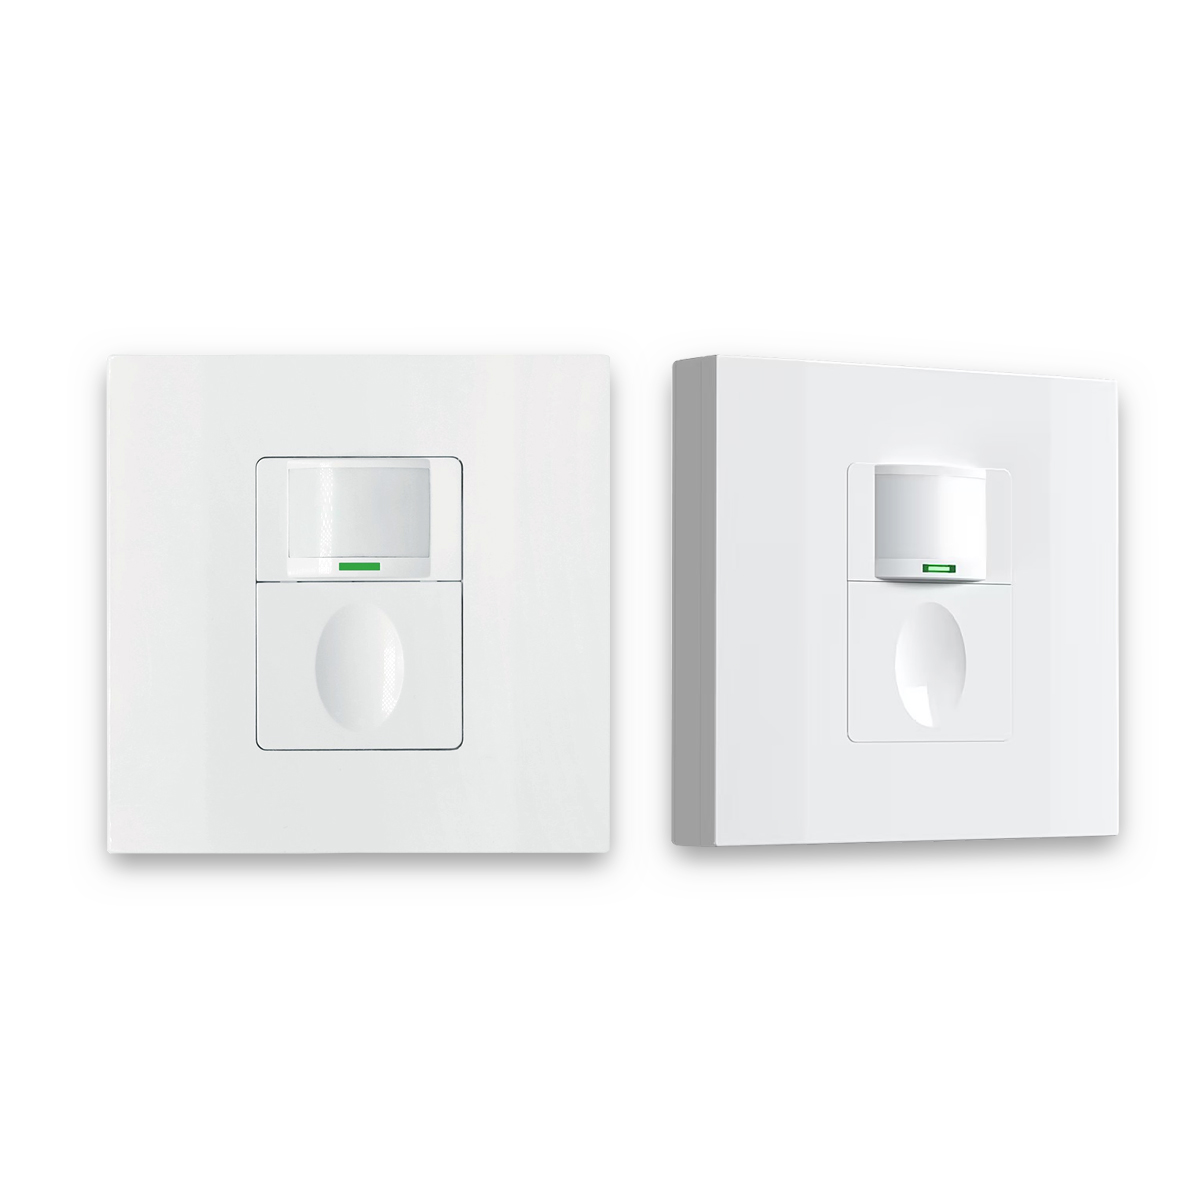
- Occupancy, Vacancy, ON/OFF mode
- 120V 5A
- Neutral Wire Required
- Fits the US 1-Gang wall box
- Occupancy, Vacancy, ON/OFF mode
- 120V, 5A
- Neutral Wire Required
- Fits the US 1-Gang wall box
High Ceilings
Besides square footage, ceiling height also has a significant impact on your cooling needs. Higher ceilings mean a larger volume of air in the room that needs to be cooled, which means you’ll need more BTUs.
As a general rule, increase the calculated BTU by approximately 10% for every 2 feet of ceiling height above the standard 8 feet. For example, a 10ft ceiling would require a 10% increase, while a 12ft ceiling would require a 20% increase.
This rule of thumb generally applies to typical residential ceiling heights (around 14-16 feet). If you have vaulted or cathedral ceilings, you might need even more BTUs because of the increased air volume and something called “air stratification.” With high ceilings, hot air tends to rise, which can lead to uneven temperature distribution. This means the cool air might settle near the floor, while the warm air stays up high.
Insulation Quality
The quality of your insulation has a big impact on how much heat enters your room. Think of insulation as a barrier to heat. Poor insulation allows more heat to enter, which increases the BTU needs of your AC. Good insulation, on the other hand, reduces heat gain, lowering your BTU needs.
The effectiveness of insulation is measured by its R-value. A higher R-value indicates better insulation, meaning it’s more resistant to heat flow. So, the higher the R-value, the better the insulation.
You can often get a sense of your insulation levels by inspecting your attic or checking for drafts. Look for gaps or areas where insulation is missing. Adding insulation, especially in the attic and walls, is a great way to improve energy efficiency and reduce your cooling costs. Keep in mind that recommended R-values vary depending on your climate zone. Different climates need different levels of insulation. Common insulation materials include fiberglass batts, blown-in cellulose, spray foam, and rigid foam boards.
Direct Sunlight
The amount of direct sunlight your room receives has a significant impact on how much heat it gains. Direct sunlight streaming through your windows can dramatically increase the temperature, which means you’ll need a higher BTU capacity for your AC. It’s like having a heater shining directly into your room!
For rooms that get a lot of direct sunlight, especially during the hottest parts of the day, add approximately 10% to your base BTU calculation.
East-facing windows get direct sunlight in the morning, while west-facing windows get it in the afternoon (which is often the hottest part of the day). Think about when the sun hits your windows the most. You can significantly reduce heat gain by using window treatments like blinds or curtains, applying window films, or planting shade trees. Also, south-facing windows tend to receive the most direct sunlight (in the Northern Hemisphere). Finally, consider using low-emissivity (Low-E) windows, which are specially designed to reflect infrared radiation and reduce heat gain.
Window Size and Quantity
The size and number of windows in your room can significantly influence heat gain. Windows can be a major source of heat. More windows, and larger windows, mean more potential for heat to enter the room, which increases your BTU needs.
Double-pane windows provide better insulation than single-pane windows, which helps reduce heat gain. And triple-pane windows offer even better insulation!
Get Inspired by Rayzeek Motion Sensor Portfolios.
Doesn't find what you want? Don't worry. There are always alternate ways to solve your problems. Maybe one of our portfolios can help.
While precise BTU adjustments can be complex, a general guideline is to add 100-200 BTU for each large, non-energy-efficient window. This is just a rough estimate, but it gives you an idea of how much windows can affect your cooling needs. If you want to get more technical, look at the Solar Heat Gain Coefficient (SHGC) of your windows. SHGC measures how much solar radiation passes through a window (lower is better). Also, check the U-factor, which measures the overall rate of heat transfer through a window (again, lower is better).
Your Local Climate
Your geographic location and climate have a significant influence on your cooling needs. It probably goes without saying, but hotter climates naturally require higher BTU air conditioners. If it’s hot outside, you’ll need more cooling power!
Humid climates may require slightly higher BTUs because the AC also needs to remove moisture from the air. High humidity makes it feel even hotter. It’s like being wrapped in a sticky blanket of heat! For optimal comfort in very humid conditions, consider using a separate dehumidifier to help remove moisture from the air.
On the other hand, mild climates may allow for slightly lower BTUs. If it’s not too hot, you might not need as much cooling power. Generally speaking, “hot” climates might have average summer highs above 90°F, while “mild” climates might be below 80°F. Also, higher altitudes generally have slightly lower cooling needs because the air is thinner and cooler. Climate zone maps can provide detailed information about local conditions in your area. Finally, large daily temperature swings can also influence your cooling needs. If the temperature changes a lot between day and night, it can affect how much cooling you need.
Heat from People and Appliances
The number of people and the types of appliances in the room contribute to the overall heat load. Everything in the room that generates heat adds to the load. Both people and appliances generate heat that your AC needs to remove. Even your body heat adds to the load!
A person at rest generates approximately 400-600 BTU per hour. That’s how much heat your body gives off just by being there! So, for rooms with multiple occupants, add this amount per person.
Appliances like ovens, stoves, and incandescent light bulbs can be significant heat sources. Some appliance energy guides may list their heat output, but the values can vary widely, so it’s hard to give a precise number. Also, a person’s activity level significantly impacts their heat output. If you’re exercising, you’ll generate more heat than if you’re just sitting still.
Environmental Impact and Efficiency
It’s important to consider the environmental impact of portable air conditioners. Modern units use refrigerants to cool the air, and these refrigerants can have an environmental impact.
Common refrigerants include R-410A and R-32. R-32 has a lower Global Warming Potential (GWP) than R-410A, which makes it a more environmentally friendly option. GWP measures how much a gas contributes to global warming. So, choosing a unit with R-32 can help reduce your environmental impact.
BTU Adjustment Summary
Here’s a handy cheat sheet that summarizes the adjustments to the base BTU calculation we’ve discussed:
| Factor | Adjustment Guideline |
|---|---|
| High Ceilings | +10% for every 2 feet above 8 feet |
| Poor Insulation | Increase BTU (amount depends on severity) |
| Direct Sunlight | +10% for very sunny rooms |
| Many/Large Windows | +100-200 BTU per large, inefficient window |
| Hot Climate | Increase BTU (amount depends on average temperature) |
| Humid Climate | May need slightly higher BTU or a dehumidifier |
| People | +400-600 BTU/hour per person (depending on activity) |
| Heat-Generating Appliances | Add BTU based on appliance type and usage (if known) |
Right Size AC: Why it Matters
Choosing the right size portable air conditioner, based on the correct BTU calculation, is super important for several reasons. All those calculations and adjustments we’ve discussed are aimed at helping you achieve this optimal sizing. This is why we went through all those steps!
An undersized AC will run constantly, struggling to reach the temperature you set. It’ll be working overtime and still not getting the job done. This leads to increased energy consumption and faster wear and tear on the compressor and other components. In other words, your energy bill will be higher, and your AC might break down sooner.
An oversized AC, on the other hand, cools the room too quickly, which leads to “short-cycling” (frequent on/off cycles). It’s like turning the AC on and off repeatedly. This prevents the AC from properly removing humidity, which can lead to a clammy feeling and even potential mold growth. It also increases your energy bills and causes excessive wear on the unit.
A correctly sized AC provides optimal cooling performance, operates efficiently, results in lower energy bills, and extends the lifespan of the unit. It’s the Goldilocks scenario – just right!
How can you tell if your AC is the wrong size? An undersized AC may run continuously without ever reaching the temperature you want. An oversized AC, on the other hand, may cool the room very quickly but leave it feeling humid, with frequent on/off cycles.
While neither is ideal, a slightly undersized unit is generally preferable to a significantly oversized one. Short-cycling puts excessive stress on the compressor, which can lead to premature failure.
Proper humidity control is crucial for comfort and preventing mold growth. It’s not just about temperature; it’s also about humidity! Oversized ACs, because of their short run times, don’t adequately dehumidify the air. This reinforces the importance of accurate BTU calculations, as we’ve discussed throughout this article. This is why we spent so much time on those calculations – to help you get the right size AC and avoid these problems!